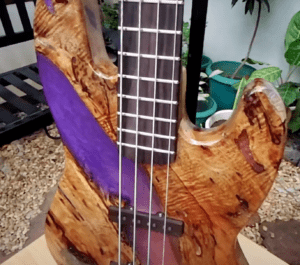
A Kaleidoscope of Color: Epoxy Guitar Body with Colored Pencils
A Unique Blend of Art and Function
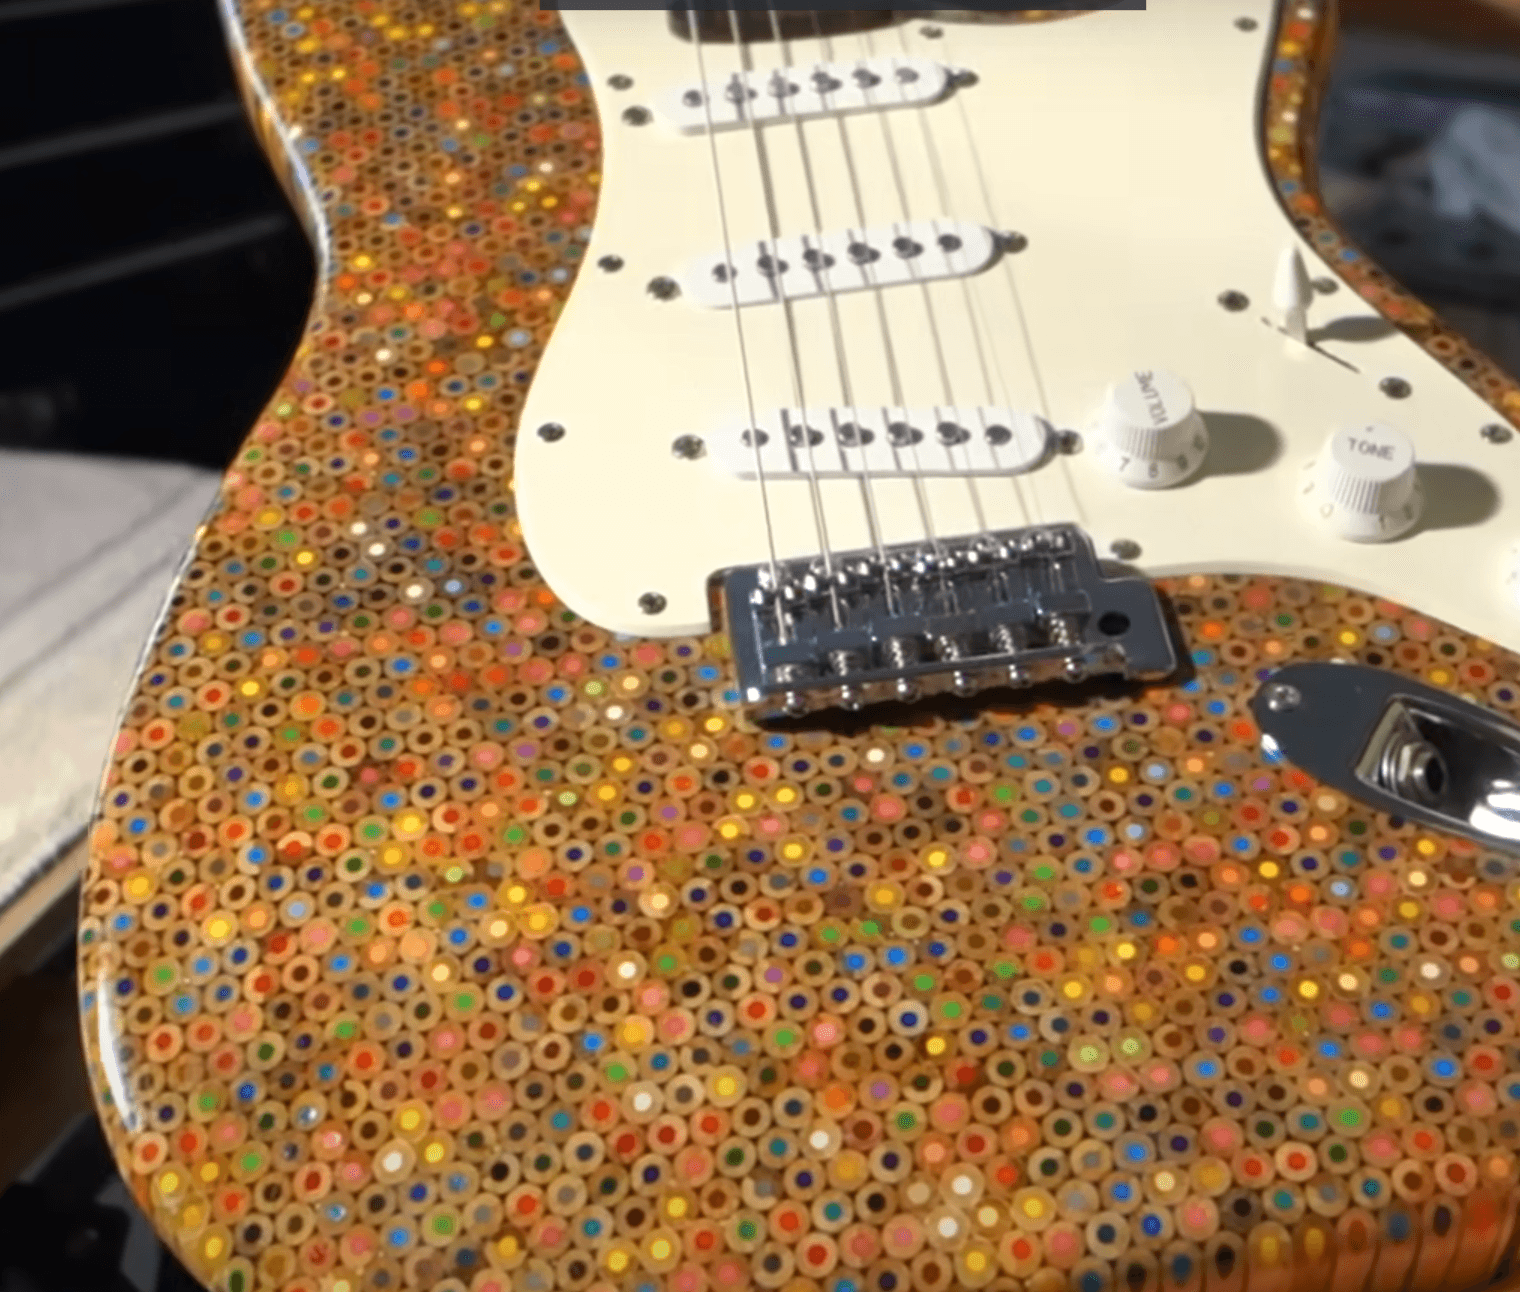
Ever dreamed of owning a guitar that’s as vibrant and unique as your musical style? This guide will walk you through the process of creating a stunning resin guitar body using colored pencils. It’s a truly one-of-a-kind project that combines art, science, and a whole lot of creativity.
Materials:
- Colored pencils
- Epoxy resin
- Square mold
- Weights
- Planer or sanding tools
- Guitar body template
- Drill
- Router
- Guitar neck, pickups, and hardware
Instructions:
- Prepare the Colored Pencils:
- Cut all your colored pencils to a uniform length. This will determine the thickness of your guitar body.
- Create the Mold:
- Place the cut colored pencils vertically into a square mold. Make sure they are tightly packed to avoid gaps.
- Pour the Epoxy Resin:
- Mix your epoxy resin according to the manufacturer’s instructions.
- Carefully pour the mixed epoxy resin over the colored pencils. Use a tool to spread the resin evenly and ensure it seeps into the spaces between the pencils.
- Cover the mold with weights to prevent air bubbles and ensure a smooth surface.
- Curing Process:
- Allow the epoxy resin to cure completely. This may take several days, depending on the specific resin and environmental conditions.
- Shaping the Guitar Body:
- Once cured, remove the guitar body from the mold.
- Use a planer or sanding tools to shape the block of colored pencil and resin into a guitar body.
- Use a guitar body template to trace the desired shape onto the block.
- Carefully cut out the guitar body shape using a jigsaw or bandsaw.
- Adding Texture and Detail:
- Drill small holes around the edges of the guitar body to expose the colored pencil cores. This will add visual interest and depth.
- Use a router to round the edges of the guitar body and create smooth contours.
- Finishing Touches:
- Sand the entire guitar body to remove any rough edges and prepare it for finishing.
- Apply a high-quality finish, such as polyurethane or lacquer, to protect the guitar body and enhance its appearance.
- Once the finish has cured, assemble the guitar by attaching the neck, pickups, and other hardware.
A Unique Masterpiece
By following these steps and incorporating your own creative flair, you can create a truly unique and visually stunning guitar. The combination of colored pencils and epoxy resin results in a vibrant and eye-catching instrument that is sure to turn heads.

