Building an Epoxy Resin Bass Guitar from an Old Log
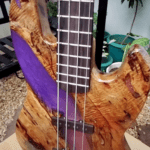
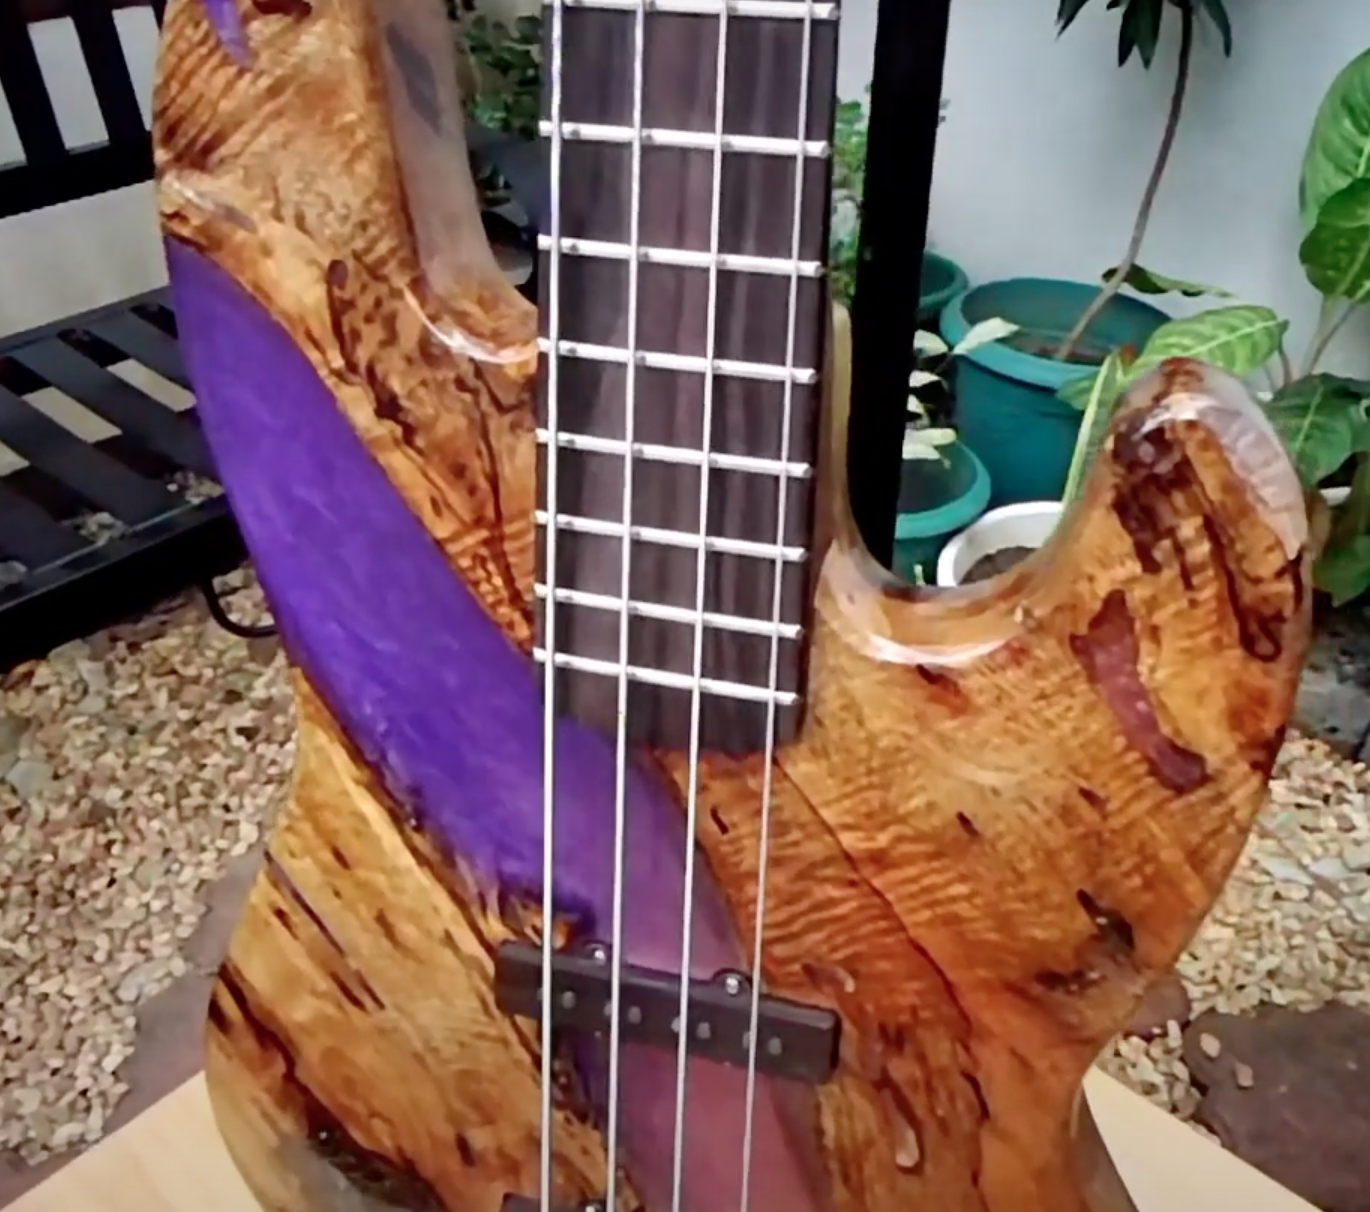
Transforming a piece of old, weathered wood into a stunning bass guitar is a unique and rewarding project. This guide will walk you through the process of building an epoxy resin bass guitar, using an old log as the primary material.
Materials:
- Old log
- Epoxy resin
- Silicone sealant
- Wood for mold construction
- Woodworking tools (chainsaw, sander, planer, router, drill, etc.)
- Guitar neck (pre-made or DIY)
- Electronics (pickups, pots, jack, wiring)
- Hardware (tuners, bridge, strings)
- Clear coat
Step-by-Step Guide:
- Harvesting the Wood:
- Choose a Log: Select a log that’s large enough to accommodate your desired guitar body shape.
- Cut and Shape: Use a chainsaw to roughly cut the log into a suitable shape.
- Preparing the Wood:
- Sanding: Sand the log to remove bark, dirt, and any uneven surfaces. Pay close attention to the crevices and knots.
- Planing: Use a planer or a makeshift planing tool to flatten the surfaces of the log.
- Creating the Mold:
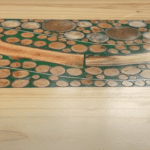
- Build the Mold: Construct a wooden mold in the desired shape of your guitar body.
- Seal the Mold: Apply silicone sealant to the inside of the mold to prevent the epoxy from sticking.
- Pouring the Epoxy:
- Mix the Epoxy: Carefully mix the epoxy resin according to the manufacturer’s instructions.
- Pour the Epoxy: Pour the mixed epoxy into the mold, ensuring it fills all the gaps and crevices.
- Avoid Overfilling: Be mindful of the weight of the epoxy. Overfilling can make the guitar too heavy.
- Curing the Epoxy:
- Allow Curing: Let the epoxy cure completely according to the manufacturer’s recommended time.
- Removing the Mold:
- Carefully Remove: Once cured, carefully remove the guitar body from the mold.
- Shaping the Guitar Body:
- Planing: Use a planer to flatten the top and bottom surfaces of the guitar body.
- Cutting the Shape: Cut the guitar body to your desired shape using woodworking tools.
- Beveling the Edges: Use a router to bevel the edges of the body for a smooth, finished look.
- Routing Electronic Cavities:
- Mark and Drill: Mark the locations for the pickup cavities, control cavity, and neck pocket.
- Route Cavities: Use a router to carve out the cavities.
- Assembling the Guitar:
- Install the Neck: Attach the neck to the body using screws or bolts.
- Install Electronics: Mount the pickups, pots, jack, and wiring in their respective cavities.
- Install Hardware: Attach the tuners, bridge, and strings.
- Finishing the Guitar:
- Sanding: Sand the entire guitar body to a smooth finish.
- Clear Coating: Apply multiple coats of clear coat to protect the wood and enhance its appearance.
Conclusion:
By following these steps and exercising patience, you can create a unique and stunning epoxy resin bass guitar. Remember to experiment with different wood types, epoxy colors, and finishes to achieve your desired aesthetic. Happy building!

