DIY Epoxy River Wine Rack Tutorial
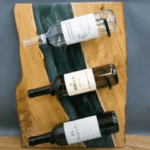
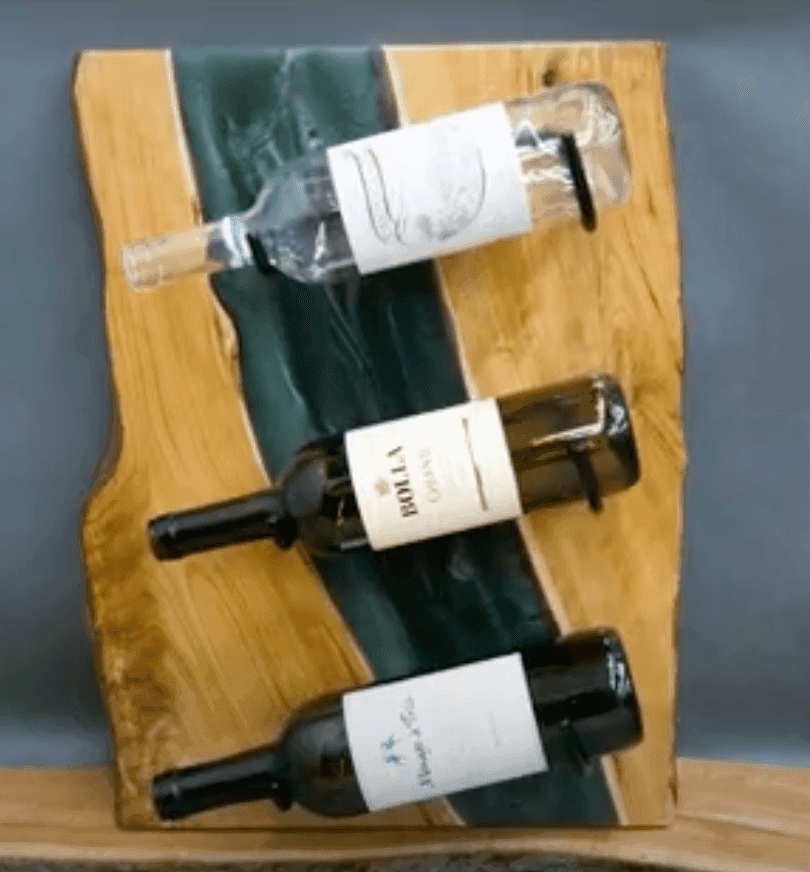
In this tutorial, we’ll guide you through the process of crafting a stunning, rustic modern wine rack using epoxy resin and rough-cut cherry wood. This DIY project combines the warmth of natural wood with the sleek elegance of epoxy, resulting in a unique and functional piece of home decor.
We’ll cover everything from preparing the wood to pouring the epoxy, finishing the piece, and finally, installing it on your wall. Let’s get started!
Materials:
- Rough-cut cherry wood boards (2)
- Epoxy resin (clear or tinted)
- Hardener
- Sandpaper (various grits)
- Wood glue
- Wood screws
- Clear coat
- Drill
- Drill bits
- Hand planes
- Draw knife
- Planer
- Tape
- Z-bracket
- Wine bottle hooks
Step-by-Step Instructions:
- Prepare the Wood:
- Straighten the Edges: Use hand planes to straighten the edges of both wood boards.
- Remove Bark: Use a draw knife to carefully remove the bark from the middle piece of wood. This will create a natural, rustic look.
- Flatten the Surfaces: Use a planer to flatten both wood boards to ensure a smooth surface for the epoxy.
- Create the Mold:
- Tape the Mold: Tape the two wood boards together, leaving a gap between them to form the river. Ensure the tape is securely fastened to create a watertight seal.
- Pour the Epoxy:
- Mix the Epoxy: Carefully mix the epoxy resin and hardener according to the manufacturer’s instructions.
- Pour the Epoxy: Slowly pour the mixed epoxy into the gap between the two wood boards.
- Level the Epoxy: Use a tool, such as a toothpick, to level the epoxy and remove any air bubbles.
- Curing Process:
- Let it Cure: Allow the epoxy to cure completely as per the manufacturer’s instructions. This process can take several days.
- Finishing Touches:
- Sanding: Once the epoxy is fully cured, sand the entire piece, including the epoxy river, using progressively finer grits of sandpaper to achieve a smooth finish.
- Clear Coating: Apply several coats of clear coat to protect the wood and epoxy, allowing adequate drying time between coats.
- Drilling Holes for Hooks:
- Mark the Holes: Mark the locations for the wine bottle hooks on the back of the wine rack.
- Drill the Holes: Drill pilot holes and then larger holes to accommodate the screws for the hooks.
- Attaching the Z-Bracket:
- Mark the Bracket: Mark the location for the Z-bracket on the back of the wine rack.
- Attach the Bracket: Screw the Z-bracket to the back of the wine rack.
- Installing the Hooks:
- Screw the Hooks: Screw the wine bottle hooks into the drilled holes.
Your Rustic, Modern Wine Rack is Complete!
Tips:
- For a more dramatic look, consider tinting the epoxy with a colorant.
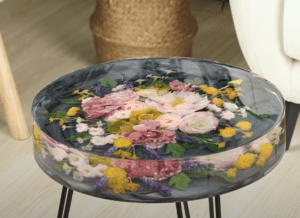
- To add a unique touch, incorporate natural elements like dried flowers or leaves into the epoxy.
- Experiment with different wood types and epoxy colors to create a personalized piece.
By following these steps and incorporating your own creative flair, you can create a stunning, functional, and one-of-a-kind epoxy river wine rack.

