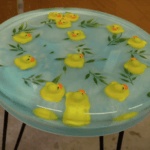
DIY Floral Arrangement Epoxy Resin Chair
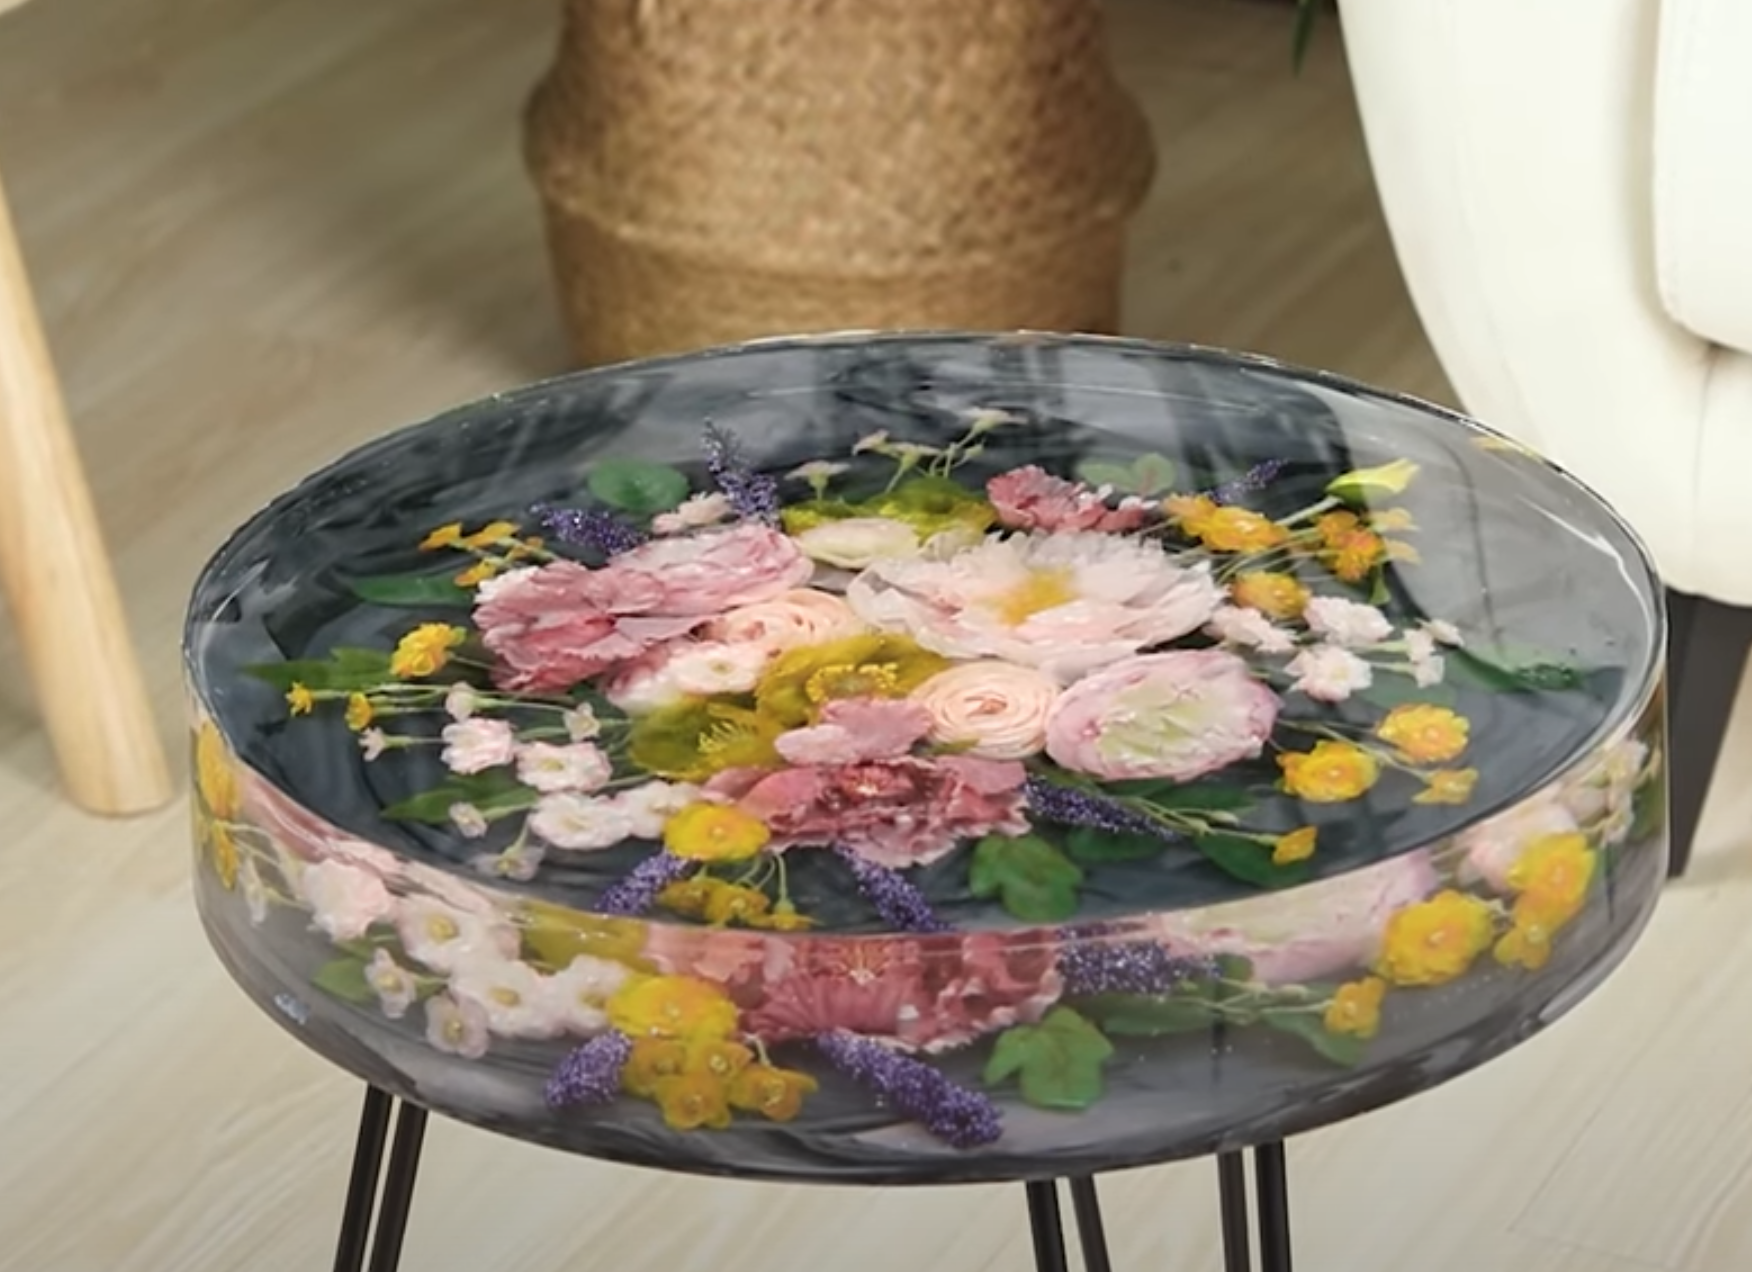
Creating a unique and beautiful floral arrangement epoxy resin chair is a rewarding craft project that combines the beauty of real flowers with the durability and artistry of resin. This step-by-step guide will walk you through the process of mixing resin, adding vibrant dyes, and layering the material to create a stunning, custom-designed piece of furniture.
Materials Needed:
- 8 oz resin (mixed in a 1:1 ratio)
- Electric mixer
- 3 silicone mixing cups
- White resin dye
- Black resin dye
- Red resin dye
- Orange resin dye
- Dark grey resin dye
- Silicone circle mold (or your preferred mold size)
- Dried flowers (cut to fit)
- Clear resin (for layering)
- Mixing tools (spatula, stir sticks)
- A chair or a mold for your base (if you’re creating a new seat or embellishing an existing one)
Instructions:
Step 1: Prepare Your Resin
- Mix Resin: Begin by measuring out 8 oz of resin. It’s important to mix the resin and hardener in a 1:1 ratio by volume. Use an electric mixer to blend the resin thoroughly, ensuring that there are no bubbles and it’s fully combined.
- Divide and Dye: Once mixed, divide the resin into three equal portions and pour each into separate silicone cups.
- Add white resin dye to all three cups and stir well to create a light, neutral base.
- To the first cup, add orange resin dye to create a warm, soft orange hue.
- To the second cup, add red resin dye for a rich, bold red.
- To the third cup, add black resin dye for a dark, dramatic tone.
Step 2: Create the Base Layer
- Pour the First Layer: Start by pouring the dark grey resin into your silicone mold (or directly onto the surface of the chair if you’re embedding the design into an existing piece). Ensure that the bottom of the mold or seat is completely covered with this first layer of resin.
- Add Greyish Pink Accents: After pouring the dark grey base, take the greyish pink resin and use it to create subtle lines or patterns over the dark grey layer. These soft pink accents will give your design depth and an artistic flow. Allow this layer to cure completely, which may take up to 24 hours depending on the thickness.
Step 3: Floral Design and Embedding
- Add Dark Orange Lines: Once the first layer has cured, take the dark orange resin and create lines or patterns over the cured greyish pink layer. You can experiment with organic shapes or geometric designs to add further visual interest.
- Prepare Your Flowers: While the resin is curing, cut your dried flowers to size. Choose blooms that suit the colors of your resin, and remove the stems so that the flowers can lay flat within the mold or the surface of the chair.
- Arrange the Flowers: Once your orange layer has cured, carefully arrange the cut flowers in the mold or on the surface of the chair. Make sure they are positioned how you want them before proceeding to the next layer.
Step 4: Pour the Clear Resin Layer
- Clear Resin Layer: Mix and pour a fresh batch of clear resin over the flowers to fully encapsulate them. This will help preserve the flowers and create a smooth, shiny finish. Ensure that the flowers are completely covered and that the resin is spread evenly over the surface.
- Let It Cure: Allow the clear resin layer to cure for at least 8 hours, though 24 hours is preferable for a stronger, more durable finish.
Step 5: Build Up Layers
- Multiple Layers: Over the next 2 days, continue to pour thin layers of clear resin, waiting for 8-24 hours between each pour. This gradual layering helps to prevent air bubbles and ensures that the flowers are securely encased in resin. As you add each layer, check for any imperfections and smooth them out with a heat gun or torch.
- Repetition: Repeat the process until the flowers are fully embedded and the surface is smooth and glossy. Depending on the thickness of the layers, you may need to pour 3-4 layers or more.
Step 6: Finishing Touches
- Remove from Mold: Once the final layer has cured completely (2-3 days), carefully remove your piece from the mold. If you’re working directly on a chair, carefully peel away any masking tape or silicone barriers.
- Install the Chair Legs (if applicable): If your floral resin design is part of a new chair or a custom piece, now is the time to add legs. You can choose from pre-made wooden, metal, or resin legs to give your piece a polished, functional look.
- Polish the Surface: If there are any rough spots or imperfections along the edges, gently sand them down. You can also apply a resin polishing compound to achieve a high-gloss finish.
Final Thoughts:
Creating a floral arrangement epoxy resin chair is an exciting project that combines artistry, creativity, and craftsmanship. By layering colored resins and embedding real flowers, you can design a truly unique and eye-catching piece of furniture. Whether you’re making a decorative accent chair, a resin seat, or simply adding a touch of nature to your furniture, this project will give you a beautiful, durable piece that reflects your personal style.
The key to success is patience—allow each layer to cure fully before adding the next. But once completed, you’ll have a one-of-a-kind resin chair that combines the timeless beauty of flowers with the elegance of resin art!

