DIY Splatter Epoxy Coasters with Silicone Molds
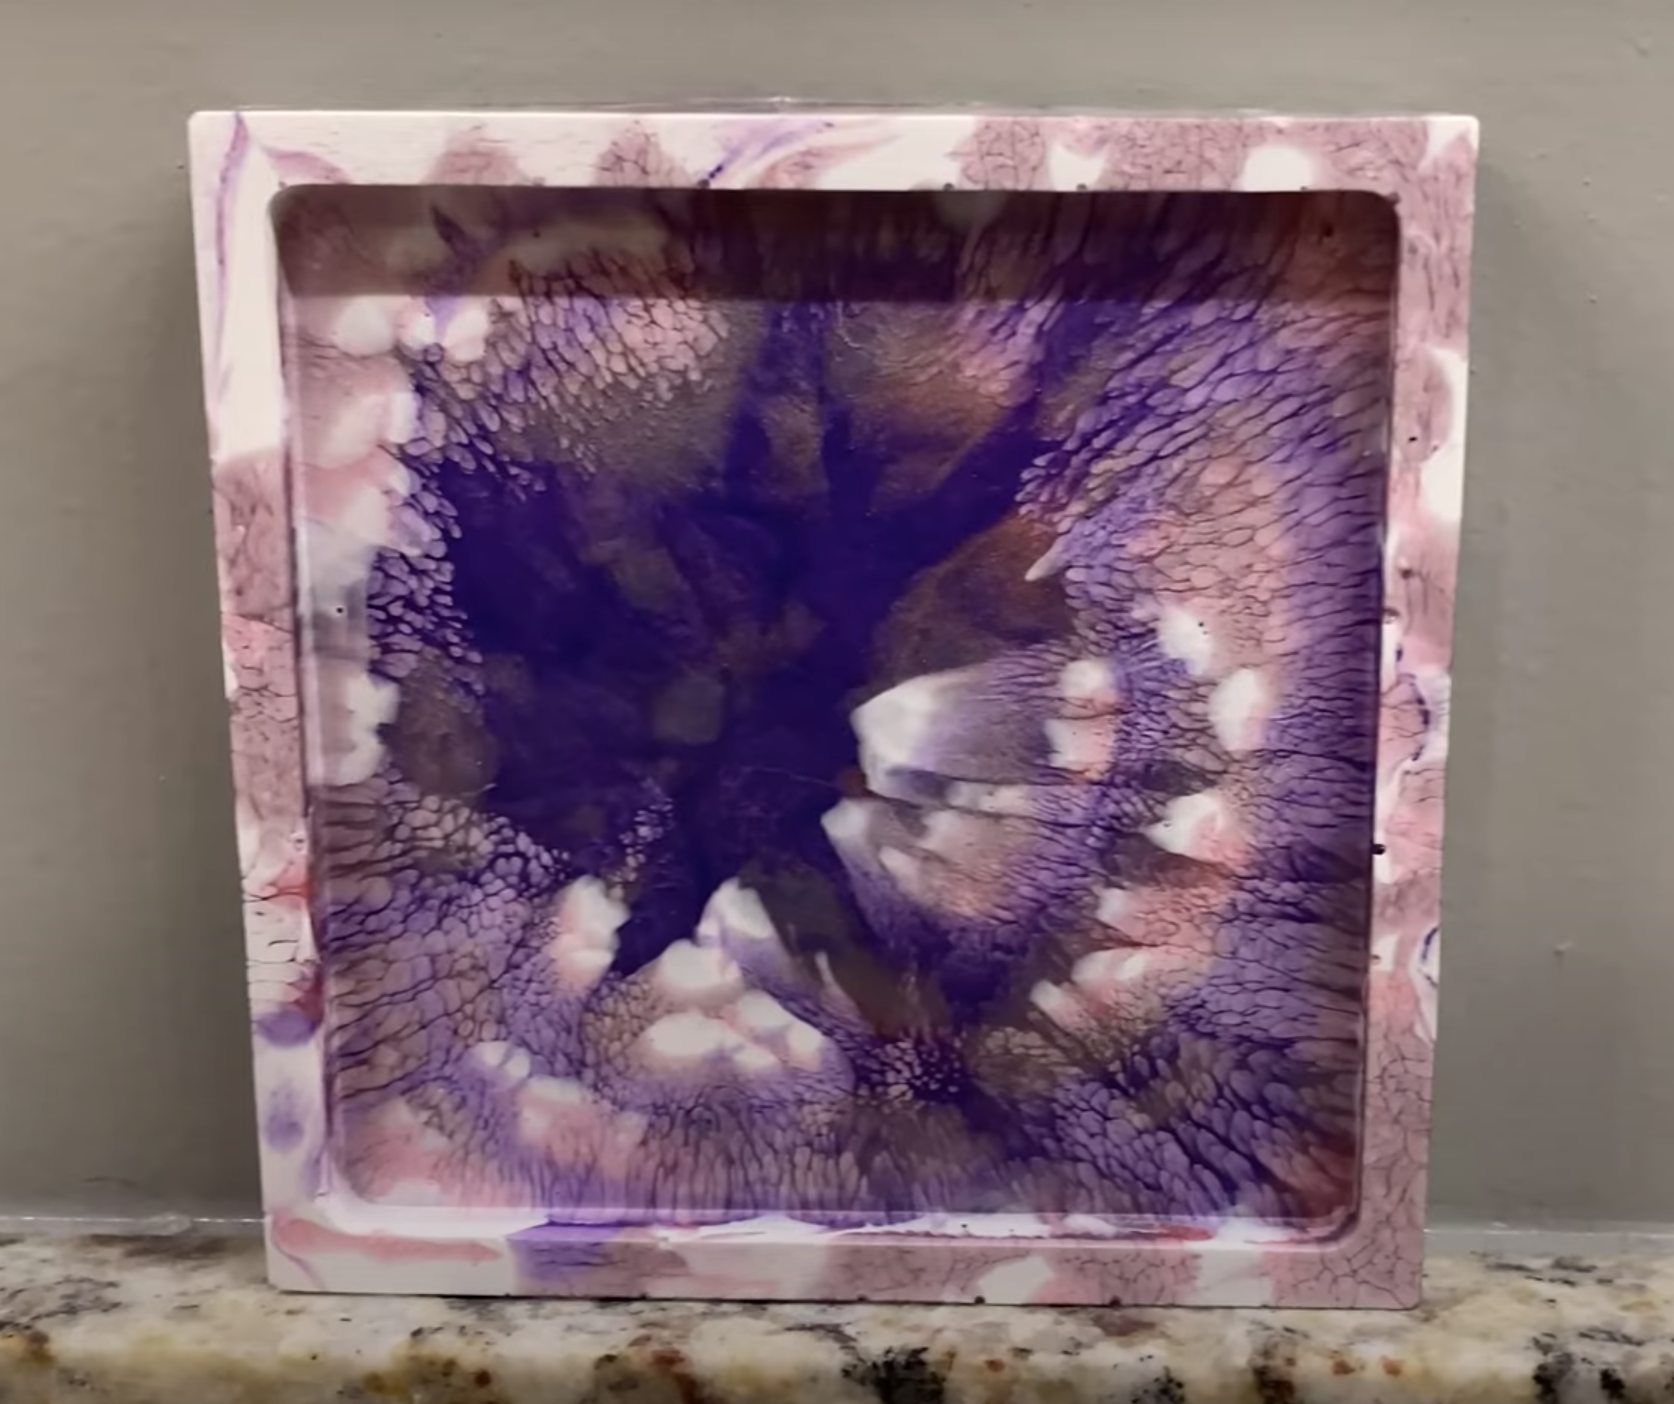
If you’re looking to create something truly unique for your home, splatter-painted epoxy coasters are a great DIY project. This technique combines the sleek, glossy finish of clear epoxy with vibrant, splattered colors that resemble an abstract art piece. Using silicone coaster molds, you can layer different colors—like gold, purple, red, blue, and even white—into an eye-catching, splatter-inspired design. Here’s how you can make your own stunning epoxy coasters with a beautiful, artistic splatter effect.
Materials You’ll Need:
- Silicone coaster molds (any shape you like)
- Epoxy resin (clear)
- Pigment powders (e.g., dark gold, purple, red, blue, white)
- Stir sticks
- Measuring cups
- Gloves
- Plastic sheeting or newspaper for your workspace
- Heat gun or torch (optional, to pop bubbles)
Step-by-Step Instructions:
1. Set Up Your Workspace Before you begin, protect your workspace with plastic sheeting or newspaper. Epoxy resin can be messy, so it’s important to create a clean surface that’s easy to clean up. Make sure you’re in a well-ventilated area, and wear gloves to keep your hands safe.
2. Mix Your Clear Epoxy Start by mixing the clear epoxy resin. Follow the manufacturer’s instructions for the correct ratio of resin to hardener—typically a 1:1 mix. Stir thoroughly for about 3-5 minutes to ensure there are no streaks or air bubbles in the resin.
3. Add Dark Gold Pigment Pour a small amount of your clear epoxy into a separate cup, and add dark gold pigment powder. Stir until the gold pigment is completely dissolved and the resin turns into a rich, metallic gold. This will be one of the main colors used in your splatter effect.
4. Prepare Additional Colors Next, prepare your other colors. Mix separate batches of clear epoxy in different cups and add your desired pigments. You can go bold with purple, red, and blue, or create a more subtle contrast with white. Stir each color mixture well to make sure the pigments are evenly distributed.
5. Pour the First Layer of Clear Epoxy Once your colored epoxy mixtures are ready, pour a thin layer of clear epoxy resin into the bottom of your silicone coaster mold. This base layer will act as the foundation for your splatter design. Use a stir stick to spread it evenly or leave it a little uneven for a more organic look.
6. Start the Splatter Effect with Gold Now the fun part begins! Take your gold-colored epoxy and, using a stir stick or spoon, drizzle it over the clear base layer in a random, splattered pattern. Don’t worry about being too precise—let the gold flow freely across the mold. You can create bigger splatters or thin lines depending on your preferred style.
7. Add the Other Colors Once you’re happy with the gold layer, it’s time to add the other colors. Drizzle the purple, red, and blue epoxy over the gold layer, letting the colors blend and interact. Layer the colors on top of each other to create a dynamic, splattered effect. Allow the colors to spill and spread across the resin, giving your coasters a wild, abstract look.
8. Add White Epoxy for Highlights (Optional) For a lighter contrast, drizzle white epoxy onto the colored splatters. The white can help soften the boldness of the other colors and add a bright, airy effect to the overall design. You can also use white as a “background” to make the darker colors pop.
9. Pour a Final Clear Epoxy Layer Once you’re satisfied with the splatter design, pour a final layer of clear epoxy over the entire mold. This layer will help seal the colors in place, giving your coasters a smooth, glossy finish. Spread the clear epoxy evenly over the top with a stir stick, ensuring the colors are completely covered.
10. Let the Epoxy Cure Now it’s time to let the epoxy cure. Allow your coasters to sit undisturbed for 24-48 hours, depending on the resin’s curing time. Make sure they’re in a dust-free area as the resin sets. If you notice any bubbles in the resin, use a heat gun or torch briefly to pop them.
11. Remove the Coasters from the Molds After the epoxy has fully cured, carefully remove your coasters from the silicone molds. The result will be a glossy, splattered design with a sleek, professional look. The colors will have blended in unique ways, creating one-of-a-kind, abstract art pieces.
Final Touches
If needed, lightly sand the edges of the coasters to smooth them out or add felt pads to the bottom to protect your furniture. These custom coasters are not only functional, but they also serve as mini works of art, adding a personal touch and splash of color to any room.
Conclusion
With this simple technique, you can transform plain silicone molds into stunning, splatter-painted epoxy coasters. The beauty of this project is that it allows for endless creativity—mixing colors, adding metallic pigments like gold, and experimenting with layering and textures. Whether you prefer bold, contrasting colors or a softer, more subtle effect, the splatter technique will ensure your coasters are unique and eye-catching. So gather your materials and get ready to create a set of beautiful, custom coasters that will brighten up any space!

