Hot Lava Clock With Epoxy And Burnt Wood
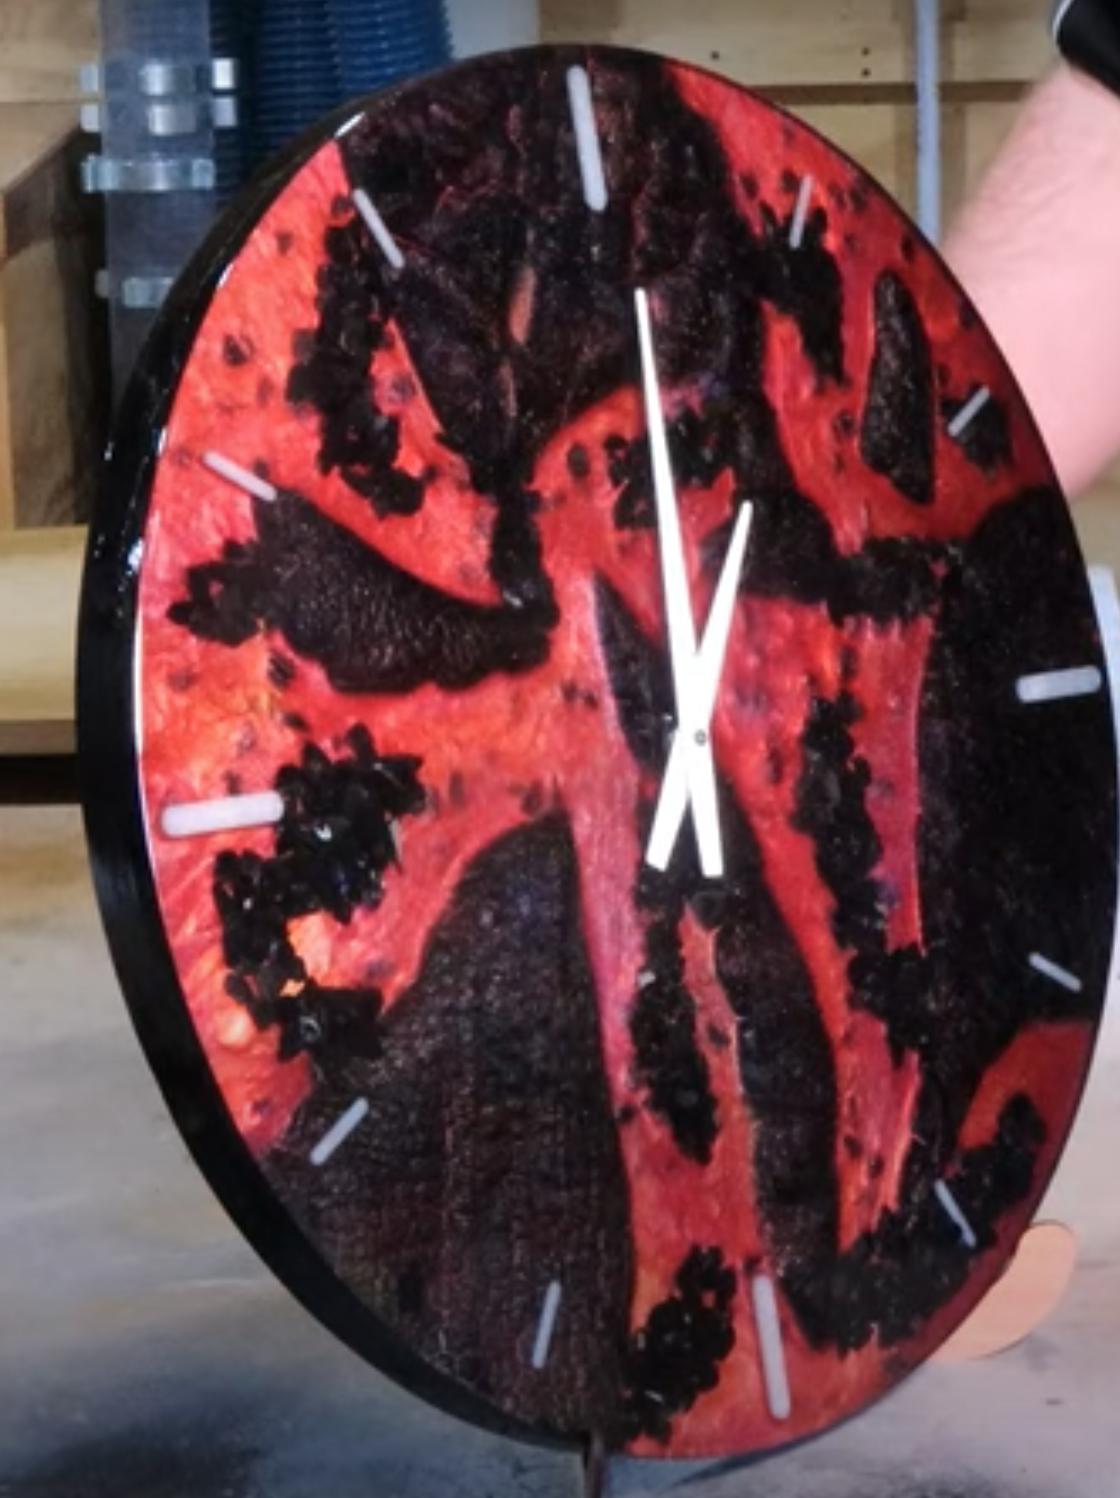
Ever wondered how to turn a piece of charred wood into a stunning timepiece? Join us as we explore the art of epoxy resin and create a one-of-a-kind lava clock.Ready to embark on a unique DIY project that combines art and function? Join us as we delve into the world of epoxy resin and charred wood to create a stunning lava clock. This mesmerizing timepiece, with its swirling layers of colored epoxy and natural wood accents, is not just a functional clock but a captivating piece of art. In this guide, we’ll explore the step-by-step process, from preparing the wood to pouring the epoxy, to ensure you can create your own personalized lava clock.
Materials:
- Wood (preferably hardwood)
- Fire pit or other heat source for charring
- Wood sealant
- Epoxy resin
- Red pigment
- Glitter
- Washed gravel
- Clear epoxy resin
- Drill
- Sandpaper
- Black paint
- Clear coat
- Clock hands
- Clock movement
- Clock mounting hardware
Tools:
- Safety gloves
- Safety goggles
- Mixing cups and sticks
- Measuring cups
- Heat gun (optional)
Step-by-Step Instructions:
Preparing the Wood:
- Charring the Wood:
- Build a fire in your fire pit.
- Place the wood directly into the flames, rotating it to ensure even charring.
- Remove the wood when it reaches your desired level of charring.
- Sealing the Wood:
- Once the wood has cooled, apply a wood sealant to protect the charred surface and prevent it from reacting with the epoxy.
- Cutting the Wood:
- Cut the charred wood into thin, uniform slices. These will be the layers in your lava clock.
Creating the Mold:
- Forming the Circle:
- Use a circular piece of wood or another circular object to trace a circle onto a flat surface.
- Cut out the circle using a jigsaw or a handsaw.
- Preparing the Mold:
- Place the circular piece of wood into a mold or a container that is slightly larger.
- Seal the edges of the mold with tape to prevent epoxy from leaking out.
Pouring the Epoxy Layers:
- First Layer:
- Mix a batch of red epoxy, adding glitter for a sparkling effect.
- Pour the epoxy into the mold, ensuring it covers the bottom evenly.
- Adding the Charred Wood:
- Carefully place the charred wood slices onto the epoxy layer, arranging them in a visually appealing pattern.
- Second Layer:
- Mix another batch of red epoxy with glitter.
- Pour this layer over the wood slices, ensuring they are completely covered.
- Adding the Gravel:
- Mix a batch of clear epoxy.
- Add washed gravel to the epoxy and mix thoroughly.
- Pour this mixture over the second layer.
- Creating Swirls:
- Use a toothpick or a similar tool to create swirls and patterns in the epoxy.
Curing and Finishing:
- Curing:
- Allow the epoxy to cure completely, following the manufacturer’s instructions.
- To speed up the curing process, you can use a heat gun, but be careful not to overheat the epoxy.
- Drilling Holes:
- Once the epoxy is fully cured, drill holes for the clock hands and movement.
- Sanding and Painting:
- Sand the edges of the clock to smooth them out.
- Paint the outer edge of the clock with black paint.
- Apply a clear coat to protect the paint and the epoxy.
- Adding the Clock Mechanism:
- Insert the clock movement and hands into the drilled holes.
- Secure the movement and hands in place.
- Mounting the Clock:
- Attach the mounting hardware to the back of the clock.
- Hang the clock on a wall or place it on a stand.
Your unique lava clock is now complete! Enjoy the mesmerizing visual effect of the swirling epoxy and charred wood.

