Twinkling Tree Treasures: DIY Epoxy Resin Christmas Earrings
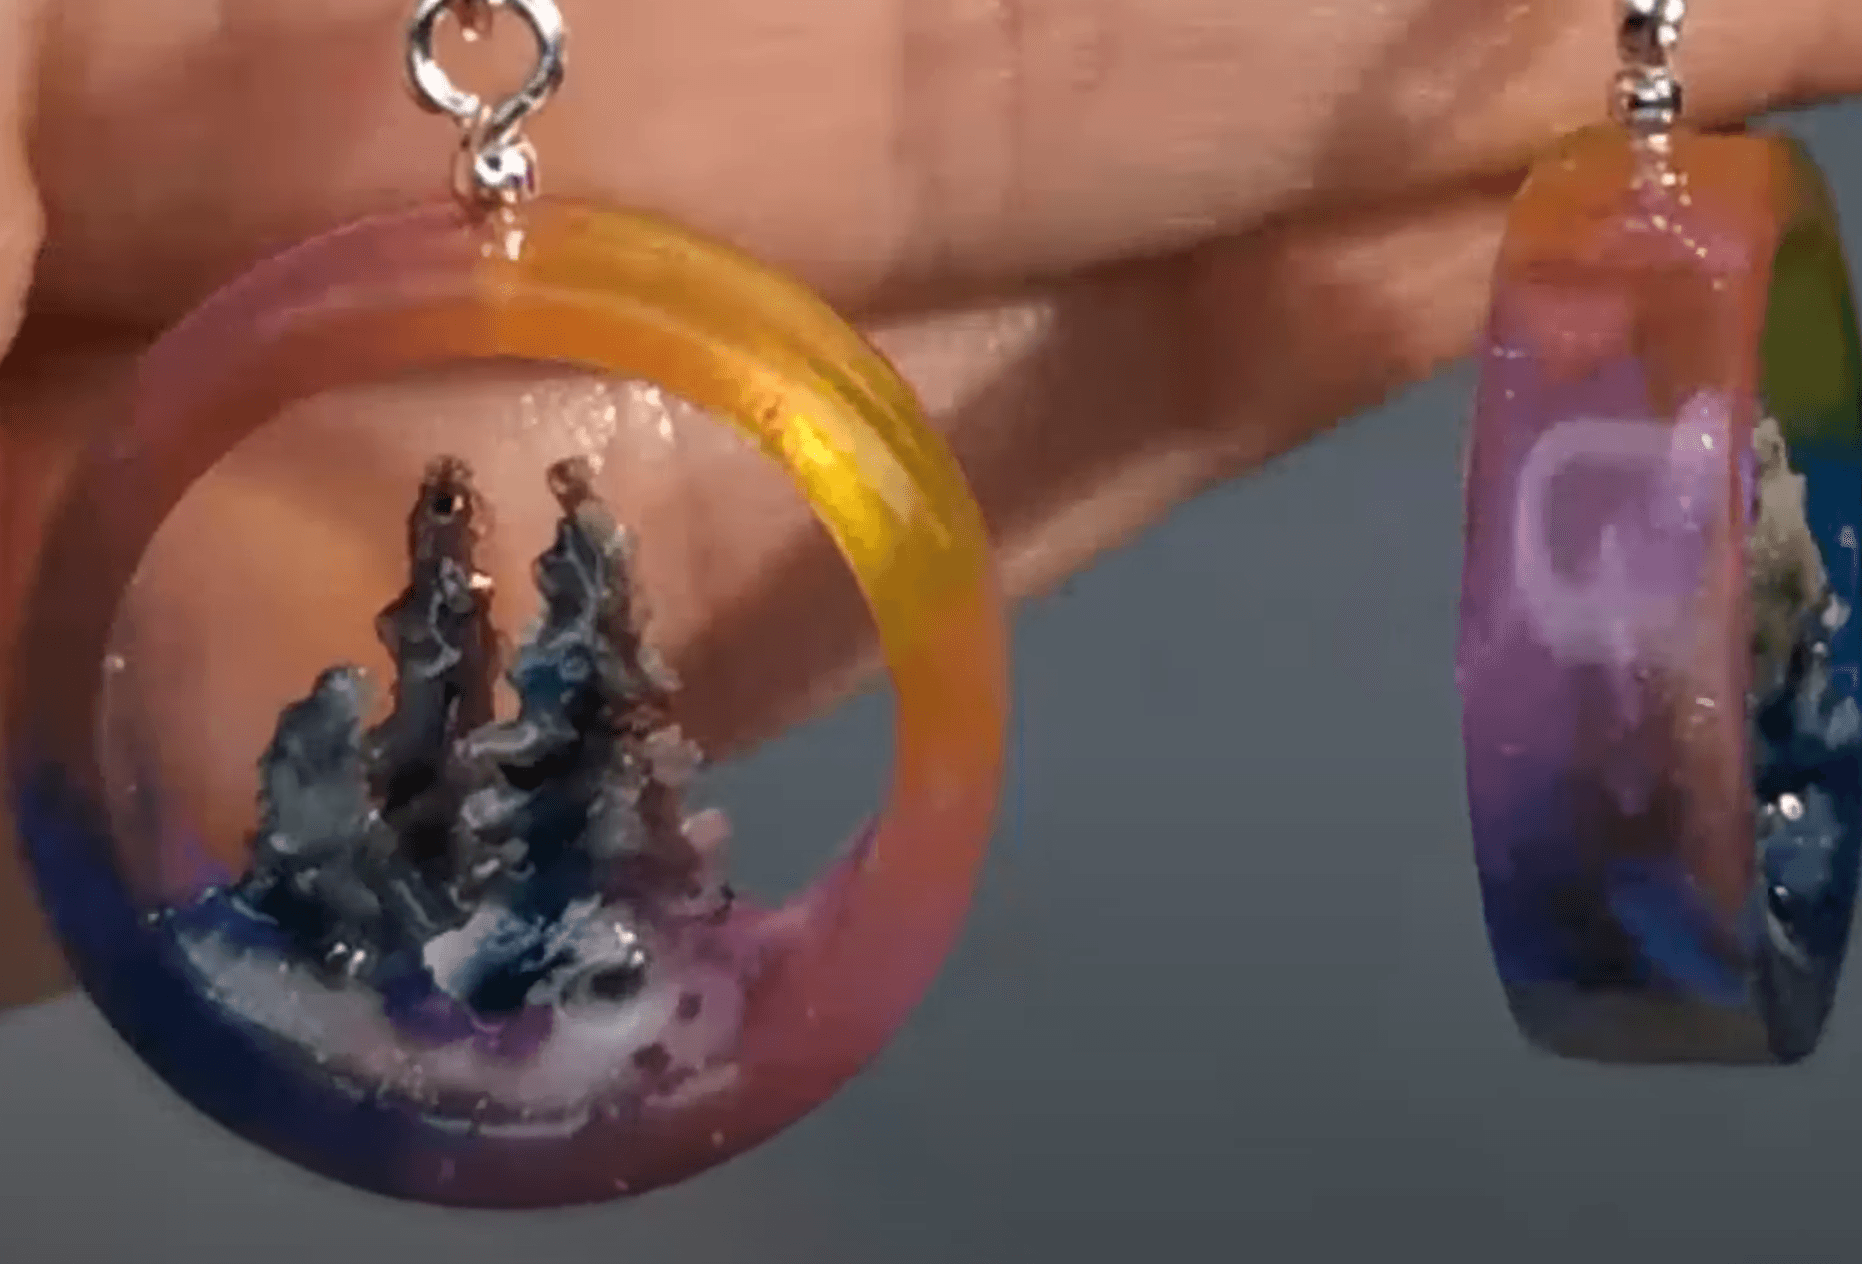
This holiday season, elevate your style with these enchanting DIY Christmas tree earrings. By combining vibrant colors and intricate details, you can create unique and eye-catching accessories. This step-by-step guide will walk you through the process of crafting these magical pieces, from mixing the epoxy resin to adding the final touches. Let’s dive into this festive DIY project!
Materials:
- Epoxy resin
- Silicone ring molds
- Liquid food coloring (yellow, blue, violet)
- Waterproof abrasive paper
- Non-stick paper
- Small paintbrushes
- UV lamp
- Clear coat
- Small drill
- Earring loops
- Toothpicks
Instructions:
- Prepare Your Workspace:
- Cover your workspace with non-stick paper to protect it from spills.
- Put on gloves to protect your hands.
- Mix the Epoxy:
- Divide the epoxy resin into three separate cups.
- Add a few drops of liquid food coloring to each cup: yellow to one, blue to another, and violet to the third.
- Mix the colors thoroughly into the epoxy using a toothpick.
- Create the Base:
- Fill the silicone ring molds about halfway with two colors of epoxy, creating an overlapping effect.
- Add the third color to the center, using a paintbrush to blend the colors slightly.
- Cure the resin under the UV lamp for the recommended time.
- Polish the Base:
- Once cured, remove the rings from the molds.
- Use waterproof abrasive paper to gently polish the edges and surface of the rings.
- Create the Trees:
- On a non-stick surface, create small drops of colored epoxy using a tiny paintbrush.
- Layer the drops, allowing each layer to cure under the UV light before adding the next.
- Experiment with different colors and shapes to create unique tree designs.
- Assemble the Earrings:
- Place the cured tree designs inside the epoxy rings, securing them with a small amount of additional epoxy.
- Cure the rings again under the UV light.
- Apply a clear coat to the finished earrings and cure once more.
- Add the Hardware:
- Drill a small hole through the top of each earring.
- Attach an earring loop to each hole using a small jump ring.
Tips:
- Work in a well-ventilated area.
- Wear gloves to protect your hands.
- Cure times may vary depending on the strength of your UV light and the thickness of the resin.
- Experiment with different color combinations and tree designs.
- For added sparkle, consider adding glitter or metallic pigments to the epoxy.
- Be patient and take your time to create intricate and beautiful earrings.
With a little practice and creativity, you can create stunning, personalized Christmas tree earrings that will impress your friends and family. Happy crafting!

