Aquarium Epoxy Resin Water Guitar Tutorial
Strumming a New Tune: Crafting a Resin Guitar Aquarium
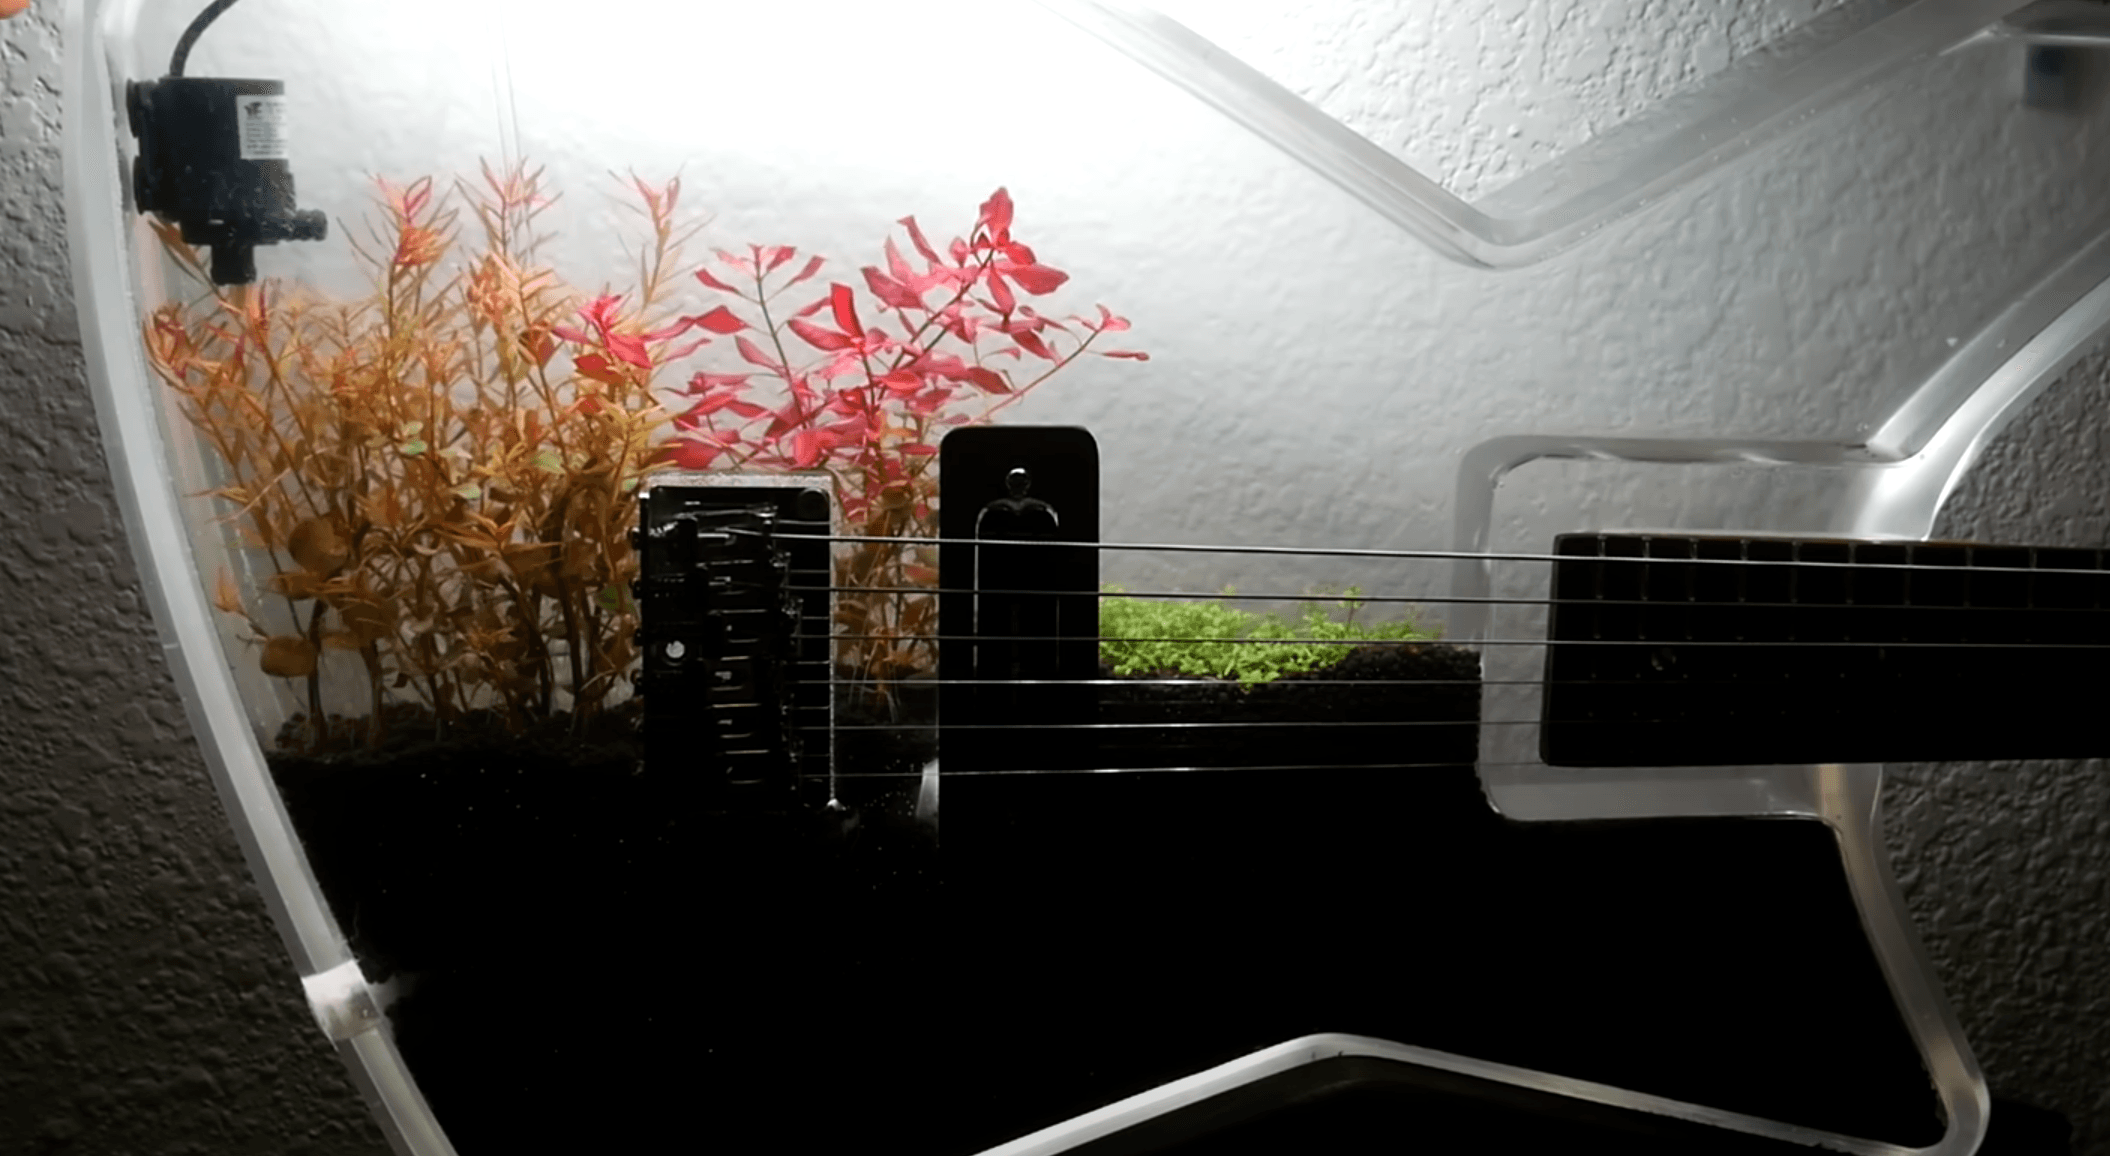
Are you ready to rock the world of aquariums? Prepare to strum your way into a symphony of creativity as we embark on the electrifying journey of crafting a resin guitar aquarium. This isn’t just any ordinary fish tank; it’s a masterpiece that marries the soul of a musical instrument with the vibrant life of an aquatic ecosystem.
Materials:
- Pink insulation foam (the foundation of our rock ‘n’ roll masterpiece)
- Crystal-clear epoxy resin (to capture the essence of musical notes)
- Acrylic paint (for adding a splash of color to our aquatic stage)
- Silicone sealant (to keep our aquatic world watertight)
- Foil tape (our trusty sidekick for a leak-proof performance)
- Clear coat (to protect our masterpiece from the elements)
- Aquarium sealant (to ensure our aquatic friends stay safe and sound)
- Colored water or aquarium plants (to add a touch of nature to our stage)
- LED lights (to illuminate our underwater wonderland)
Tools:
- A sharp knife or saw (to carve our guitar shape)
- Sandpaper (to smooth out any rough edges)
- Clamps (to hold our pieces together while the resin cures)
- A drill (to create any necessary holes)
Step-by-Step Guide:
- Carving the Guitar Shape:
- Grab your pink insulation foam and let your inner sculptor run wild. Carve out two identical guitar shapes, ensuring they’re mirror images of each other. These will form the mold for your aquarium.
- Creating the Mold:
- Carefully glue the two guitar shapes together, creating a hollow cavity in the shape of a guitar. This cavity will be the home for your aquatic wonderland.
- Preparing the Mold:
- Seal the inside of the mold with silicone sealant to prevent any leaks. This will ensure that your aquarium remains watertight and your aquatic friends stay safe and sound.
- Pouring the Resin:
- Mix your epoxy resin according to the instructions on the package. Slowly pour the resin into the mold, making sure to cover the entire surface.
- Adding Color:
- If you want to add some color to your aquarium, now is the time to do it. You can add a few drops of acrylic paint to the resin before pouring it into the mold.
- Curing the Resin:
- Allow the resin to cure completely, following the manufacturer’s instructions. This may take several hours or even days, depending on the type of resin you’re using.
- Removing the Mold:
- Once the resin has cured, carefully remove the mold. You should now have a beautiful guitar-shaped aquarium.
- Adding the Finishing Touches:
- Seal the edges of the aquarium with aquarium sealant to prevent any leaks.
- Fill the aquarium with water and add your favorite aquatic plants and fish.
- Add some LED lights to illuminate your underwater wonderland.
Tips:
- If you’re new to working with resin, it’s a good idea to practice on a smaller project first.
- Be sure to wear gloves and a mask when working with resin.
- Work in a well-ventilated area.
- If you’re adding paint to the resin, be sure to mix it thoroughly.
- Allow the resin to cure completely before adding water to the aquarium.
Unique and Juicy Ideas:
- Use different colors of resin to create a rainbow effect.
- Add glitter or other decorative materials to the resin.
- Use a UV-sensitive resin and add UV-reactive pigments for a glow-in-the-dark effect.
- Create a custom background for your aquarium using paint or vinyl.
- Add a small waterfall or fountain to your aquarium.
With a little creativity, you can create a truly unique and stunning resin guitar aquarium. So what are you waiting for? Get started on your next DIY project today!


