Crafting a Plywood Chair with Epoxy: A Step-by-Step Guide
Creating your own plywood chair can be a rewarding DIY project that combines creativity, craftsmanship, and functionality. This guide will walk you through the process of making a stylish chair using plywood, an angle grinder, and epoxy resin. Whether you’re a seasoned woodworker or a beginner, this project is manageable and allows for plenty of personalization.
Materials Needed
- Plywood: Choose a high-quality sheet (1/2″ or 3/4″ thickness is ideal).
- Angle Grinder: For creating grooves and designs.
- Masking Tape: To protect edges and sections from epoxy.
- Epoxy Resin: A two-part epoxy that cures clear.
- Green Dye: To color the epoxy layer.
- Sandpaper: Various grits (80, 120, 220).
- Wood for Base: Two pieces of wood to form an X.
- Wood Glue: For assembling the base.
- Paintbrush: For applying epoxy.
Step 1: Design and Cut the Plywood
Start by sketching your chair design. Consider shapes and contours that will provide comfort and aesthetic appeal. Once your design is finalized, transfer it onto the plywood. You can use a jigsaw or circular saw to cut out the main shape.
Step 2: Create Grooves and Designs
Using an angle grinder, carve grooves and designs into the surface of the plywood. This adds texture and visual interest. Be creative! You could opt for geometric patterns, waves, or any design that speaks to you. Always wear safety goggles and a mask to protect against dust and debris.
Step 3: Prepare for Epoxy Application
After your designs are in place, clean the surface thoroughly to remove any dust. Use masking tape to cover the edges and any areas where you don’t want epoxy to seep through. Make sure the tape is applied securely to avoid any leaks.
Step 4: Pour the Epoxy Layer
Mix your epoxy resin according to the manufacturer’s instructions. For a quick coat, pour a thin layer over the grooves and designs. Use a brush to gently brush the edges of the taped area to ensure a smooth transition. Allow this first coat to cure as directed.
Step 5: Add Color and Build Thickness
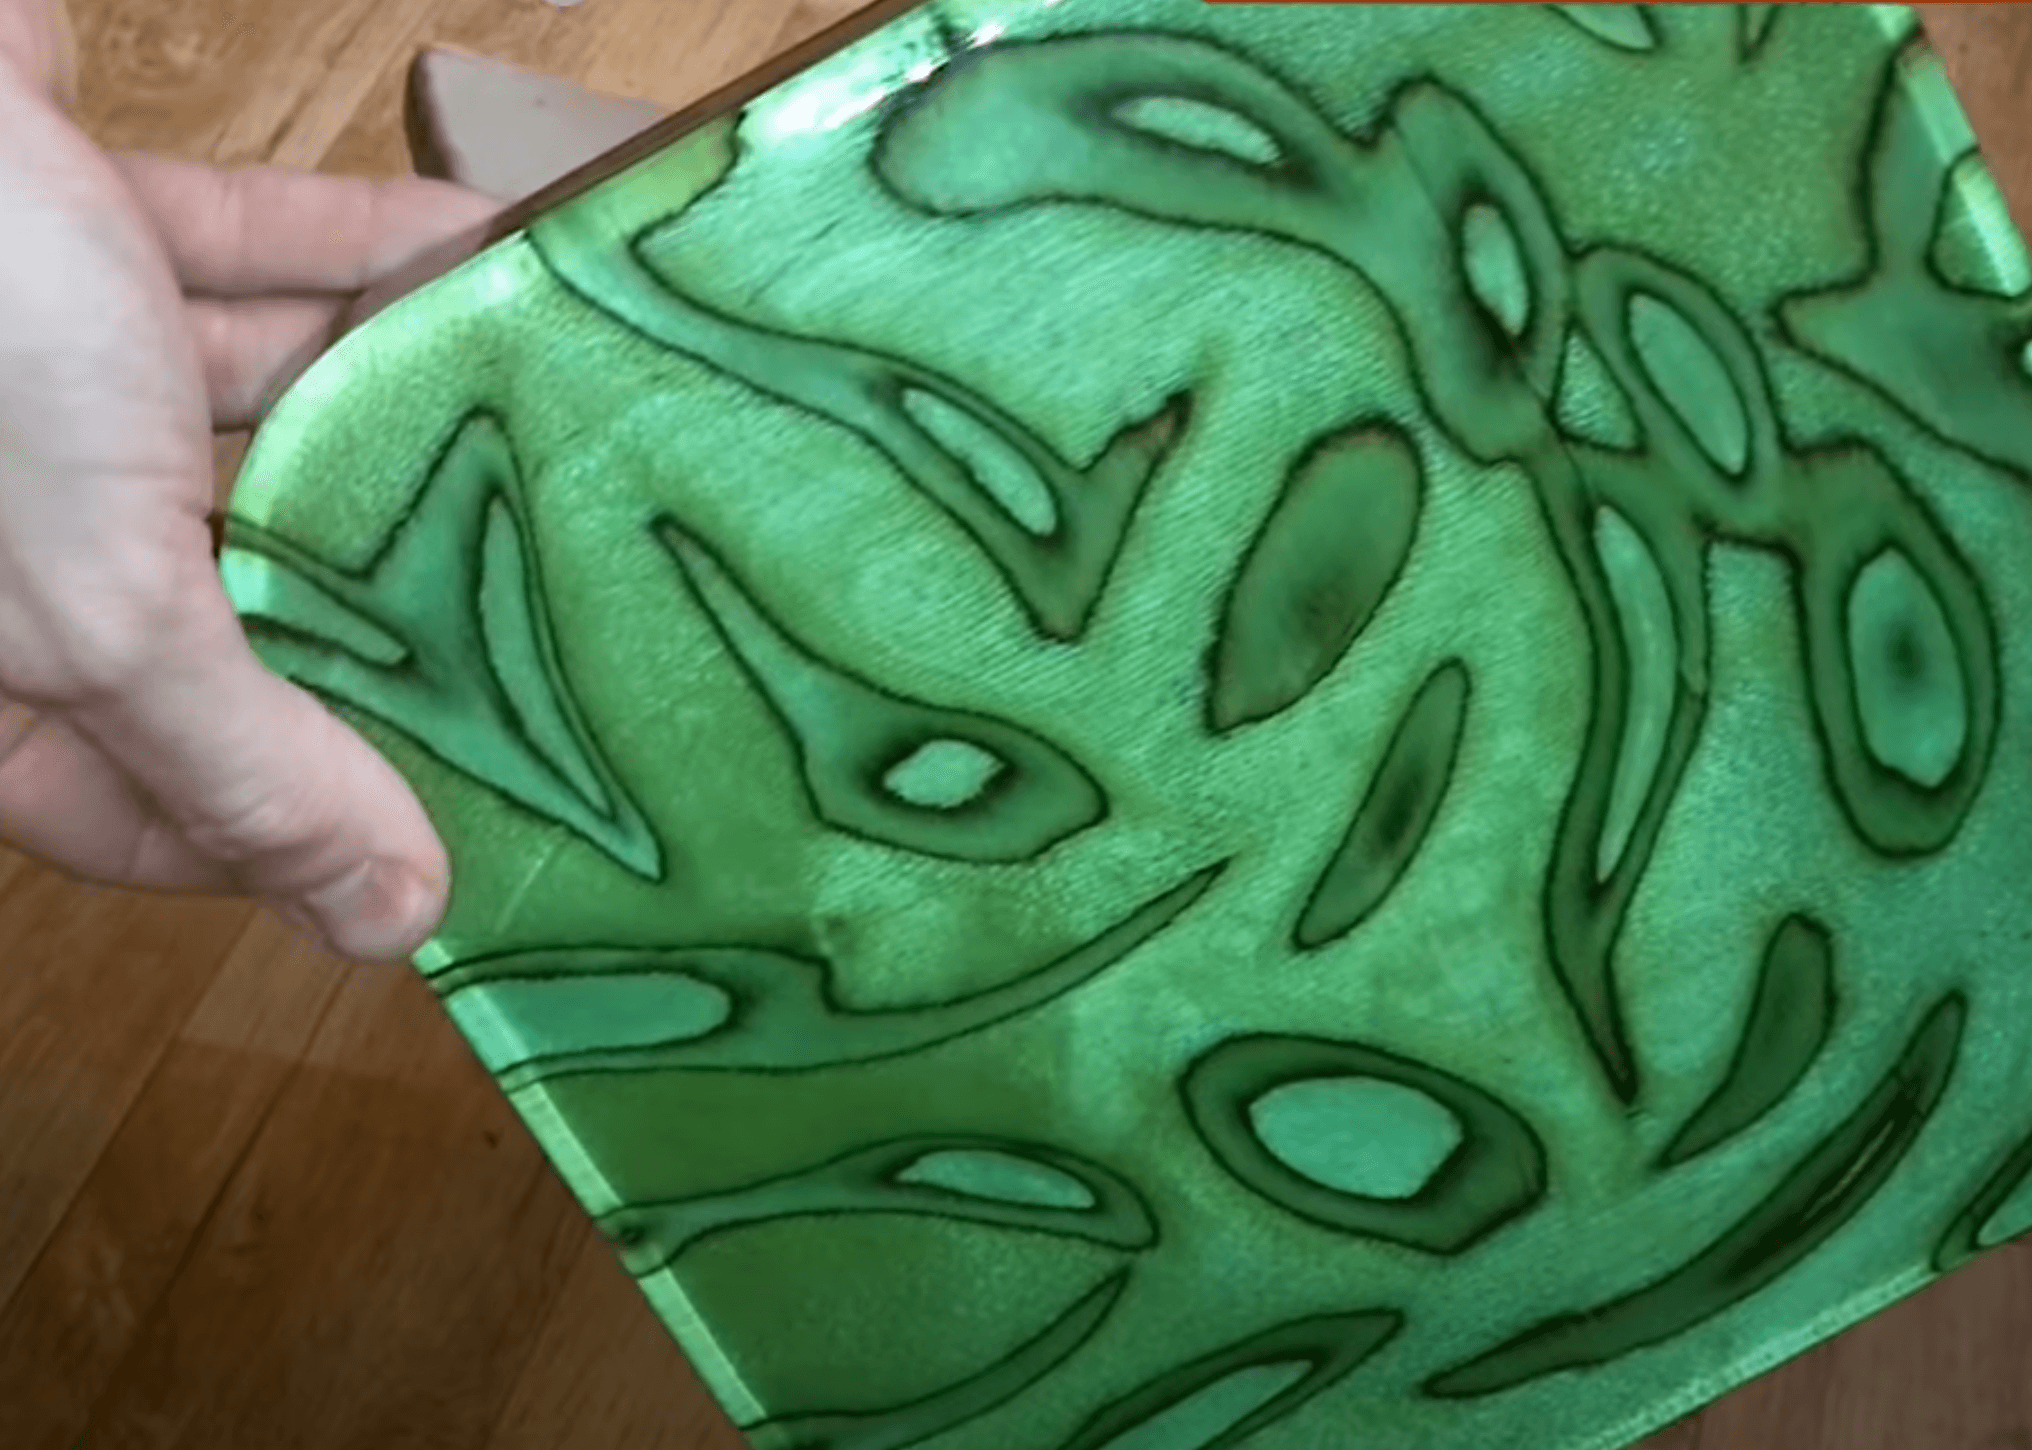
Once the first coat is cured, mix the green dye into the remaining epoxy resin. Pour this colored epoxy over the initial layer until it is approximately 1 inch thick. Ensure the dye is well-blended for an even color. Allow this layer to cure completely.
Step 6: Sand the Surface
Once the epoxy has fully cured, it’s time to sand the surface. Start with coarse sandpaper (80 grit) to smooth out any imperfections, then progress to finer grits (120 and 220) for a polished finish. Be careful not to sand through the epoxy layer.
Step 7: Reapply Epoxy
After sanding, clean the surface again and apply another coat of clear epoxy to enhance the shine and protect the design. Allow this coat to cure as well.
Step 8: Build the Base
While the epoxy is curing, you can construct the base for your chair. Cut two pieces of wood to form an X shape. Ensure they fit snugly together. Use wood glue to secure the joints and allow it to dry completely. You may choose to peg the joints for added stability.
Step 9: Assemble the Chair
Once everything is dry, position your plywood seat on the X-shaped base. Depending on your design, you might need to secure the chair with screws or additional wood glue. Ensure it is stable before use.
Step 10: Final Touches
Inspect your chair for any rough edges or areas that may need additional sanding. You might want to finish with a sealant or wood oil for added protection and aesthetic appeal.
Conclusion
Congratulations! You’ve successfully crafted a unique plywood chair with artistic grooves and a stunning epoxy finish. This project not only enhances your woodworking skills but also adds a personalized piece of furniture to your home. Feel free to experiment with different dyes and designs to make each chair truly your own. Happy crafting!


