Creating a Mica Resin Clock Without Wood
Resin clocks are a beautiful and functional way to add an artistic touch to your home. By combining epoxy resin with mica powders, you can create mesmerizing designs that shimmer with metallic hues and intricate patterns. One of the most exciting ways to make a resin clock is by using a circular silicone mold with pre-made clock indents. In this guide, we’ll show you how to create a stunning resin clock with mica powders, featuring a gorgeous mix of white, gold, silver, and clear epoxy for a sophisticated look.
Materials You’ll Need:
- Circular silicone mold with clock indents
- Epoxy resin (clear, white, gold, and silver)
- Mica powders (gold, silver, and other colors of your choice)
- Clock mechanism kit (with hands, battery, etc.)
- Mixing cups and stirring sticks
- Heat gun or torch (optional, to remove bubbles)
- Protective gloves and workspace
Step 1: Prepare Your Work Area and Materials
Before you start, make sure you’re working in a well-ventilated area, and cover your workspace with plastic or a protective sheet to avoid resin spills. Put on your gloves, as epoxy resin can be a bit messy to handle.
Next, gather all the materials you’ll need, including the silicone mold with clock indents, epoxy resin, and mica powders. Set up your mixing cups and stirring sticks for each color of epoxy you plan to use.
Step 2: Mix the Epoxy Resin
Follow the manufacturer’s instructions for your epoxy resin and mix it thoroughly. You’ll need to divide the resin into four separate portions, one for each color.
- White Epoxy: This will be the base color, providing a stunning contrast with the metallic mica powders.
- Gold Epoxy: This color will bring warmth and luxury to the clock design.
- Silver Epoxy: The silver will add a touch of modern sophistication and depth to the overall design.
- Clear Epoxy: To keep things smooth and clear in some areas, you’ll need a small amount of clear epoxy.
Add mica powder to each portion of resin. For the gold epoxy, mix in your gold mica powder, and for the silver epoxy, mix in your silver mica powder. The white epoxy should be left uncolored, and the clear resin should remain transparent.
Step 3: Begin Pouring the White Epoxy
Take the white epoxy and, starting from the center of the silicone mold, begin pouring it slowly. The goal is to create a fluid, abstract design, almost like a marble effect, so don’t worry about being too precise. Allow the epoxy to naturally flow and spread, covering the middle area of the mold.
As you pour, try to avoid creating perfect shapes. Instead, let the white epoxy flow organically, mimicking the look of swirling clouds or fluid waves. This freeform movement will be the focal point of your clock design, so take your time to get it just right.
Step 4: Add the Silver Epoxy Around the White
Once the white epoxy is poured, take the silver epoxy and start adding it around the edges of the white epoxy. You can pour it directly or use a stirring stick to carefully guide the silver epoxy around the white. This will create a beautiful border, adding contrast and depth to the design.
You can experiment with spreading the silver in a fluid manner to get an artistic effect, but don’t worry about being overly neat—imperfections will enhance the organic look of the resin.
Step 5: Add the Gold Epoxy for Depth and Luxury
Next, take the gold epoxy and pour it into the remaining empty spaces, particularly around the outer edges of the clock. The gold will contrast beautifully with both the white and silver epoxy, creating a sophisticated and eye-catching look.
You can either pour the gold epoxy in random areas to create a dynamic effect or concentrate it around the perimeter for a more structured, elegant design. The gold will add a touch of opulence and warmth to the clock, making it stand out even more.
Step 6: Allow the Epoxy to Cure
Once all the epoxy colors are poured into the mold, it’s time to let the resin cure. Follow the manufacturer’s curing time, usually 24-48 hours, depending on the resin you’re using.
As the resin cures, it will harden into a shiny, smooth surface. During this process, you can use a heat gun or a torch to remove any bubbles that may have formed on the surface. Just be careful not to overheat the resin, as it may affect the design.
Step 7: Remove the Resin from the Mold
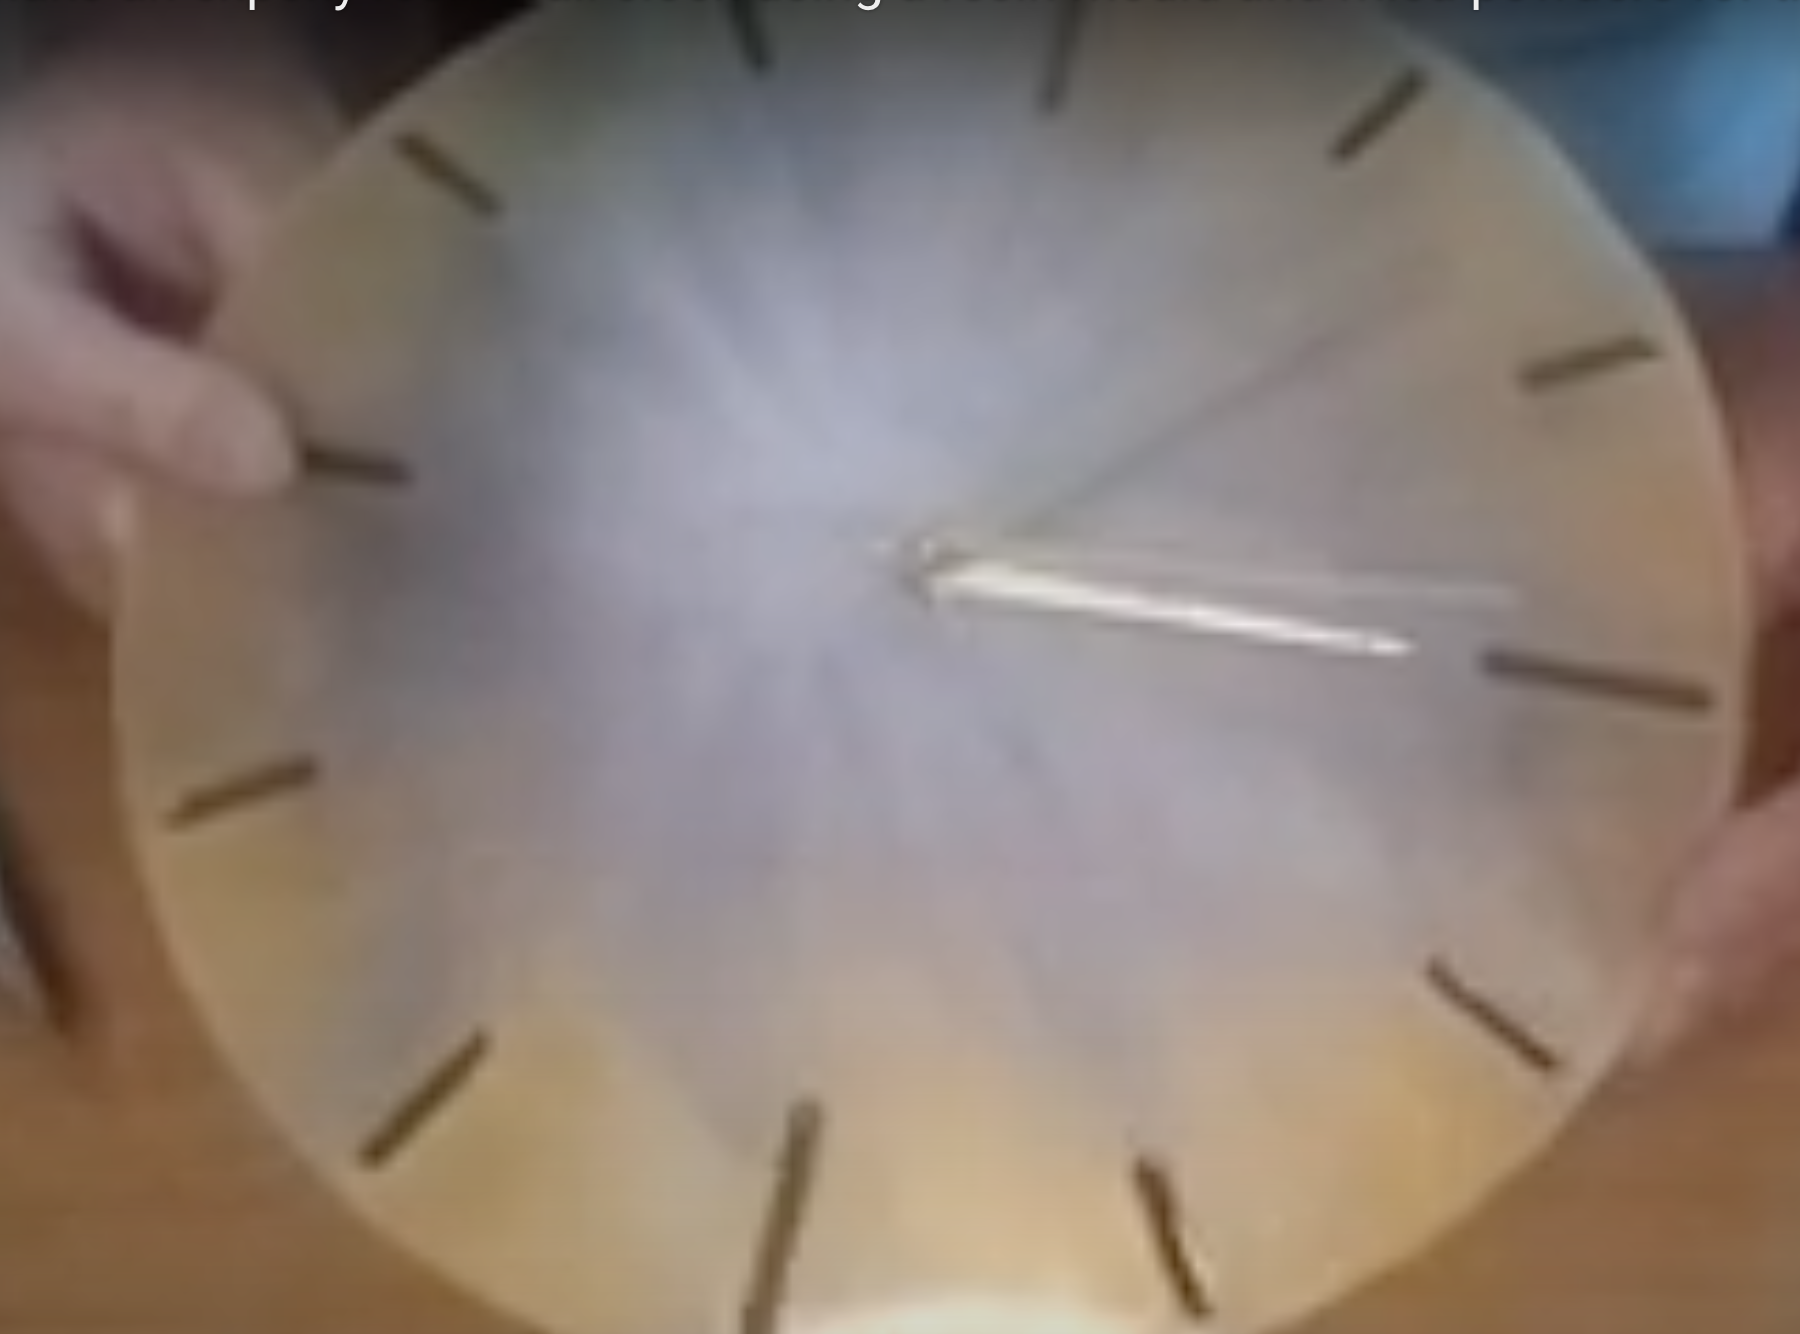
After the resin has fully cured, gently remove it from the silicone mold. The mold should peel away easily, leaving you with a stunning, glossy clock face with your carefully designed swirls of white, silver, and gold epoxy.
You may notice some rough edges along the perimeter, so carefully sand them down using fine-grit sandpaper for a smooth, professional finish. Wipe away any dust with a clean cloth.
Step 8: Fill the Clock Indents with Silver Epoxy
Now, it’s time to bring your clock to life! The silicone mold you used has pre-made indents for clock numbers. Using the silver epoxy you prepared earlier, carefully fill these indented clock points.
Pour a small amount of silver epoxy into each indent, taking care not to overflow. You can use a mixing stick or a small dropper to make sure each clock point is filled evenly. Allow the silver epoxy to cure completely.
Step 9: Attach the Clock Mechanism
Once the epoxy has cured and the clock face is complete, it’s time to install the clock mechanism. Follow the instructions included with your clock kit:
- Insert the clock mechanism through the center of the resin clock face.
- Secure the clock hands onto the mechanism—most clock kits will include a set of hands (hour, minute, and second).
- Install the battery, and your clock is ready to use!
Final Touches: Admire Your Resin Clock!
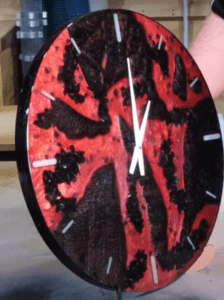
Congratulations! You’ve created a stunning resin clock with beautiful, fluid designs and shimmering mica accents. Whether it’s placed in your living room, office, or kitchen, this one-of-a-kind resin clock will add a sophisticated and artistic touch to your space.
The combination of white, gold, silver, and the shimmering effects of mica powder makes this resin clock an eye-catching conversation piece. It’s functional, yes, but more importantly, it’s a piece of art that you created yourself!
Take a step back, admire your work, and watch the clock not only tell time but also tell a beautiful story through its mesmerizing design.

