DIY Geode Inspired Epoxy Resin Table with Crystals
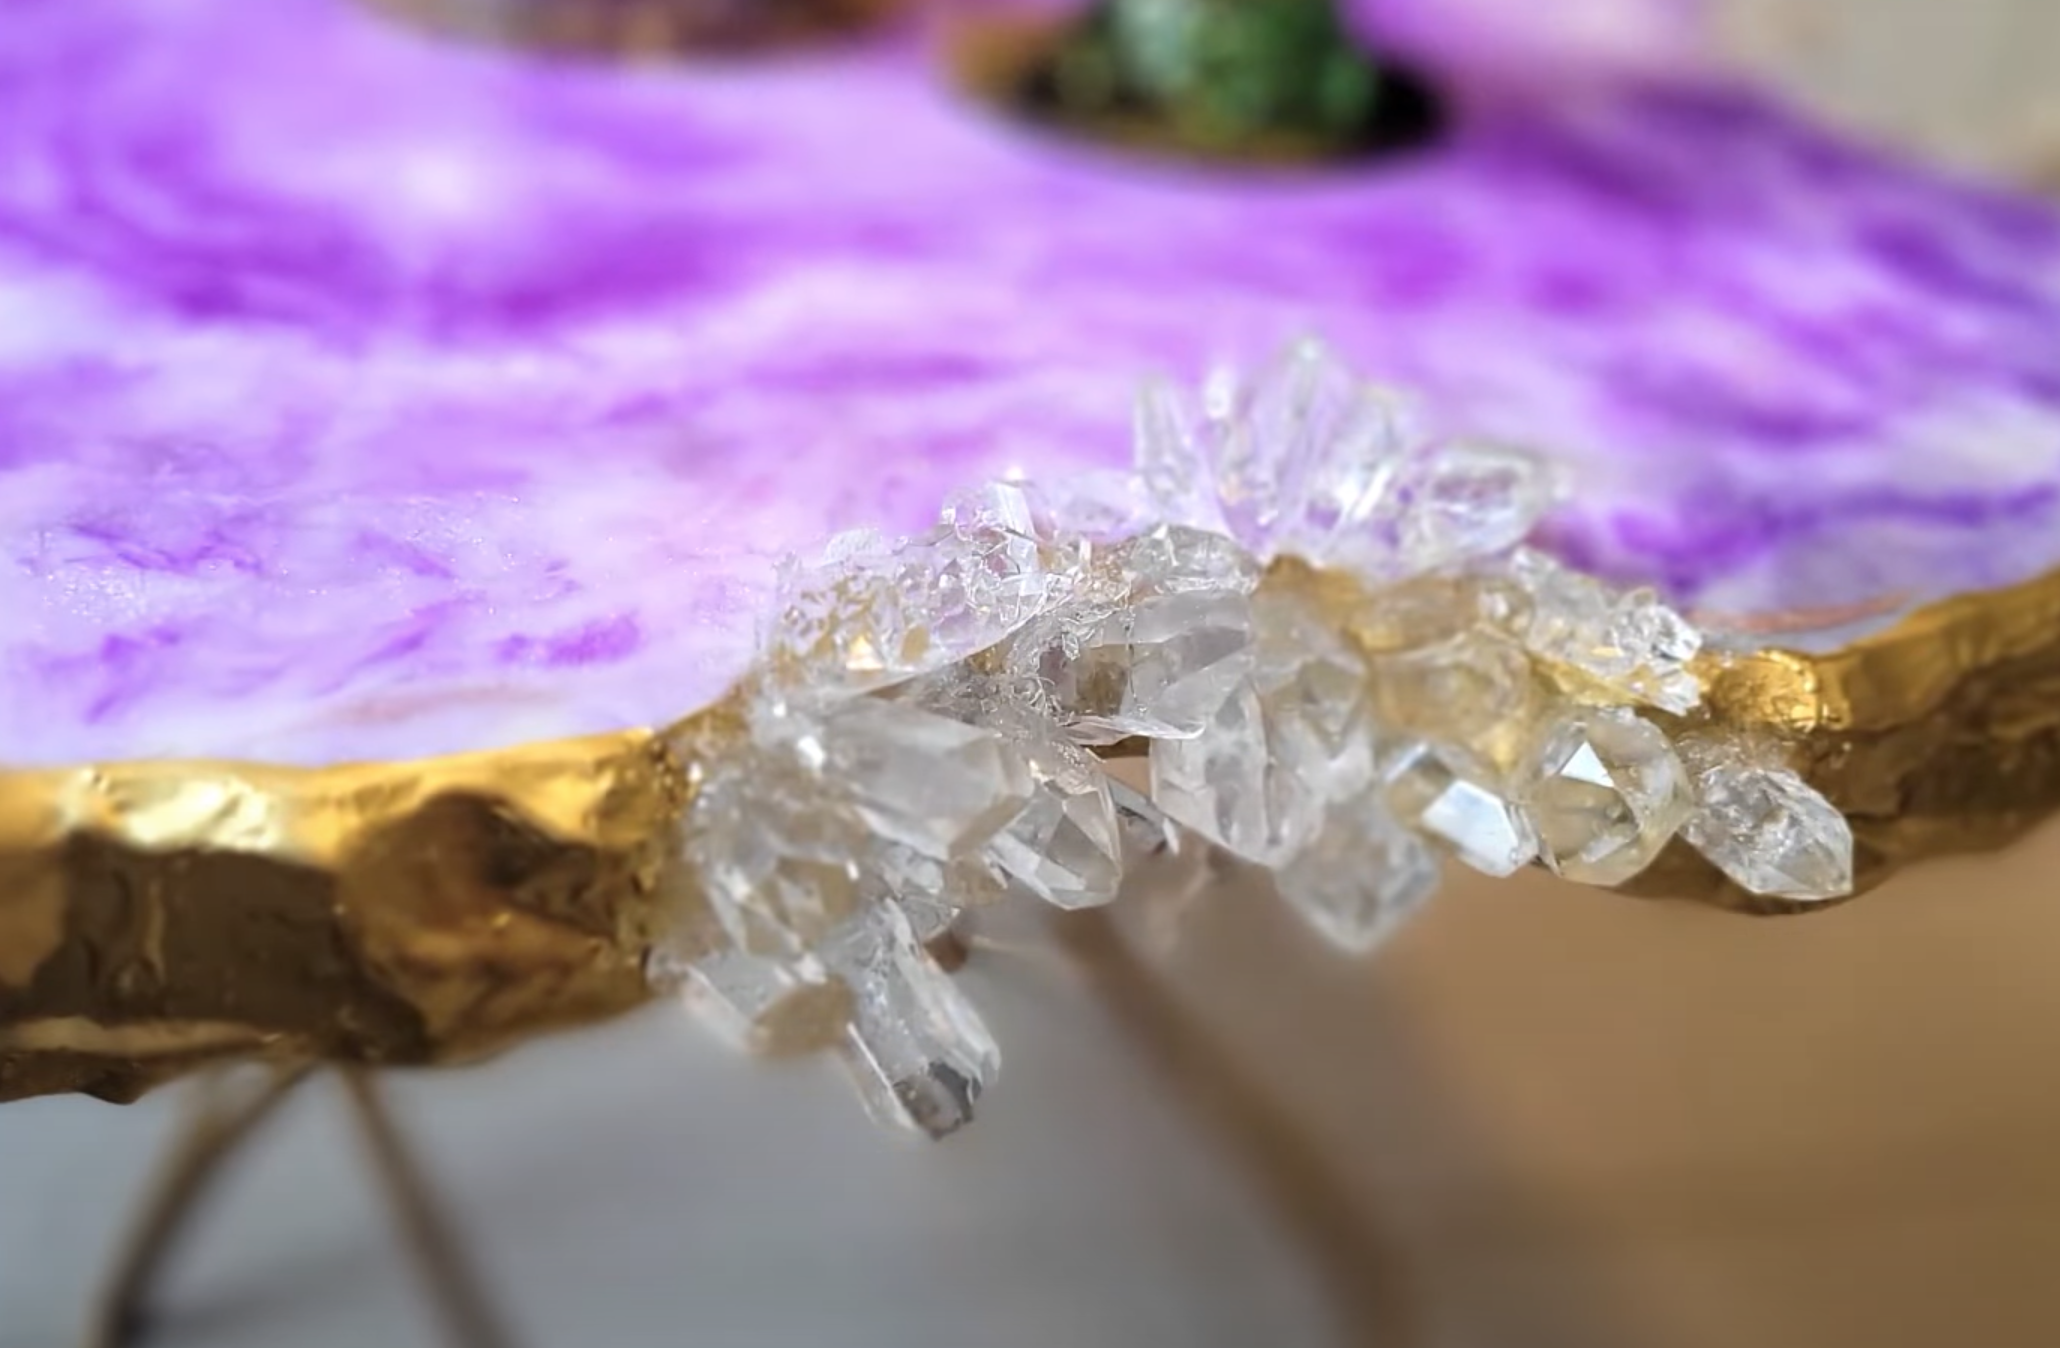
Transform a simple piece of wood into a stunning, geode-inspired epoxy resin table with the shimmering beauty of crystals and metallic accents. This DIY project will guide you through the steps of creating a geode-like pattern on wood, using epoxy resin to form intricate designs and adding real or molded epoxy crystals for that extra touch of elegance. Whether you’re crafting a unique coffee table or a statement piece, this tutorial will help you achieve a beautiful, one-of-a-kind resin creation.
Materials Needed:
- Wood slab (cut into a geode-like shape)
- Scoring tool or utility knife
- Gold leaf or foil
- Masking tape
- Two-part epoxy resin (clear)
- White and grey epoxy pigment (or epoxy dye)
- Crystal silicone mold (for making epoxy crystals)
- Heat gun or torch (for bubbles and shaping)
- Paintbrush
- Purple epoxy pigment (optional for streaks)
- Sandpaper (fine-grit)
- Resin crystal molds (or pre-made crystals)
- Mixing cups, stir sticks, and gloves
- Mold release spray (if needed for crystal molds)
Step-by-Step Instructions:
1. Cut the Wood into a Geode Shape
- Start by selecting a piece of wood. Choose a slab that’s the desired size for your table. You can use a round or irregularly shaped piece of wood, depending on the type of geode look you want to achieve.
- Cut the Wood: Use a jigsaw or saw to cut the wood into a geode-like shape. You want the edges to have some irregularity, as natural geodes are not perfect circles but have organic, flowing edges. Try to leave the middle portion of the wood intact to represent the “core” of the geode.
2. Coat the Edges with Foil
- Apply Masking Tape: Use masking tape to create a clean border around the edges of the wood. This will help protect the sides of the wood during the resin process.
- Foil Application: Next, coat the outer edges of the wood with gold leaf or gold foil. You can apply the foil directly by using a brush with some adhesive or use a foil transfer method. The shiny metallic edges will mimic the outer crystals of a geode.
3. Score the Wood to Create Texture
- Score the Surface: Use a utility knife or scoring tool to lightly score the surface of the wood, especially around the central areas where you want the geode’s “crystal formation” to appear. This will help the epoxy adhere better to the surface and give texture to the resin pour.
4. Mix and Pour the Epoxy Resin
- Mix the Epoxy Resin: In separate cups, mix your clear two-part epoxy resin according to the manufacturer’s instructions. Once mixed, divide the resin into different portions for coloring.
- Add Colors: In one cup, add white epoxy pigment to create a base color. In another, add grey epoxy pigment to create depth and contrast. Stir each batch thoroughly.
- Pour the Resin: Begin pouring the white and grey epoxy in a geode-inspired pattern onto the surface of the wood. You can create swirling patterns or place the colors in layers to mimic the natural layering of a geode. Allow the resin to flow over the edges and settle, but don’t let it completely mix. The goal is to create a marbled, organic pattern.
5. Create and Add Epoxy Crystals
- Make Epoxy Crystals: If you want to make your own crystals, use a crystal silicone mold to cast epoxy crystals. Simply mix more clear epoxy resin and pour it into the molds, adding pigments as needed. You can use colors like white, grey, or even clear to make the crystals look more authentic.
- For a natural look, add a bit of metallic gold or purple pigment to the resin for added depth.
- Allow the epoxy to cure completely before removing the crystals from the molds (usually 24-48 hours).
- Add Crystals to the Wood: Once the crystals are fully cured, place them around the geode pattern on the wood, pressing them into the wet resin. You can strategically position them along the edge or inside the central part of the design to mimic the look of a geode’s natural growth.
6. Use a Heat Gun for Perfecting the Resin
- Once the resin and crystals are added, use a heat gun or torch to gently heat the resin surface. This will help pop any remaining bubbles and also smooth out the resin for a glass-like finish. Be sure to keep the heat gun moving to avoid overheating any one area.
7. Remove the Tape and Foil and Wood back
- Peel Off the Tape: After the resin has cured (generally after 24-48 hours), carefully remove the masking tape from the edges of the wood. This will reveal a clean, sharp edge.
- Remove the Foil: Gently pull off the foil from the edges. If there is any excess, you can trim it with scissors or use a brush to remove the stray pieces.
8. Sand the Surface for Smoothness
- Sand the Edges: Use fine-grit sandpaper (around 220-grit) to sand down any rough areas on the edges of the wood or resin. You want the surface to feel smooth and polished.
- Polish the Resin: After sanding, you can further polish the resin with a polishing compound or fine wool to bring out a shiny, glass-like finish.
9. Paint Gold on the Sides of the Table
- Gold Accents: Use a paintbrush to apply a gold paint finish to the sides of the wood. This will complement the gold foil edges and add more metallic shine to the overall piece. You can also paint a thin gold line around the perimeter of the resin for extra elegance.
10. Add Purple Streaks and Final Epoxy Layer
- Purple Streaks: If you want to add some additional depth and color to your geode design, mix a small batch of epoxy with purple pigment. Use a brush or spoon to carefully streak the purple epoxy over the surface of the resin. These streaks should blend in with the grey and white, mimicking the natural veins often found in geodes.
- Final Epoxy Layer: Once the purple streaks have been added and have settled, pour a thin layer of clear epoxy over the entire surface for a final coat. This will seal the entire design and give the table a flawless, glossy finish.
11. Add Crystals to the Sides
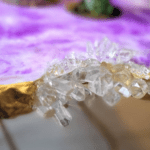
- Attach Crystals to the Edges: For a finished “crystal” effect, glue some of your epoxy crystals onto the sides of the wood, especially near the gold-leafed edges. This will complete the geode look and give your table a 3D, crystal-encrusted effect.
12. Final Cure and Clean Up
- Allow the entire piece to cure fully (usually 48 hours or longer for a solid resin finish). Once it’s completely set, clean off any dust or debris, and your geode-inspired epoxy resin table with crystals is ready to be admired!
Conclusion
Creating a geode-inspired epoxy resin table with crystals is a fun and rewarding project that adds an artistic, natural touch to any space. By combining the flow of resin, the shimmer of crystals, and the elegance of metallic accents, you can craft a truly stunning piece of furniture. Whether it’s for your home or as a unique gift, this table will stand out with its beautiful, geode-like design. Take your time with each step and enjoy the process—your one-of-a-kind creation will be well worth the effort!

