DIY Walnut and MDF Nightstand with Epoxy Resin
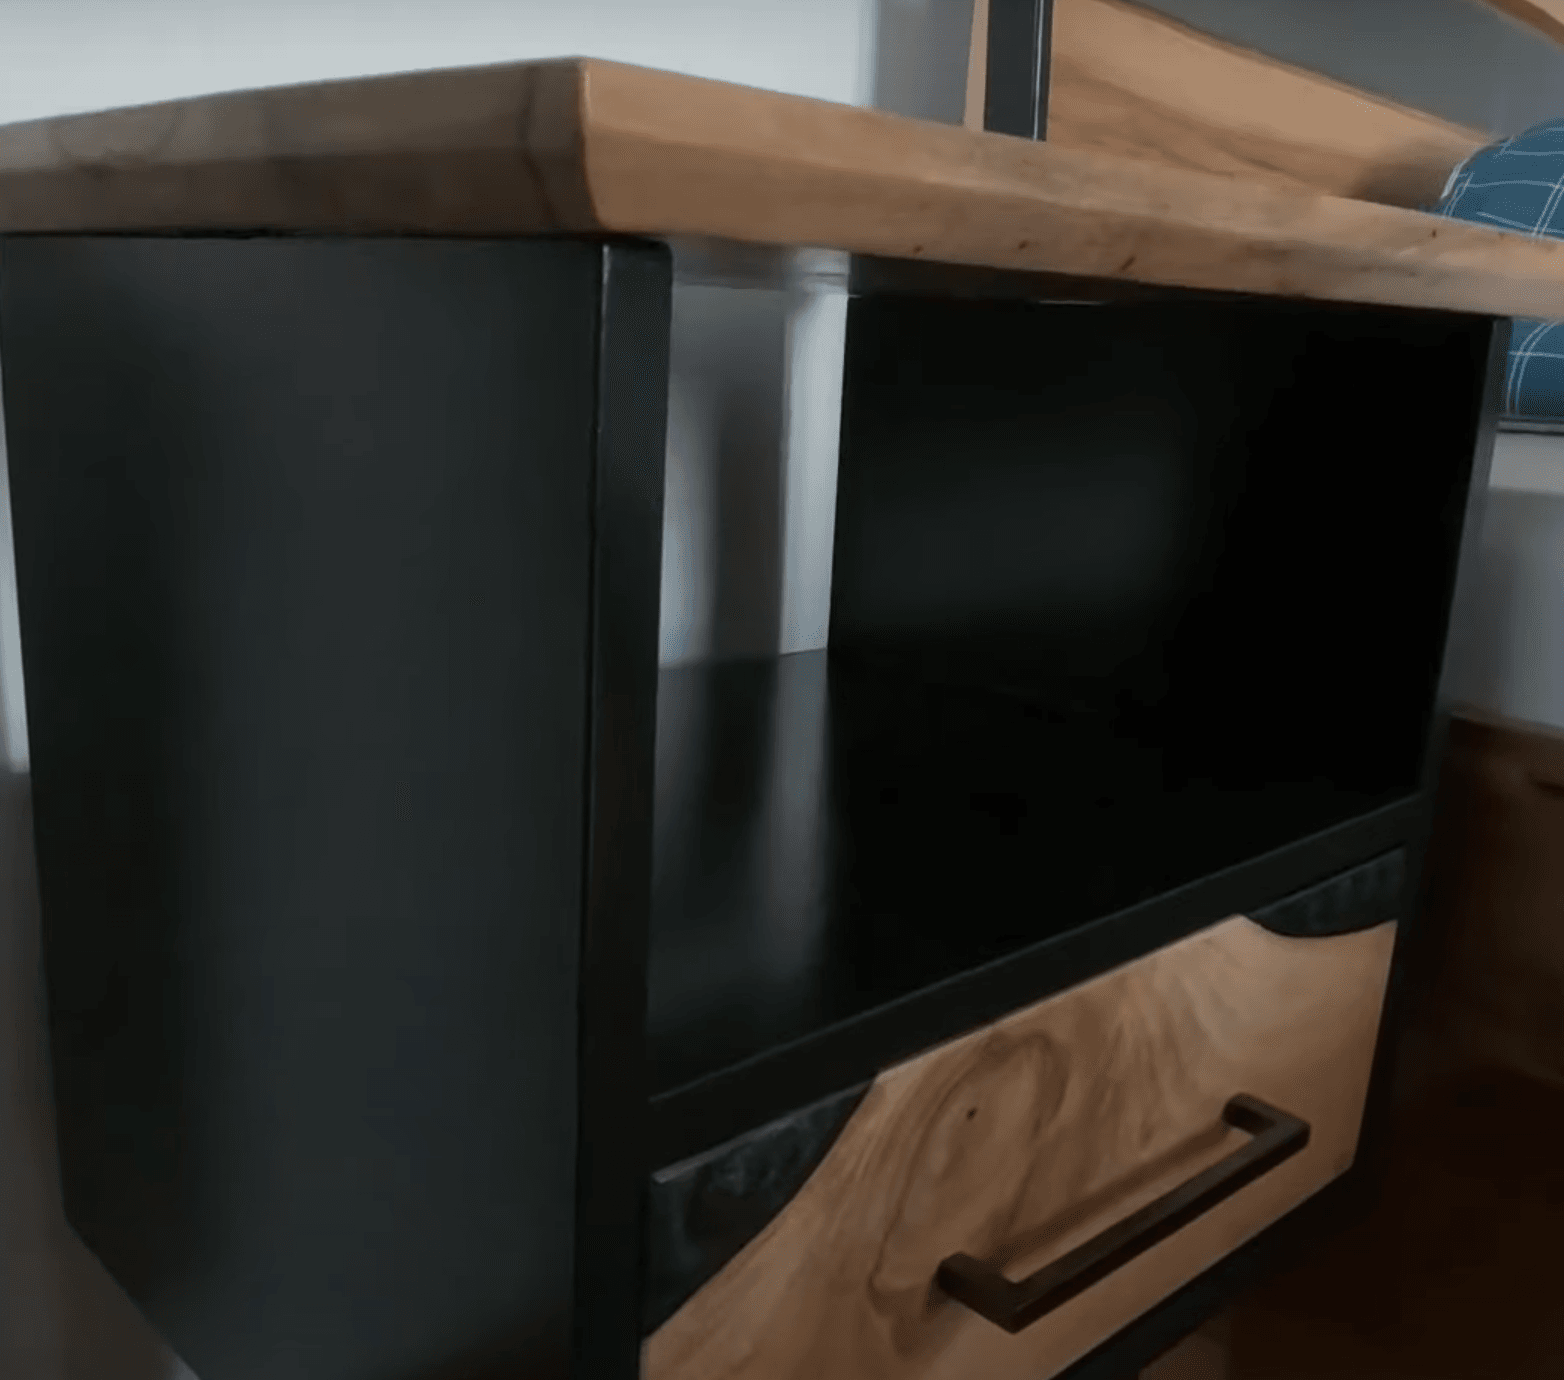
Creating a stylish nightstand with walnut wood, MDF, and epoxy resin is a fantastic project that combines functionality and artistry. Follow these steps to build your own unique nightstand!
Materials Needed
- Walnut wood
- MDF (medium-density fiberboard)
- Epoxy resin
- Drawer handles
- Sandpaper (various grits)
- Wood glue
- Safety gear (gloves, mask, goggles)
Step-by-Step Instructions
- Cut the Wood
Start by cutting the walnut wood into the necessary pieces for the drawer base and legs. Ensure you make precise cuts for a clean finish. - Prepare for Epoxy
Design the front-facing drawer unit with room for the epoxy. This will create a beautiful highlight in the final piece. - Fill with Epoxy
Prepare the epoxy resin according to the manufacturer’s instructions. Fill in any cracks in the walnut pieces, and add extra length for height where needed. Pour epoxy into the corners of any curved pieces to achieve a smooth, seamless look. - Sand the Surface
Once the epoxy has cured completely, use sandpaper to smooth the surfaces. Start with a coarse grit to level the epoxy, then progress to finer grits for a polished finish. - Polish the Wood
After sanding, apply a wood polish to enhance the walnut’s natural beauty and give it a glossy finish. - Attach Handles
Finally, add drawer handles to your nightstand for a functional and stylish touch. Ensure they are securely fastened.
Conclusion
Congratulations! You’ve created a beautiful DIY nightstand using walnut wood, MDF, and epoxy resin. This unique piece not only serves a practical purpose but also adds an elegant touch to your bedroom. Enjoy your handcrafted nightstand!

