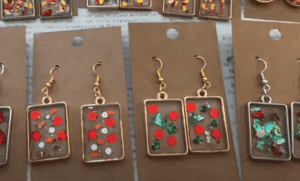
Epoxy Heart Gems with Gold Glitter and Tassels
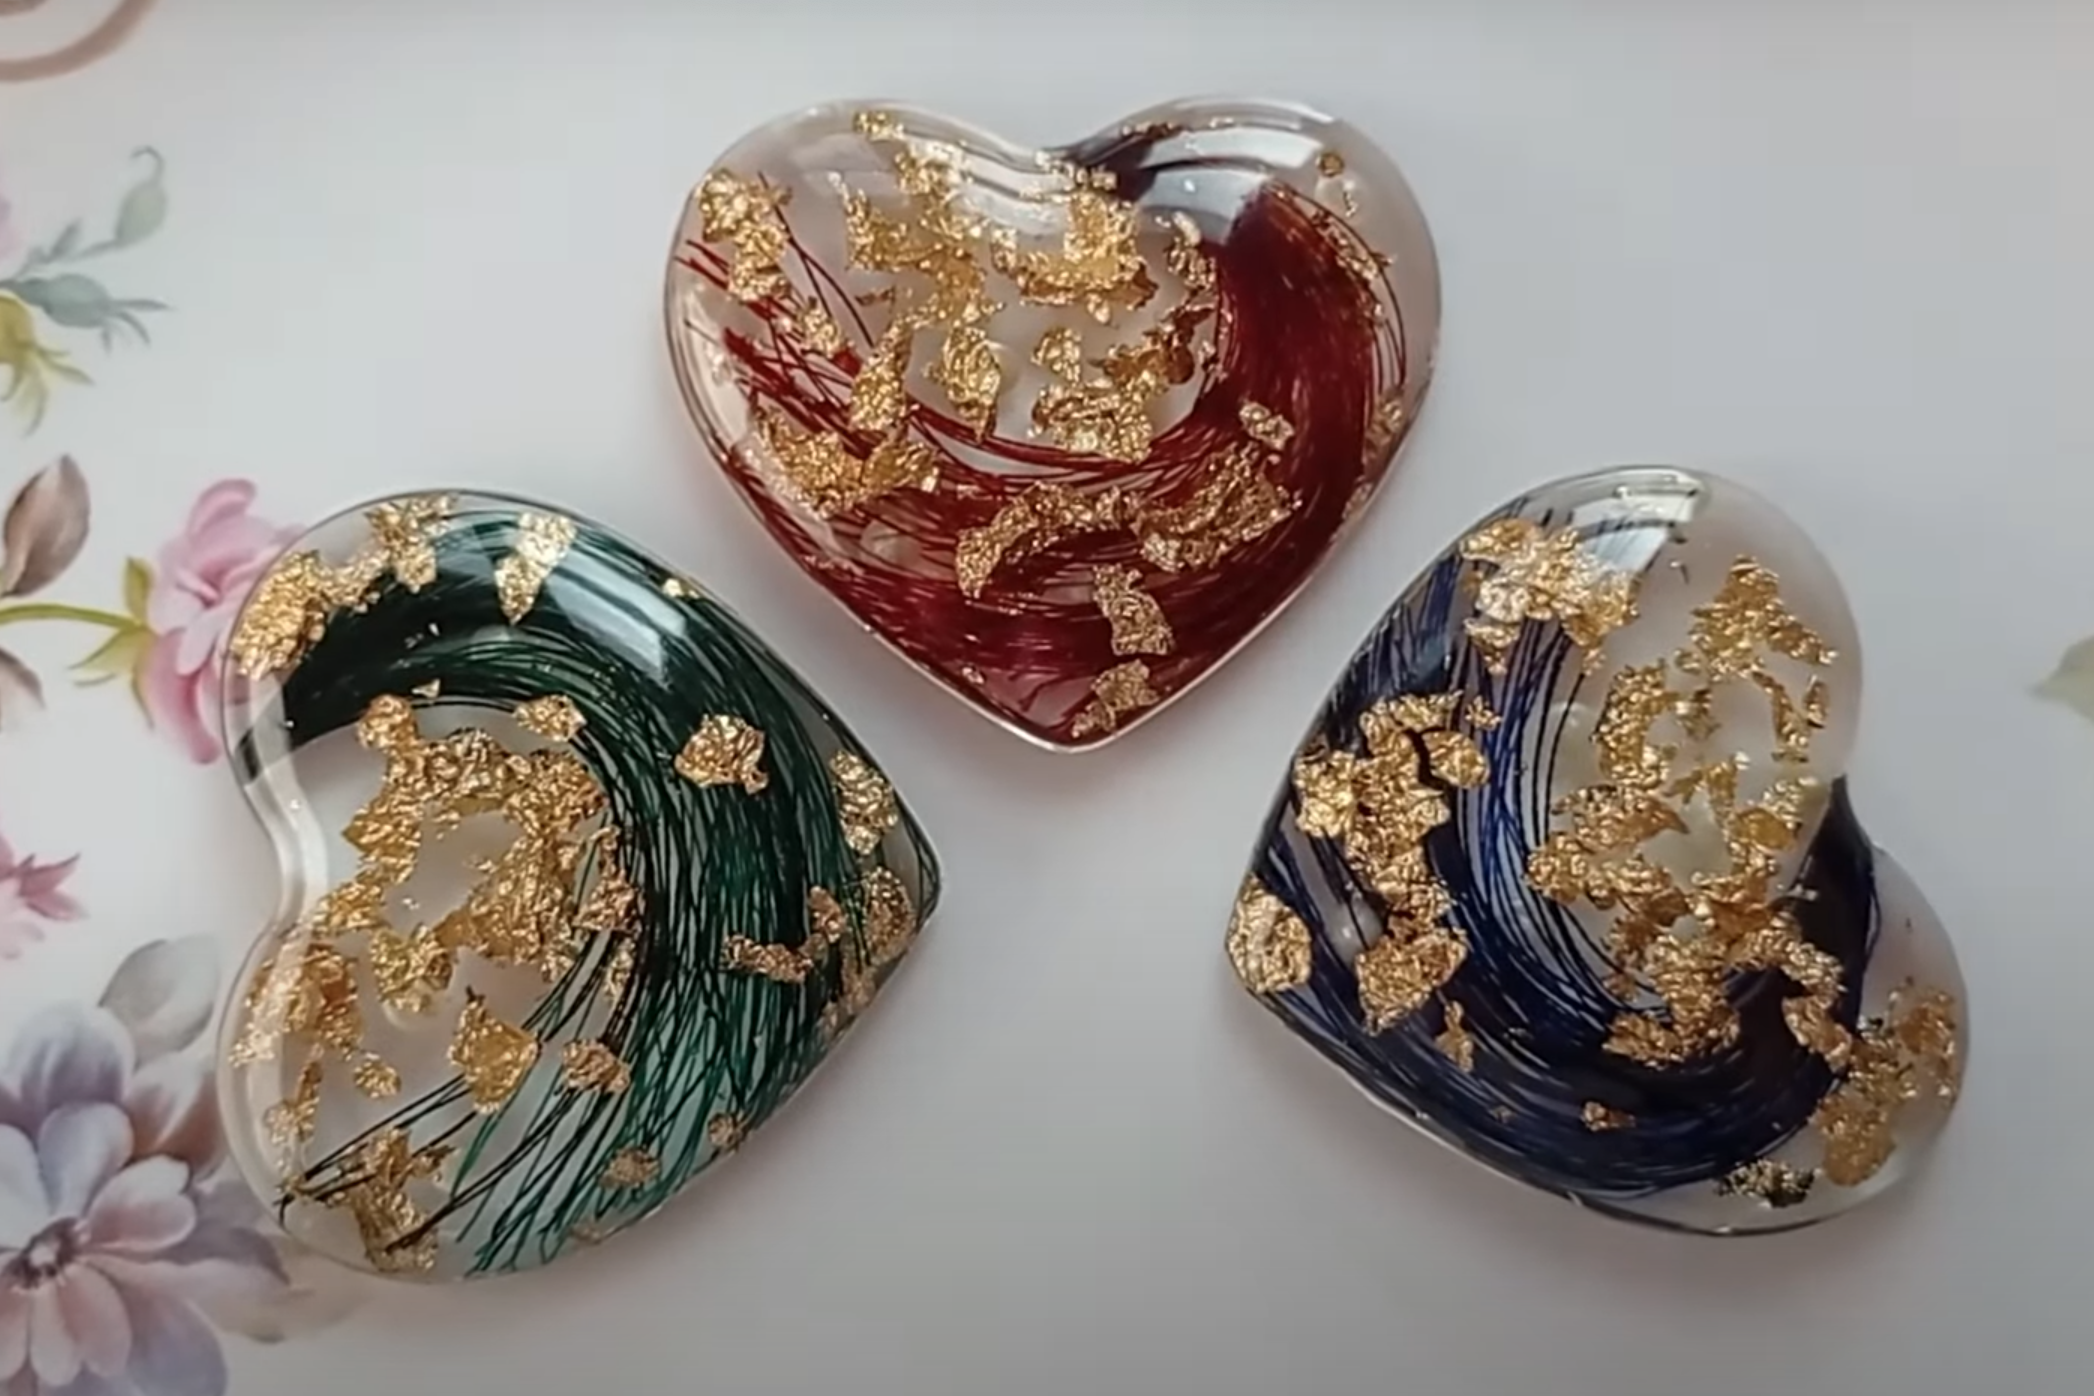
If you’re looking to make something both beautiful and unique, epoxy resin hearts with gold glitter and tassels are the perfect DIY project. This fun and creative craft combines the elegance of epoxy with the sparkle of gold foil, the texture of colorful thread tassels, and the shine of clear beads for a truly eye-catching result. Here’s a step-by-step guide to creating these gorgeous epoxy hearts with gold glitter, tassels, and resin accents.
Materials You’ll Need:
- Epoxy resin (clear)
- Gold glitter foil
- Heart-shaped silicone molds
- Colored thread (two colors of your choice)
- Cardboard or thick paper for tassel-making
- Clear plastic beads (for added texture)
- Stir sticks
- Measuring cups
- Gloves
- Scissors
- Plastic sheeting or newspaper for your workspace
- Resin to dome the back of the hearts (optional)
Step-by-Step Instructions:
1. Prepare Your Workspace Start by covering your work area with plastic sheeting or newspaper to catch any resin drips. Wear gloves to protect your hands, as epoxy resin can be sticky and difficult to remove from skin. Make sure you’re in a well-ventilated area for resin work.
2. Create the Tassels Take a piece of cardboard or thick paper and wrap your colored threads around it, creating a layered bundle. Use two colors of thread to add contrast and make the tassels more vibrant. Once you have wrapped the thread a few times, cut one side of the thread bundle to create the tassels. Leave a bit of excess thread at the top so you can easily attach it to the molds later.
3. Mix the Epoxy Resin Now, mix your clear epoxy resin according to the manufacturer’s instructions, usually in a 1:1 ratio of resin and hardener. Stir the mixture thoroughly for 3-5 minutes, making sure it’s completely mixed and there are no air bubbles.
4. Add Gold Glitter and Foil In a separate cup, take a small portion of your mixed epoxy resin and add gold glitter foil. Stir it in to make sure the gold glitter is evenly distributed throughout the resin. This will give your epoxy a beautiful, sparkly effect once it sets.
5. Pour Epoxy Into the Molds Next, pour the gold glitter-infused epoxy into the heart-shaped silicone molds, filling them about halfway. Use a stir stick to gently spread the resin into the corners and edges of the molds, ensuring an even layer.
6. Add the Tassels Now, take the thread tassels you made earlier and carefully insert one into each heart mold. Position the tassel so that it sits in the center of the mold, with the excess thread sticking up from the resin. The tassels will add a fun, textured element to your hearts.
7. Add Plastic Beads for Extra Sparkle For additional texture and shine, drop a few clear plastic beads into each mold on top of the resin. These beads will catch the light and add even more dimension to your final design.
8. Pour Additional Resin Once your tassels and beads are in place, carefully pour more clear epoxy resin into the molds to cover everything. This layer of clear resin will help to “seal” the gold glitter, beads, and tassels inside, creating a smooth, glossy finish on top. Be sure to leave enough space at the top of the mold to avoid spilling.
9. Let the Epoxy Cure Allow the resin to cure for at least 24-48 hours, or according to the instructions on your resin kit. Make sure your molds are in a dust-free, undisturbed area while the resin sets. If you notice any air bubbles on the surface, you can gently use a heat gun or torch to pop them before the resin fully cures.
10. Dome the Back of the Hearts (Optional) Once the epoxy has fully cured, carefully remove the hearts from the silicone molds. If you’d like to add an extra glossy finish, you can dome the back of each heart by mixing a small amount of clear resin and applying it to the back surface. This creates a smooth, rounded finish and ensures your hearts have a perfect, professional look.
Final Touches
If the edges of the hearts are a bit rough, you can gently sand them with fine-grit sandpaper to smooth them out. You can also add jump rings or strings to turn your epoxy hearts into beautiful keychains or ornaments.
Conclusion
These epoxy hearts with gold glitter, colorful tassels, and clear beads are a fun and creative way to make beautiful, personalized jewelry, decorations, or gifts. The combination of the gold glitter foil and tassels adds texture and dimension, while the epoxy resin gives the hearts a professional, glossy finish. Whether you’re using them as accessories, home décor, or handmade gifts, these epoxy hearts will surely wow anyone who sees them. Grab your materials, get crafting, and enjoy the process of creating these stunning, custom pieces!


