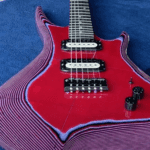
EPOXY RESIN BLUE WOOD BURL GUITAR!
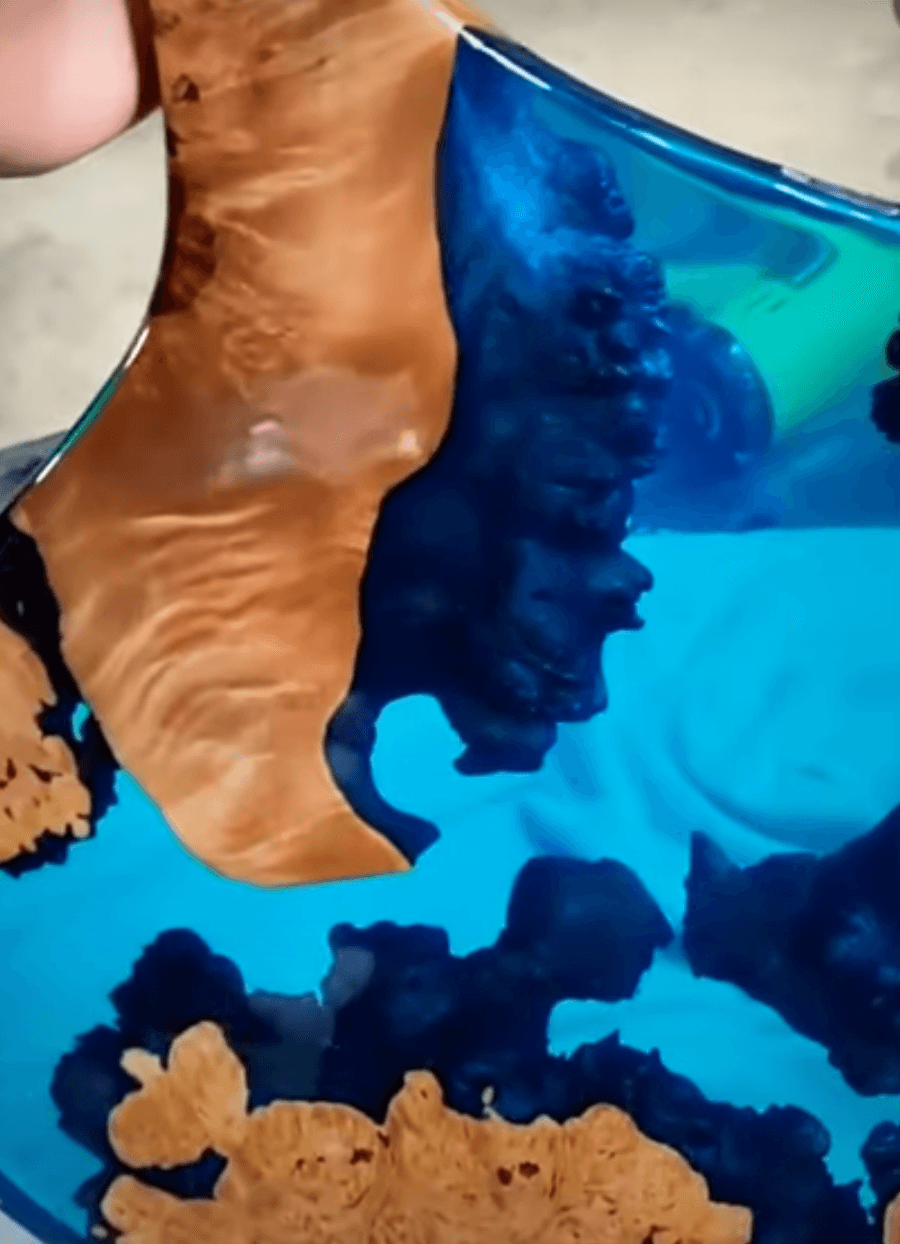
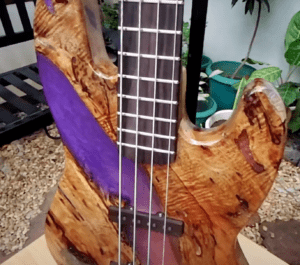
Creating a one-of-a-kind guitar using epoxy resin and wood is a thrilling endeavor that combines art and DIY craftsmanship. This guide will walk you through the process of crafting a beautiful flat wood guitar that combines the natural beauty of wood burls with the sleek finish of epoxy resin.
Materials Needed
- Flat wood (1 inch thick) for the guitar base
- Wood burls (for the guitar body)
- 100% silicone caulk (for sealing)
- Plastic strip (for mold edging)
- Tape (to seal the mold)
- Glue (to secure burls)
- Epoxy resin (two-part mix)
- Syringe (for filling gaps)
- Sandpaper
- Clear coat (for finishing)
Step 1: Create the Mold Base
- Cut the Guitar Shape: Begin by cutting a flat piece of wood into the desired guitar shape. This will serve as the base of your mold.
- Seal the Mold: Wrap the edges of the wood with tape to create a secure mold. Make sure the tape is thick enough to prevent any leaks.
Step 2: Prepare the Wood Burls
- Cut the Burls: Select your wood burls and cut them to fit into the middle section of the guitar body. These will add unique texture and depth to your design.
- Seal with Silicone Caulk: Use a plastic strip to create a barrier along the edges of the mold. Apply 100% silicone caulk to seal the edges of the mold where the burls will sit.
Step 3: Assemble the Guitar Body
- Arrange the Burls: Place the cut wood burls into the mold, ensuring they fit snugly.
- Paint the Edges: To enhance the depth of the burls, paint the edges with a contrasting color. This will add visual interest to your finished guitar.
- Secure with Glue: Use glue to tack down the burls to the mold, ensuring they remain in place during the epoxy pour.
Step 4: Pour the Epoxy
- Mix the Epoxy: Prepare your epoxy resin according to the manufacturer’s instructions, ensuring it’s mixed thoroughly.
- Pour into the Mold: Carefully pour the epoxy over the burls, allowing it to fill the mold.
- Fill Gaps: Use a syringe to carefully fill in any gaps between the wood and the mold to prevent air pockets.
- Coat the Wood: Apply a light coat of epoxy over the burls to eliminate any blotchiness and ensure an even finish.
Step 5: Cure the Epoxy
- Allow to Cure: Let the epoxy cure for 8 to 12 hours or until fully hardened. Make sure to follow the recommended curing times for your specific epoxy resin.
Step 6: Finish the Guitar Body
- Remove the Mold: After the epoxy has cured, gently remove the bottom and sides of the mold.
- Sand the Edges: Use sandpaper to smooth out the edges of the guitar body. Bevel the edges to give the guitar a polished look.
- Apply Clear Coat: Finally, apply a clear coat finish to protect the surface and enhance the beauty of the wood and epoxy.
Conclusion
eCongratulations! You’ve just crafted a stunning epoxy resin and wood guitar. This unique piece not only looks fantastic but also showcases your creativity and craftsmanship. Whether you display it as a work of art or use it as a functional instrument, your guitar is sure to impress! Enjoy playing or displaying your new creation!

