How to Make a Custom Wood and Resin Stool Seat
How to Make a Custom Wood and Resin Stool Seat
Creating a unique wood and resin stool seat is a fun and rewarding project that combines craftsmanship with creativity. Here’s a step-by-step guide to help you make your own custom stool.
Materials Needed
- Plywood sheets of various sizes
- Circular wood base (your desired diameter)
- Wood glue
- Epoxy resin kit
- Sandpaper (various grits)
- Clear coat finish (optional)
- Stool legs (to attach later)
Step 1: Prepare the Circular Base
Start by selecting your wood circular base. This will be the foundation of your stool seat. You can purchase a pre-cut circular piece or cut one yourself to your desired diameter.
Step 2: Cut Plywood Circles
Cut various sizes of plywood into circular shapes. These will create a decorative pattern on your base. Feel free to mix and match different sizes and shapes for a visually interesting design.
Step 3: Glue the Plywood Pieces
Arrange the plywood circles on the circular base in a design that you like. Once you’re satisfied with the layout, use wood glue to secure each piece onto the base. Allow the glue to dry completely according to the manufacturer’s instructions.
Step 4: Pour the Resin
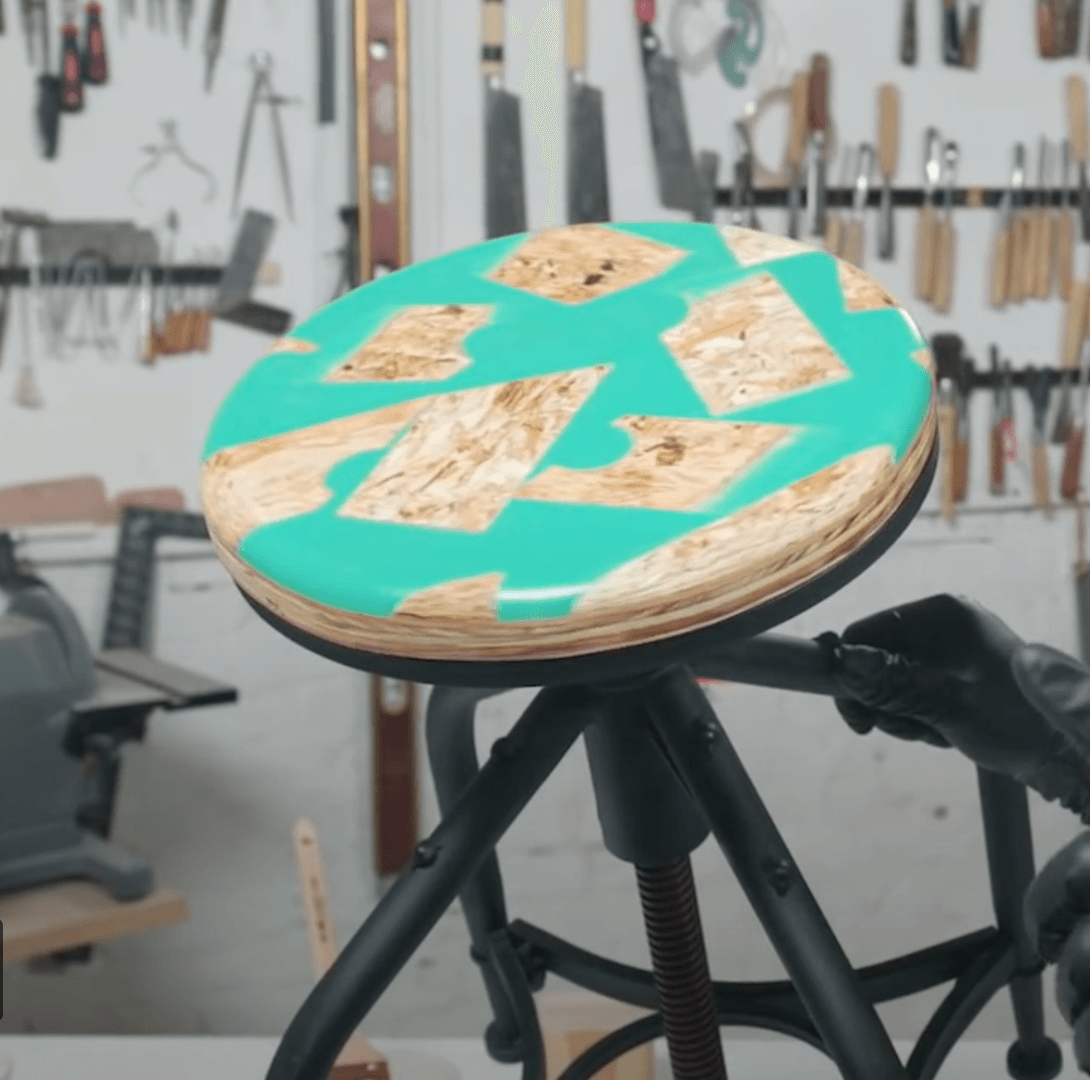
Once the glue is dry, prepare your epoxy resin according to the instructions. Carefully pour the resin into the gaps between the plywood pieces, ensuring it fills evenly and covers the entire surface. Be cautious to avoid overflow.
Step 5: Cut and Sand
After the resin has cured (usually 24-48 hours), it’s time to cut away any excess material if necessary. Use sandpaper to smooth the edges and surface of your stool seat. Start with a coarser grit and gradually move to finer grits for a polished finish.
Step 6: Apply a Clear Coat
For added protection and shine, you may want to apply a clear coat finish over the resin. This will enhance the appearance and durability of your stool seat.
Step 7: Attach the Base
Once everything is dry and sanded, attach your custom stool seat to the legs of your stool. Ensure that it’s securely fastened to provide stability and support.
Final Touches
After assembly, give your stool a final inspection. Make any necessary adjustments, and then it’s ready to use! Enjoy your beautiful custom wood and resin stool, perfect for any space in your home.
Conclusion
With just a few materials and some creativity, you can create a stunning wood and resin stool seat that’s both functional and a statement piece. Happy crafting!


