How to Make an Epoxy Ocean Table DIY
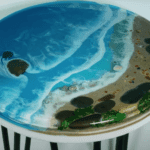
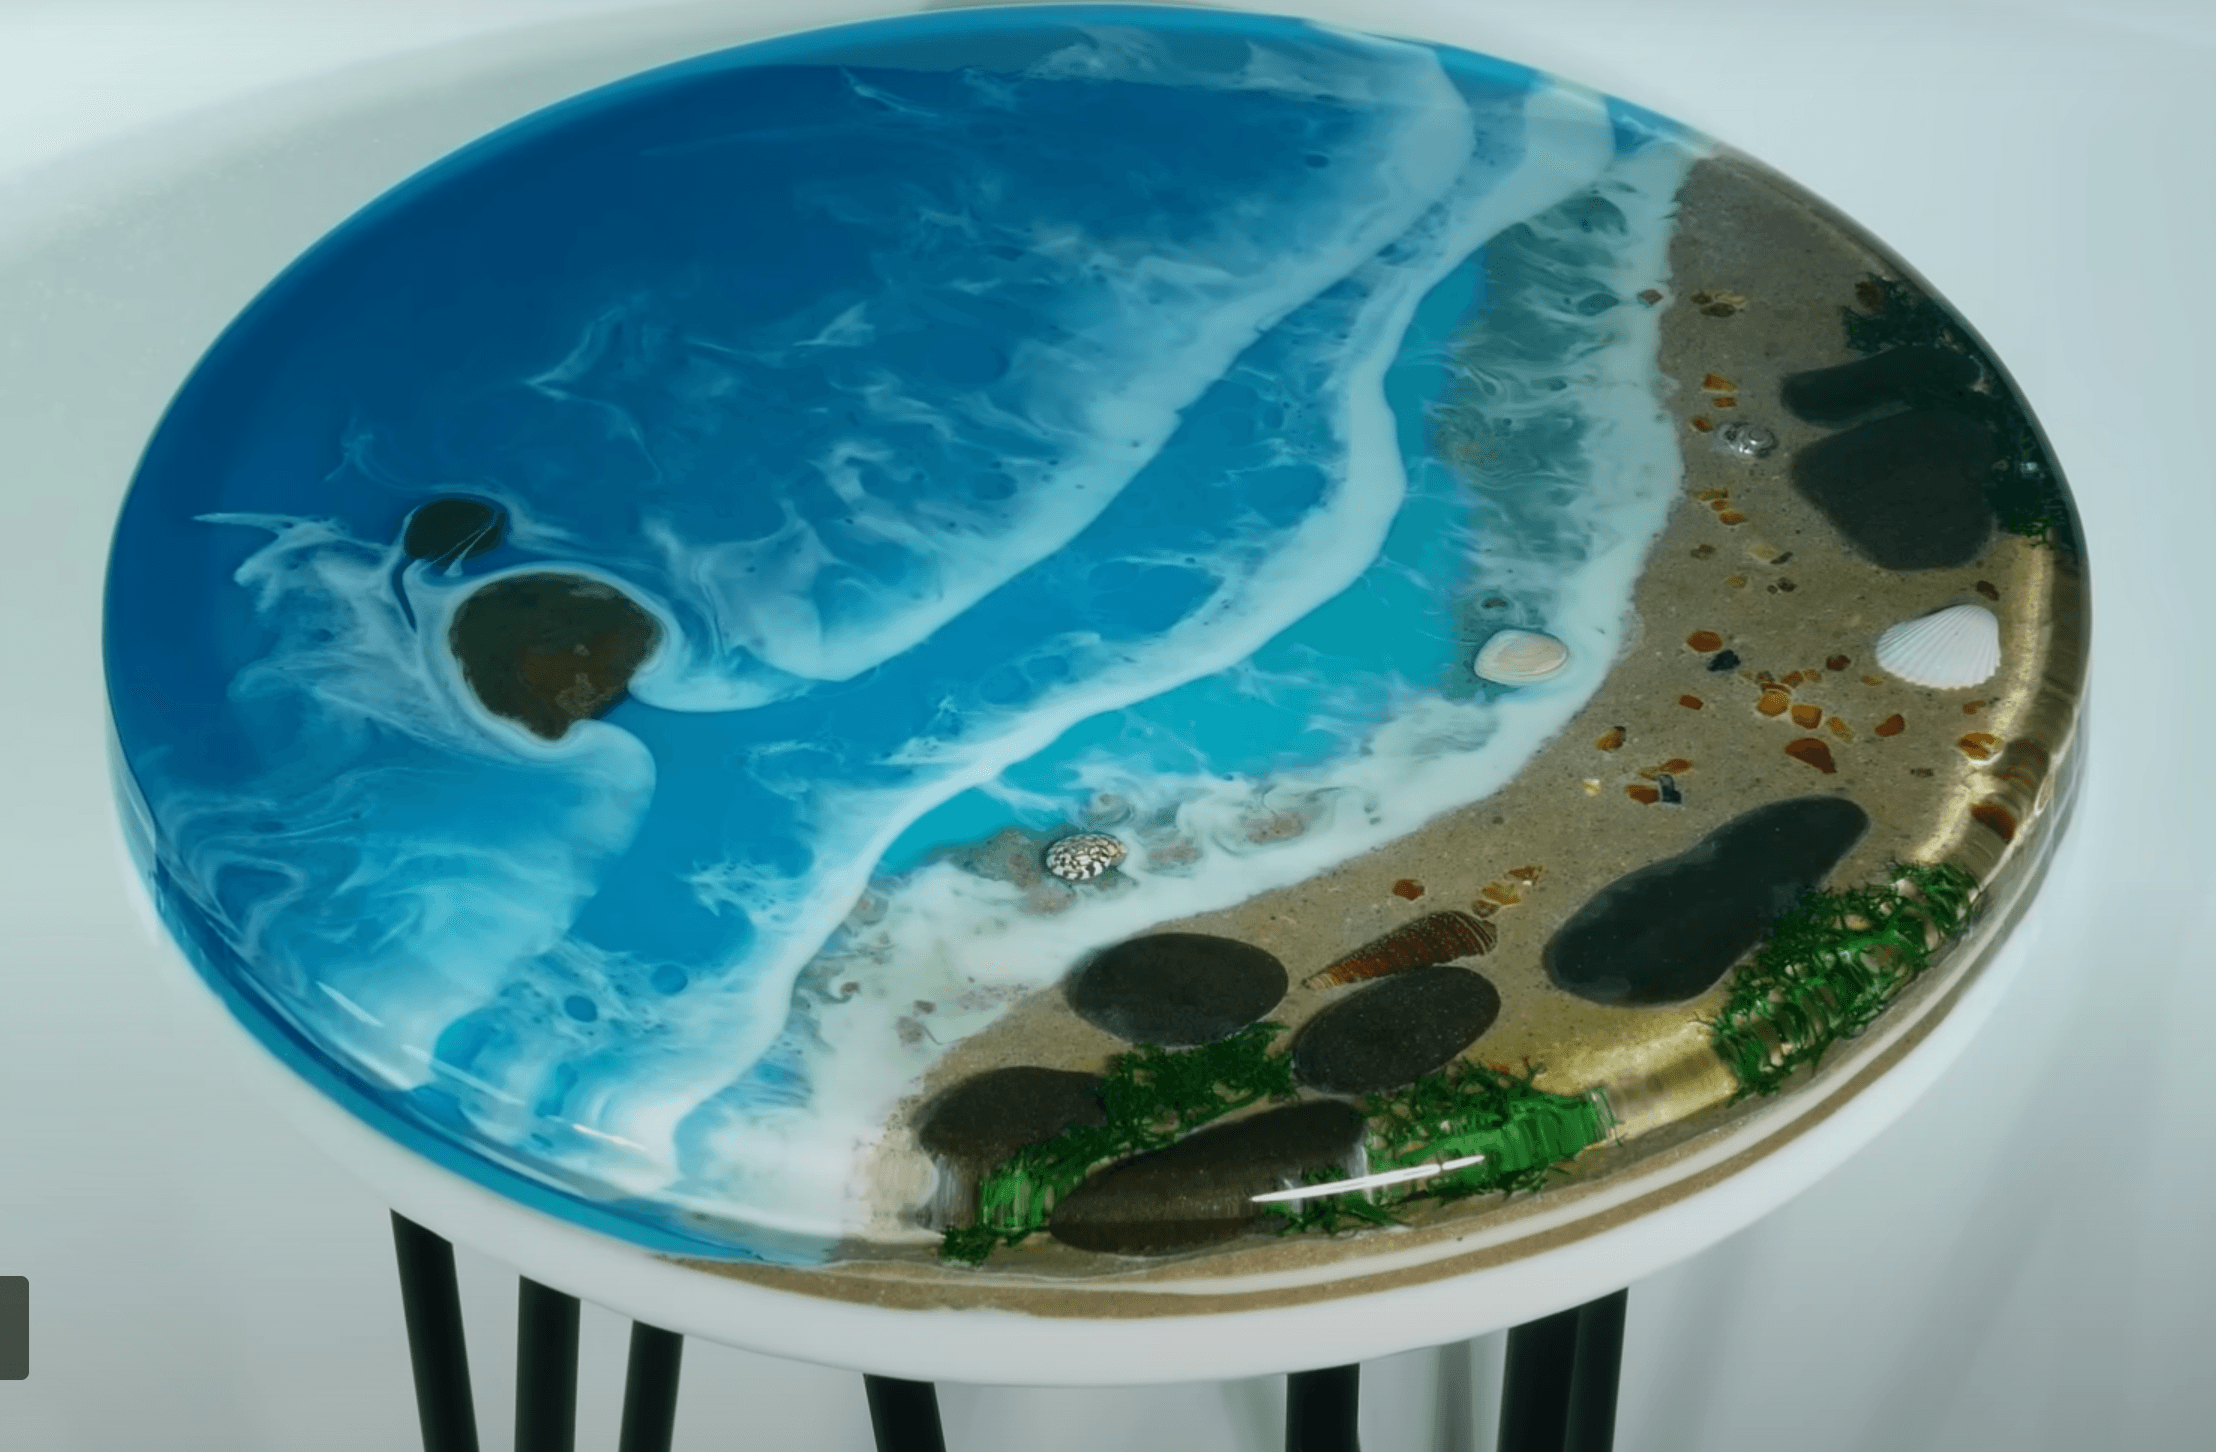
Creating an epoxy ocean table is an exciting project that brings the beauty of the sea into your home. Follow these steps to craft your own stunning resin art table!
Materials Needed
- Round wooden base
- Plastic bucket (to create a mold)
- White epoxy resin
- Sand (various textures)
- Rocks and other decorative items (e.g., coarser sand, greenery)
- Blue epoxy resin
- Heat gun
- Spoon (for shaping)
- Clear epoxy for the final coat
- Knife or bevel edge tool
- Drill and mounting legs
Step-by-Step Instructions
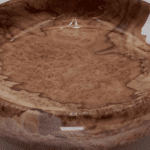
- Prepare the Base
Start with a rounded wooden base that will serve as the table’s foundation. - Create the Mold
Use a plastic bucket to create a circular mold around the wood base, leaving about half an inch of space. Secure the bucket to the wooden surface with glue. - Pour the White Epoxy
Begin by mixing and pouring white epoxy resin into the mold to create the base layer. - Add Sand Layers
Create multiple layers of sand mixed with epoxy. Pour this mixture into the mold to build texture and depth. You can incorporate various types of sand and add rocks or other decorative items, like greenery, for added interest. - Pour the Blue Epoxy
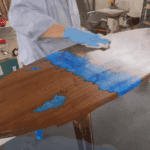
For the other half of the table, mix blue epoxy resin and pour it into the mold. Use a spoon to edge the blue epoxy into the sand area, ensuring a smooth transition between the two colors. - Create Wave Effects
Add white epoxy to the edges where the sand meets the blue epoxy. Use the heat gun to gently blow the white epoxy back towards the blue to mimic ocean waves. Pour the white resin in lines to disperse and create realistic wave patterns. - Apply a Clear Coat
Once the waves are shaped, apply a clear epoxy coat over the entire surface to seal and protect the artwork. - Remove the Mold
After everything has cured, carefully remove the plastic ring. Use a knife or bevel edge tool to smooth and corner the sides of the table. - Final Touches
Apply a final flood coat of clear epoxy for added gloss and protection. Once it’s fully cured, drill holes and mount the legs to the wooden base.
Conclusion
Congratulations! You’ve created a breathtaking epoxy ocean table that showcases the beauty of the sea in your home. This unique piece will surely be a conversation starter and a stunning addition to your decor. Enjoy your new masterpiece!

