Step by Step | Epoxy Flower Board
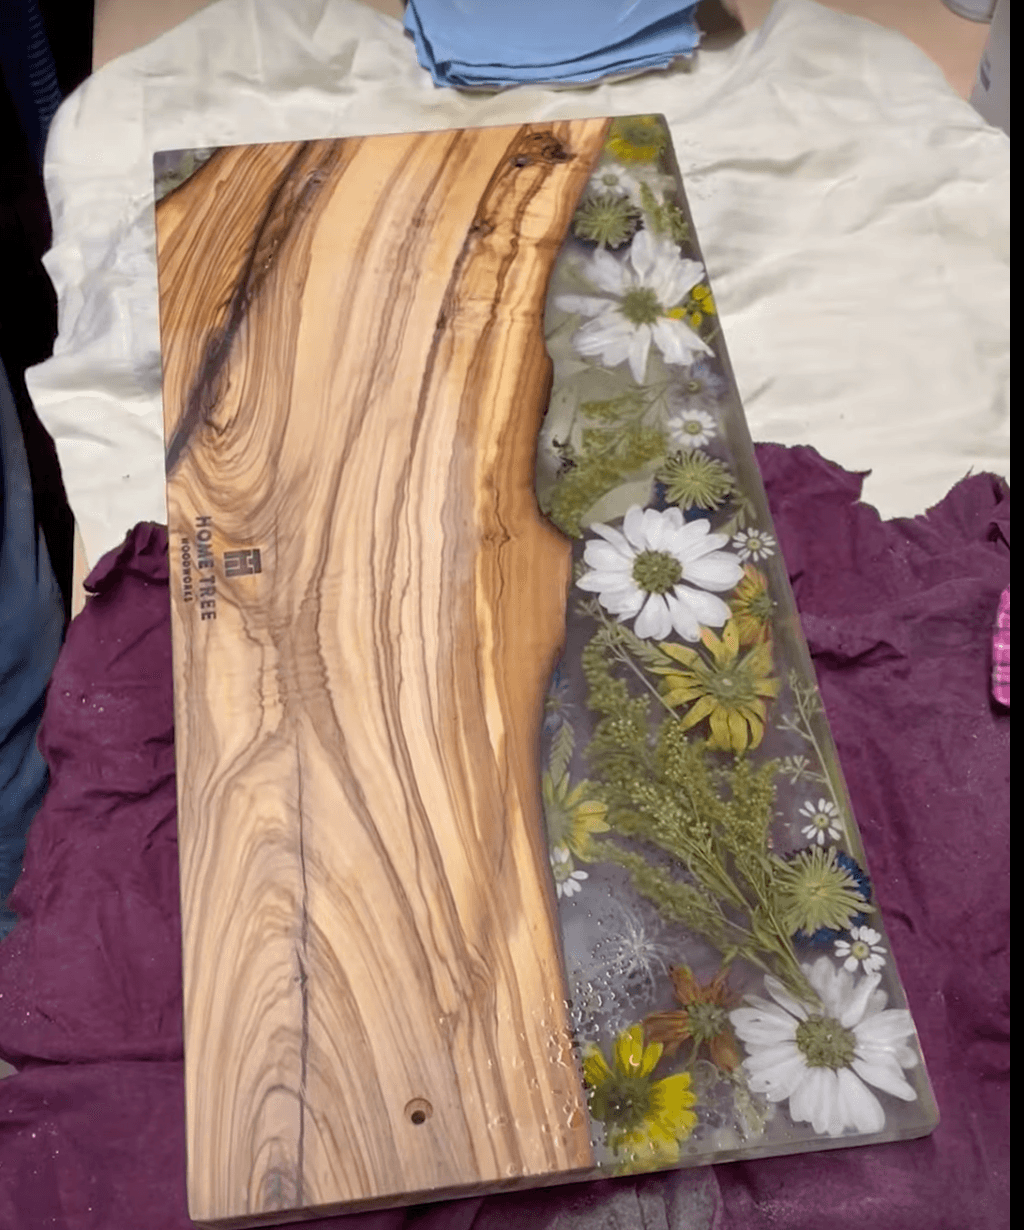
Here’s a concise step-by-step tutorial for making an epoxy flower board using reclaimed wood:
Materials Needed:
- Reclaimed wood (olive, walnut, etc.)
- Epoxy resin (clear casting type)
- Dried flowers (your choice)
- Square mold (silicone or wood)
- Mold release spray (optional)
- Sandpaper (various grits)
- Planer (optional)
- Measuring cups and mixing sticks
- Gloves and a mask
- Heat gun or torch (for bubbles)
- Flood coat epoxy (optional for finishing)
Step-by-Step Tutorial:
Step 1: Prepare the Mold
- Create or Obtain a Mold: Ensure your square mold is clean. If using wood, consider lining it with plastic or using mold release spray.
Step 2: Cut and Prepare the Wood
- Cut Wood: Cut your reclaimed wood to fit the mold.
- Sand Wood: Smooth all surfaces with sandpaper, starting with coarse grit and finishing with fine grit.
Step 3: Mix and Pour the First Epoxy Layer
- Mix Epoxy: Follow manufacturer instructions to mix resin and hardener.
- Pour First Layer: Pour a thin layer of epoxy into the mold, just enough to cover the bottom.
Step 4: Add Dried Flowers
- Arrange Flowers: Once the first layer is tacky, arrange your dried flowers on top.
- Press Gently: Ensure flowers are submerged slightly for a secure bond.
Step 5: Pour the Final Epoxy Layer
- Mix More Epoxy: Prepare another batch of epoxy.
- Pour Over Flowers: Carefully pour the epoxy over the flowers until the mold is filled. Use a heat gun or torch to remove bubbles.
Step 6: Cure the Epoxy
- Allow to Cure: Let the epoxy cure according to the manufacturer’s instructions (usually 24-72 hours).
Step 7: Demold and Finish
- Remove from Mold: Once fully cured, gently remove the epoxy flower board from the mold.
- Planing (Optional): If desired, use a planer to create a smooth surface.
- Bevel Edges (Optional): For a finished look, bevel the edges with a router or sander.
Step 8: Sand and Apply Flood Coat
- Sand the Surface: Use sandpaper to smooth any rough spots.
- Apply Flood Coat: For added durability and a glossy finish, apply a flood coat of epoxy over the entire surface. Allow it to cure.
Final Tips:
- Work in a well-ventilated area and wear protective gear.
- Experiment with different flower arrangements for unique designs.
- Be patient and allow ample curing time for best results.
Enjoy creating your beautiful epoxy flower board!


