Beach Coaster Epoxy Resin DIY Tutorial
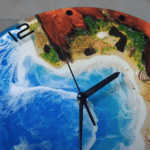
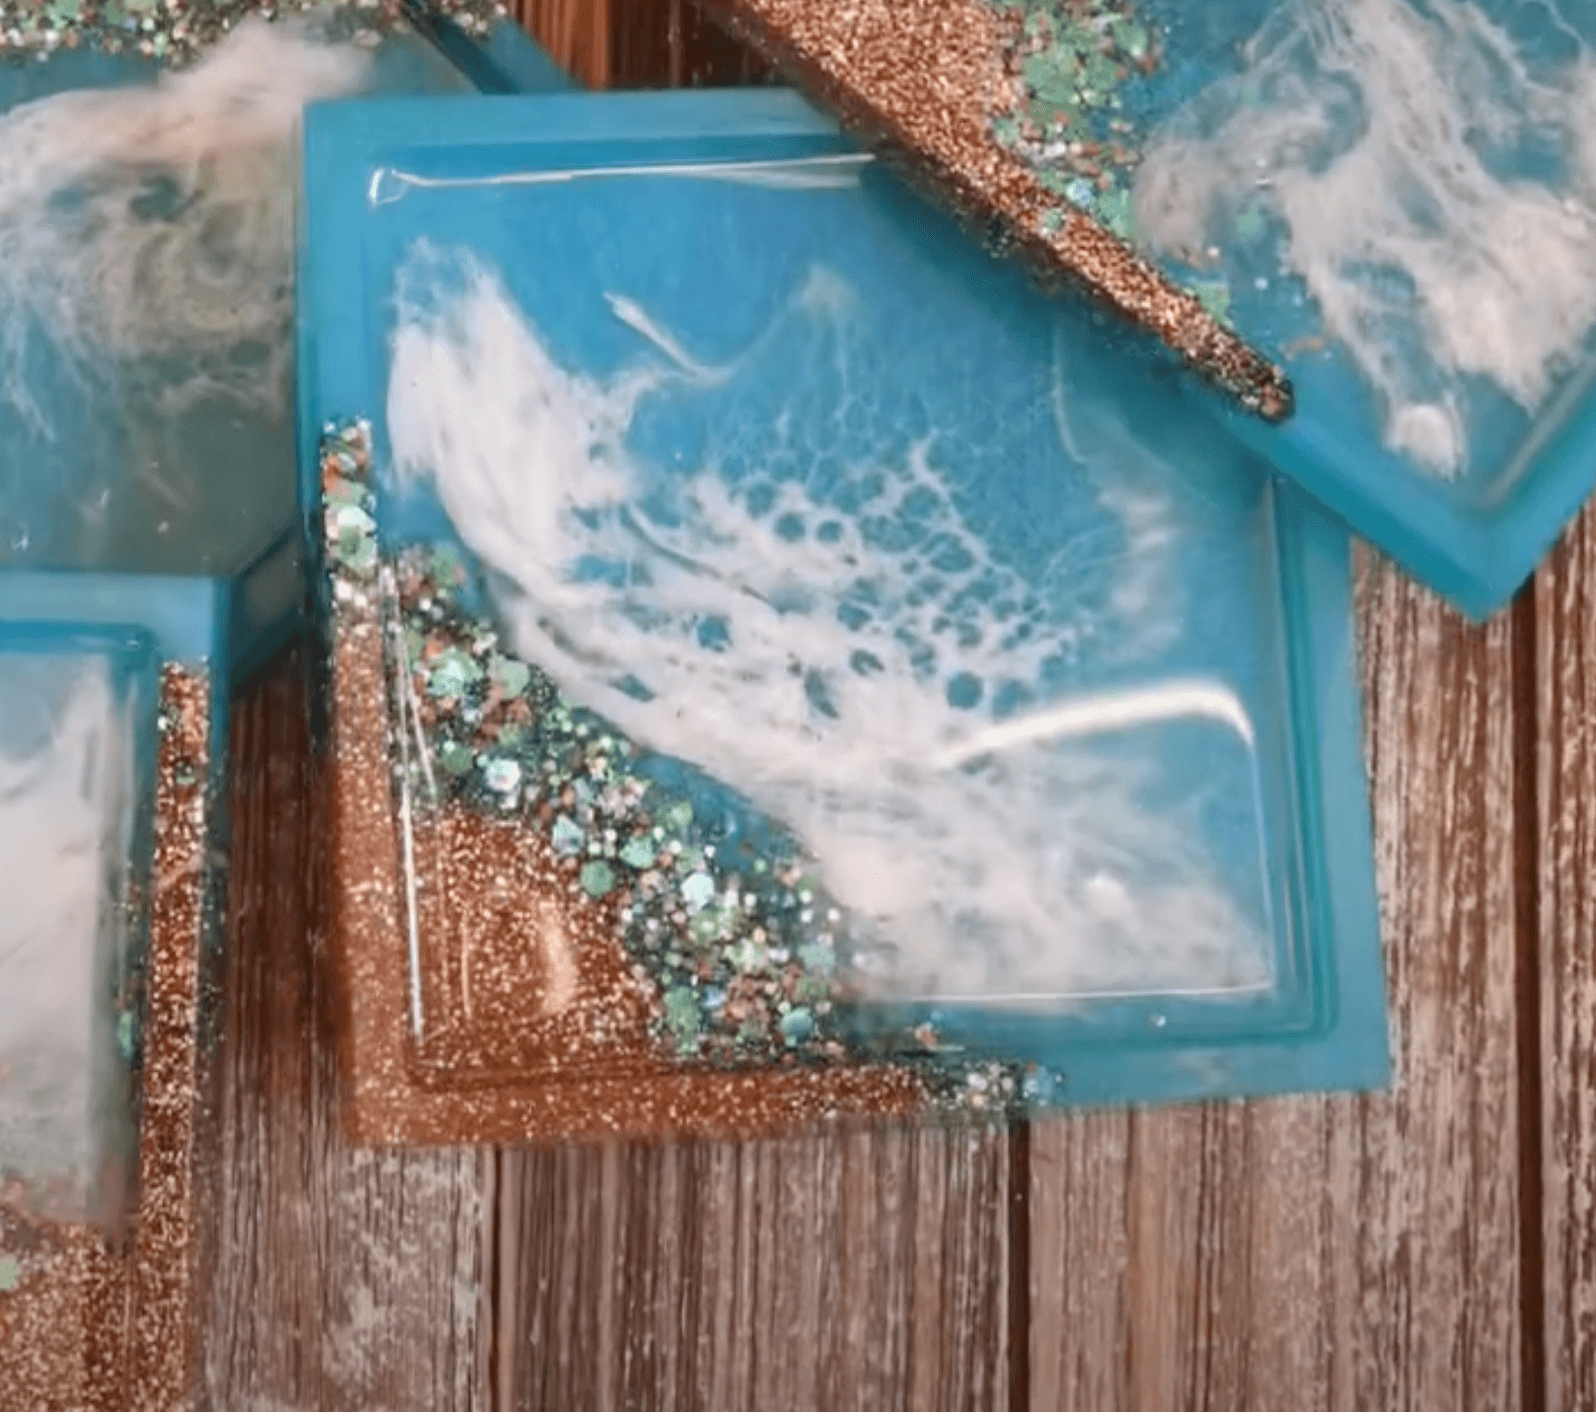
Create your very own stunning beach-themed coasters with this easy DIY epoxy resin tutorial! This project features beautiful ocean hues and sparkling elements, perfect for adding a touch of coastal charm to your home.
What You’ll Need
- Epoxy Resin: 3 cups
- Ocean Blue Dye
- Fine Gold Glitter
- Coarse Glitter
- Blue Lagoon Silicone Mold (square indented area)
- Crushed Mirror and Shark Teeth (optional for decoration)
- White Alcohol Ink
- White Acrylic Paint
- Blow Dryer (optional for effects)
- Mixing Cups and Sticks
- Gloves and Mask (for safety)
Instructions
Step 1: Prepare Your Workspace
- Set Up: Choose a well-ventilated area and cover your workspace with plastic or newspaper to catch any spills.
- Wear Safety Gear: Put on gloves and a mask to protect yourself from fumes.
Step 2: Mix the Epoxy
- Measure and Mix: In a clean mixing cup, measure out 3 cups of epoxy resin according to the manufacturer’s instructions.
- Stir Thoroughly: Mix the resin and hardener until fully combined.
Step 3: Color and Glitter Separation
- Divide the Epoxy: Pour the mixed epoxy into three separate cups.
- Cup 1: Add fine gold glitter for the sandy base.
- Cup 2: Add coarse glitter for waves or rocks.
- Cup 3: Add ocean blue dye.
Step 4: Pouring the Base Layer
- Fine Gold Glitter: Pour the fine gold glitter mixture into one corner of the silicone mold to create a sandy base.
- Coarse Glitter: Next, pour the coarse glitter along the edges of the fine gold glitter to represent waves or rocky areas.
- Ocean Blue Layer: Slowly drizzle the blue epoxy mixture into the mold, making sure it’s level. Adjust the glitter layers as needed.
Step 5: Let It Cure
- Cure Overnight: Allow the epoxy to sit undisturbed for at least 24 hours to fully cure.
Step 6: Add Decorative Elements
- Decorate the Center: Once cured, add crushed mirror and shark teeth to the square indented area of the coaster.
- Fill with Epoxy: Carefully fill this area with more epoxy to secure the decorations.
Step 7: Create Wave Effects
- Add Streaks: In a separate cup, mix white alcohol ink and white acrylic paint with a small amount of epoxy. Pour this mixture into the mold to create streaks resembling ocean waves.
- Use a Blow Dryer: If desired, use a blow dryer on a low setting to create dynamic wave effects.
Step 8: Final Cure
- Let It Dry: Allow the coaster to cure for an additional 24 hours.
Enjoy Your Creation!
Once fully cured, your beach coaster is ready to use! This unique piece will not only protect your surfaces but also add a beautiful coastal vibe to your decor. Happy crafting!

