DIY Epoxy Mahogany Coffee Table Tutorial
Creating an epoxy mahogany coffee table is a rewarding woodworking project that combines traditional craftsmanship with modern techniques. Whether you’re an experienced woodworker or a beginner looking to try something new, this DIY guide will walk you through the steps to build a stunning table that’s sure to become the centerpiece of any room.
Materials & Tools You’ll Need:
- Two mahogany slabs
- Planer (or hand planer)
- Drill and drill bits
- Wood pegs
- Clamp
- Sandpaper (various grits)
- Epoxy resin for filling slits and knots
- Thick wood slab (for legs)
- Saw (for cutting legs)
- Wood glue
- Router (optional for designs)
- Wood finish (oil, stain, or varnish)
- Wood glue
Step 1: Prepare the Mahogany Slabs
Start by preparing the two mahogany slabs that will form the top of your coffee table. If you’re using a planer, run each slab through it to smooth and level the wood. If you don’t have a planer, you can manually plane the wood by hand, though this will require more effort. The goal is to ensure both slabs are flat and even, with smooth surfaces.
Step 2: Drill Slits and Insert Pegs
Once your slabs are smooth, it’s time to join them together. On one of the slabs, drill small slits along the edges where the two slabs will meet. These slits will hold wooden pegs, which will help align and secure the slabs. Insert the pegs into the drilled slits and make sure they fit snugly.
Step 3: Clamp the Slabs Together
Now, carefully align the two slabs, ensuring the pegs are holding them together. Use clamps to tightly secure the slabs in place while the pegs do their job. Let this setup sit for a while to ensure the pegs are firmly in place before proceeding.
Step 4: Sand the Slabs
After the slabs are clamped together, it’s time to smooth out the surface. Use a sanding block or orbital sander with various grits of sandpaper, starting with a lower grit (around 120) to remove any rough spots, and finishing with finer grits (220 or higher) for a smooth, polished surface. Pay close attention to the edges and corners for a clean finish.
Step 5: Fill in Slits and Knots with Epoxy Resin
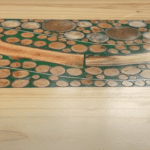
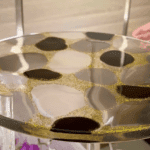
Now that the slabs are smooth, you’ll likely have some imperfections, such as knots or slits. To fill these, mix epoxy resin according to the manufacturer’s instructions and carefully apply it to the imperfections. Use a putty knife or similar tool to smooth the epoxy and ensure it fills the slits and knots. Let the resin cure completely before moving on.
Step 6: Cut and Shape the Legs
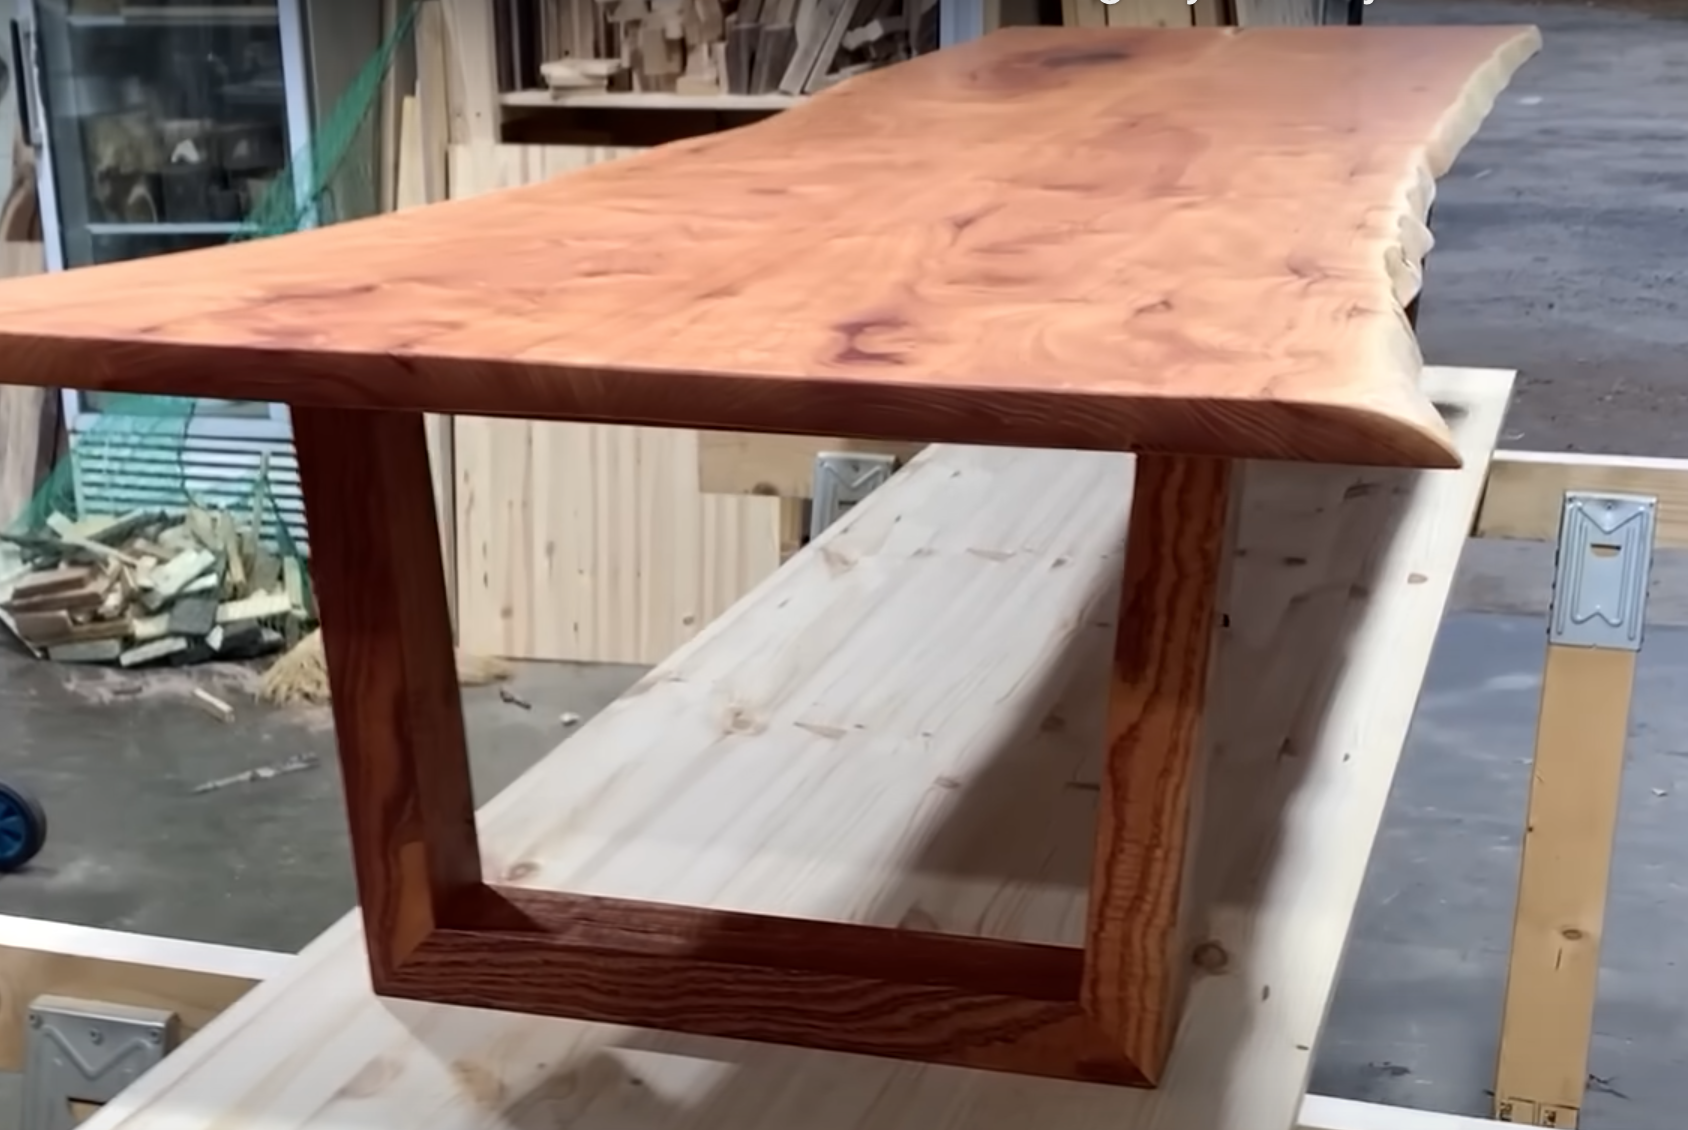
For the base of your table, you’ll need to create four legs. Start with a thick wood slab, and use a saw to cut the legs to your desired length. Once the legs are cut, angle them to give the table a sleek, modern look. You can either keep the legs straight for a more traditional look or experiment with angled cuts for a contemporary style.
Step 7: Create Two Boxes for Support
Next, create two boxes using the four legs. Peg and glue the legs together into two separate box structures, ensuring they’re square and sturdy. These boxes will serve as the supports for your table top. The size of the boxes should align with the width of your table, so make sure they’re proportionate.
Step 8: Attach the Boxes to the Table Top
Once the boxes are complete, it’s time to attach them to the bottom of the table top. Line up the boxes on either side of the slab and peg them into place. Use wood glue and clamps to ensure a strong bond between the boxes and the table top.
Step 9: Finish the Table
Once the base is securely attached, it’s time to finish your table. Apply a wood finish of your choice—such as oil, stain, or varnish—over the entire table to protect the wood and enhance its natural beauty. Follow the product instructions for application, and make sure to allow the finish to dry thoroughly.
Step 10: Add Personal Touches
For a final touch, you can use a router to add custom designs or patterns to the table surface. Whether it’s a geometric pattern or a more intricate, artistic detail, the router is a great tool for adding a unique flair. If you prefer a simpler look, you can skip this step and leave the table as is for a sleek, minimalistic design.
Final Thoughts
With just a little time and effort, you can create a stunning, custom mahogany coffee table that’s both functional and a beautiful work of art. Whether you choose to add unique designs with a router or keep it simple, your handmade table will be a conversation starter and a true reflection of your woodworking skills. Happy crafting!

