Epoxy Resin Fire Cabinet Dresser. DIY Cabinets.
Creating your own custom epoxy resin fire cabinets is a project that blends woodworking with the beauty of epoxy resin. In this tutorial, we’ll walk you through how to build fire cabinets from scratch, incorporating epoxy resin for durability, aesthetics, and a touch of artistic flair.
What You’ll Need
- Wood pieces (for the structure and mold)
- Silicone sealant
- Epoxy resin (part A and part B)
- Sandpaper (various grits)
- Animal skin (for the cabinet doors)
- Wood for the cabinet backing and legs
- Wood glue
- Clamps
- Saw (for cutting the wood)
- Mixing containers and stir sticks (for the epoxy)
- Painter’s tape or clamps (for holding the mold together)
- Protective gloves and safety glasses
- Measuring tape
- Scissors (for cutting the animal skin)
Step 1: Preparing the Wood Pieces for the Mold
Cut and Sand the Wood
Start by cutting the wood pieces that will form the structure of your fire cabinets. You’ll need two longer pieces to form the sides, and two shorter pieces to form the front and back. These pieces should be large enough to provide the width, height, and depth you want for the cabinet.
- Scrape the Bark: If you’re using natural wood with bark, scrape off the bark to expose the clean wood. This will prevent any inconsistencies or rough surfaces when you apply the epoxy resin.
- Sand the Edges: Sand down any crooked or rough edges on your wood pieces to make sure they are straight and smooth. This will ensure a clean fit when gluing the pieces together.
Step 2: Creating the Epoxy Resin Mold
Place the Wood Pieces Together
Take two of your wood pieces and apply silicone sealant to the inside of one of the pieces. Position the two pieces with their curved edges facing outward, as these will create the outer mold shape for your epoxy resin.
- Seal the Ends: Use additional silicone sealant to seal off the ends of the mold. Make sure there are no gaps where the resin could leak out.
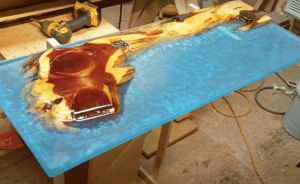
- Fill with Epoxy: Mix your epoxy resin (follow the instructions for proper mixing of part A and part B) and pour it into the mold. Fill it to the desired level and let it cure for the recommended time (usually 24–48 hours).
Step 3: Shaping the Resin Edges
Cut the Cured Resin in Half
Once the resin has fully cured, carefully remove the wooden pieces from the mold. You should now have a thick epoxy piece that has a curved edge.
- Cut in Half: Use a saw to cut the cured resin piece in half. Each half should now have a straight epoxy edge, which will form part of your fire cabinet’s structure.
Step 4: Assembling the Cabinet Structure
Cut the Wood for Height and Width
Now that you have the straight epoxy edges, cut your four pieces of wood (two for the height and two for the width) to match the desired dimensions of the fire cabinet.
Glue the Pieces Together
Glue each of these four pieces with four more pieces of wood to create the depth of the cabinet. This forms the basic frame of your cabinet. Use clamps to hold the pieces together until the glue has fully set.
Step 5: Making the Cabinet Doors and Back
Prepare the Animal Skin for the Doors
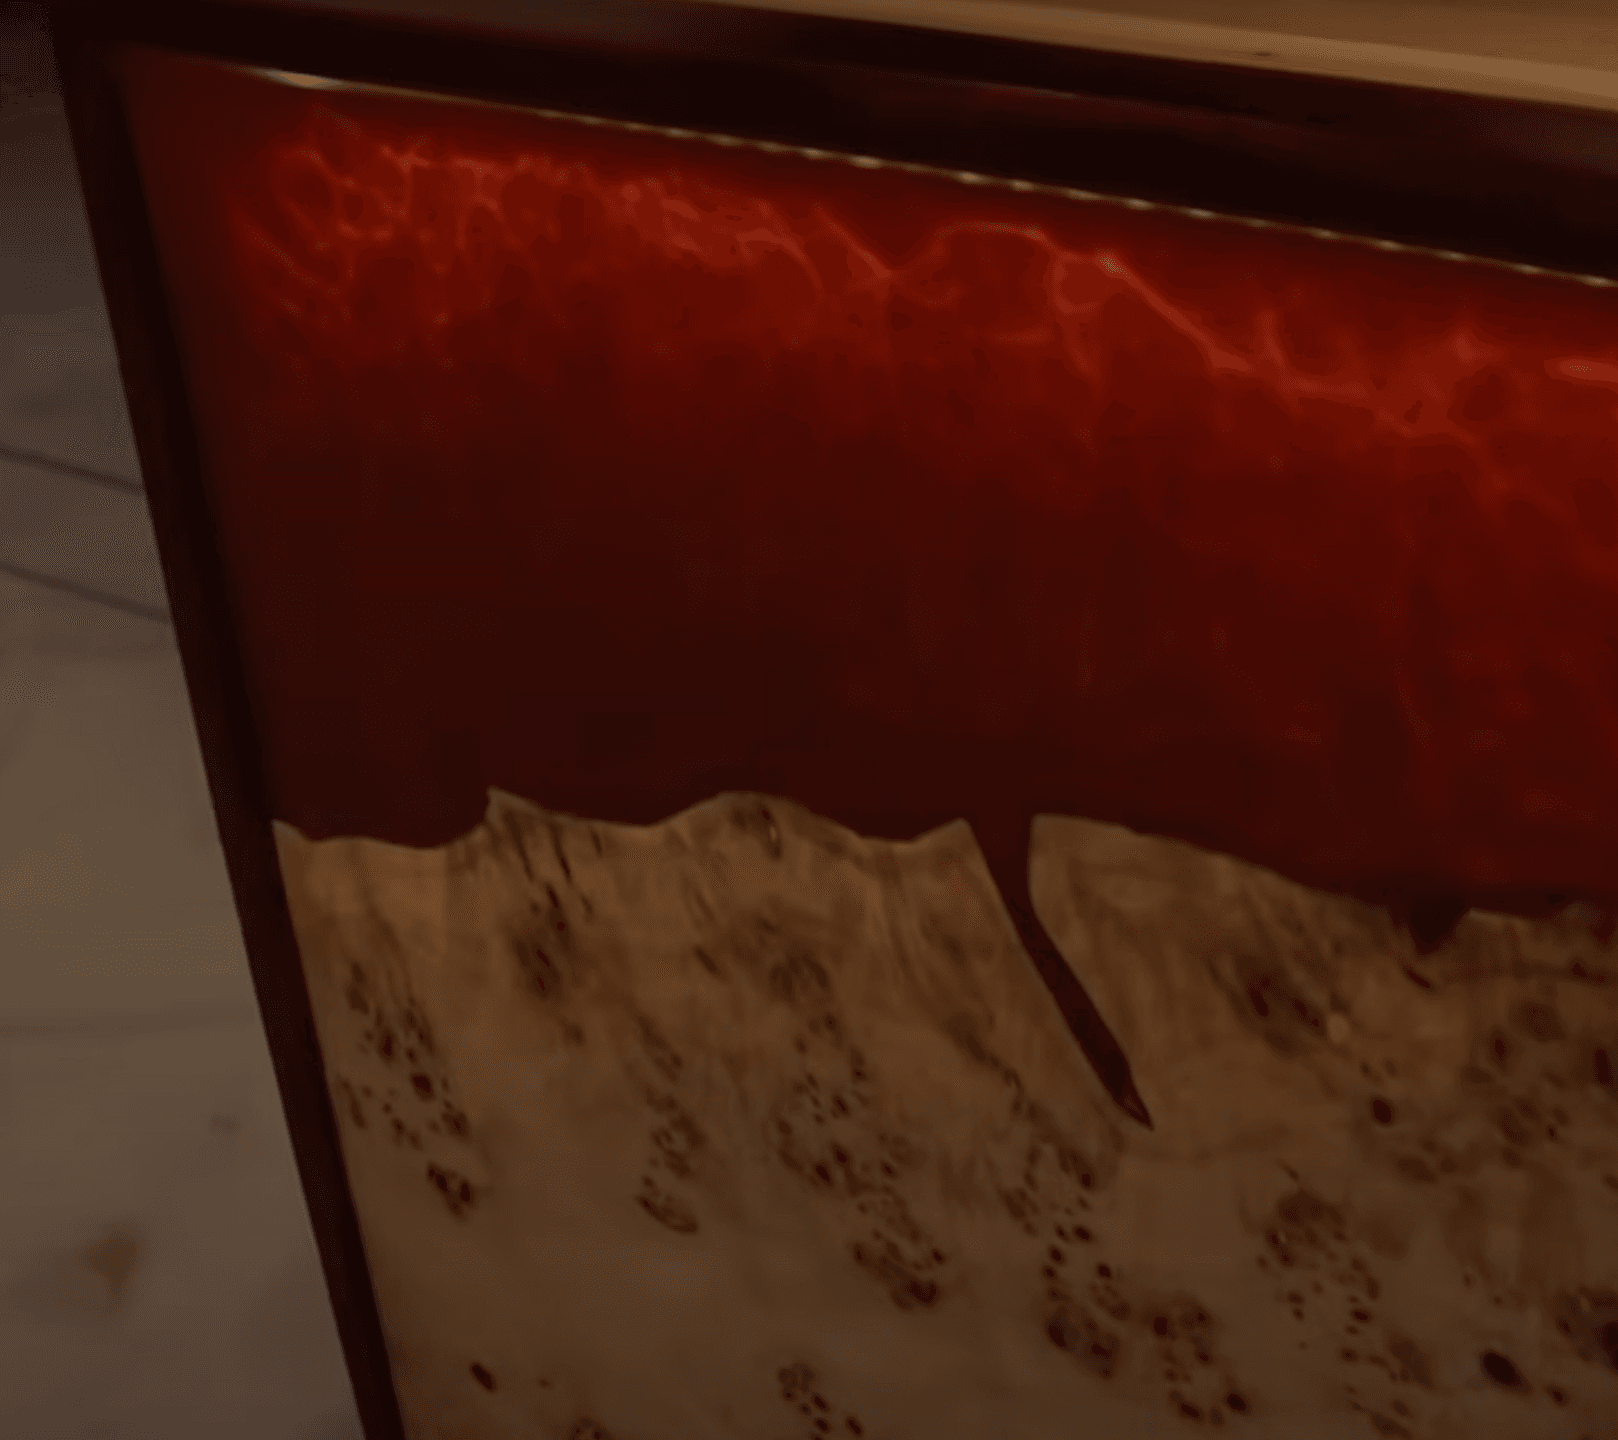
For the cabinet doors, you’ll be using animal skin, which will give the doors a unique texture and pattern. Start by cutting the animal skin to match the dimensions of the doors. Ensure that the skin fits within the wooden frame of the cabinet.
- Glue the Skin to the Wood: Apply glue to the back of the animal skin and attach it to the wood for the door panel. Press down to make sure it adheres smoothly.
Create the Mold for the Door Panel
Next, build a square mold around the wooden frame and animal skin. Use more silicone sealant or painter’s tape to seal the mold.
- Pour Epoxy to Create One Large Door Panel: Mix and pour epoxy resin into the mold, covering the animal skin and wood completely. Allow the resin to cure.
Step 6: Cutting the Doors and Final Assembly
Cut the Epoxy Resin Door Panel in Half
After the resin has cured, you should have one large, solid piece. Carefully cut this in half to create two cabinet doors. Sand the edges for a smooth, polished finish.
Create the Wood Backing for the Cabinet
For the back of the cabinet, cut a piece of wood to fit the dimensions of the structure. Attach this piece using wood glue, securing it to the back of the cabinet frame.
Step 7: Adding Legs and Finishing Touches
Add Legs
To complete the look and functionality of the fire cabinet, you can add legs. These can be made of wood, metal, or any material that complements your design. Attach the legs securely to the bottom of the cabinet frame.
Final Sanding and Coating
Once the cabinet structure is complete, sand all surfaces, including the epoxy resin and the wood. Start with a coarse grit sandpaper to remove any rough spots, then move to a finer grit for a smoother finish.
- Apply a Finish: If desired, apply a protective wood finish or clear epoxy topcoat to seal the wood and epoxy resin. This will give your cabinet a polished look and ensure long-term durability.
Step 8: Enjoy Your New Epoxy Resin Fire Cabinet!
Once everything is dry and the final coat has cured, your epoxy resin fire cabinet is ready to use. The combination of natural wood, animal skin, and epoxy resin gives the piece a beautiful, rustic yet modern appearance. Whether you’re using it for display, storage, or as a functional piece in your home, your custom-made fire cabinet is sure to be a unique addition!
Final Tips:
- Safety First: Always wear protective gloves, goggles, and a mask when working with epoxy resin and animal skin to avoid any irritation or injury.
- Work in a Well-Ventilated Area: Epoxy resin can release fumes, so ensure your workspace is properly ventilated.
- Plan Ahead: Epoxy has a working time before it starts to set, so make sure you have all your materials ready before mixing.
This DIY project requires patience and precision, but the results are definitely worth it. Happy crafting!

