How to Epoxy Concrete Floors with Flakes | Full DIY Tutorial
Epoxy flooring can completely transform the look of a concrete floor, giving it a sleek, glossy finish that’s both durable and easy to clean. While professional installations of epoxy floors can cost upwards of $4,000 to $5,000, with this DIY method, you can achieve a high-quality epoxy floor for just around $700! Here’s a step-by-step guide to applying epoxy with decorative flakes to your concrete floor.
What You’ll Need
- Concrete floor grinder with a diamond-cut blade
- Epoxy gel floor patch
- Plastic wrap and tape
- Moisture seal primer
- Epoxy resin (Part A and Part B)
- Decorative flakes
- Spiked epoxy shoes (for walking on the wet surface)
- Large paint roller
- Scraper
- Vacuum cleaner
- Painters tape (optional)
Step 1: Prepare the Concrete Floor
Grind Cracks and Uneven Surfaces
Start by using a grinder with a diamond-cut blade to address any visible cracks or rough spots in the concrete. You’ll want to grind the cracks a little wider so that you can apply the floor patch evenly.
Patch the Cracks
Once the cracks are ground out, apply an epoxy gel floor patch to fill them in. Allow the patch to cure overnight before continuing with the next steps.
Step 2: Smooth Out the Floor
Grind the Floor to Smooth
After the patch has fully cured, use the grinder again to smooth out the floor. This will help ensure a uniform surface for the epoxy application.
Clean the Floor
Vacuum the floor thoroughly to remove all dust and debris created from grinding. For the best adhesion, you need a clean, dry surface.
Step 3: Test for Moisture
Moisture Test
Now, it’s time to check the moisture level of your concrete. Take a piece of plastic wrap, tape it down to the floor, and leave it overnight. This will help you determine if there’s any trapped moisture in the concrete. If the plastic has condensation or the concrete feels damp underneath, it’s best to wait for the floor to dry fully before proceeding.
Step 4: Apply Moisture Seal Primer
Prime the Floor
Once you confirm the floor is dry, apply a moisture seal primer to the concrete. Mix your epoxy part A thoroughly before adding part B to ensure even consistency. After mixing, apply the primer to the floor. The primer will help improve the bond between the concrete and the epoxy, ensuring a long-lasting finish.
Step 5: Apply the Epoxy Base Coat
Coat the Sides
Before covering the entire floor, start by painting the edges and perimeter with the epoxy mixture. This ensures that the corners and edges are well-coated before you work on the larger surface area.
Toss Decorative Flakes
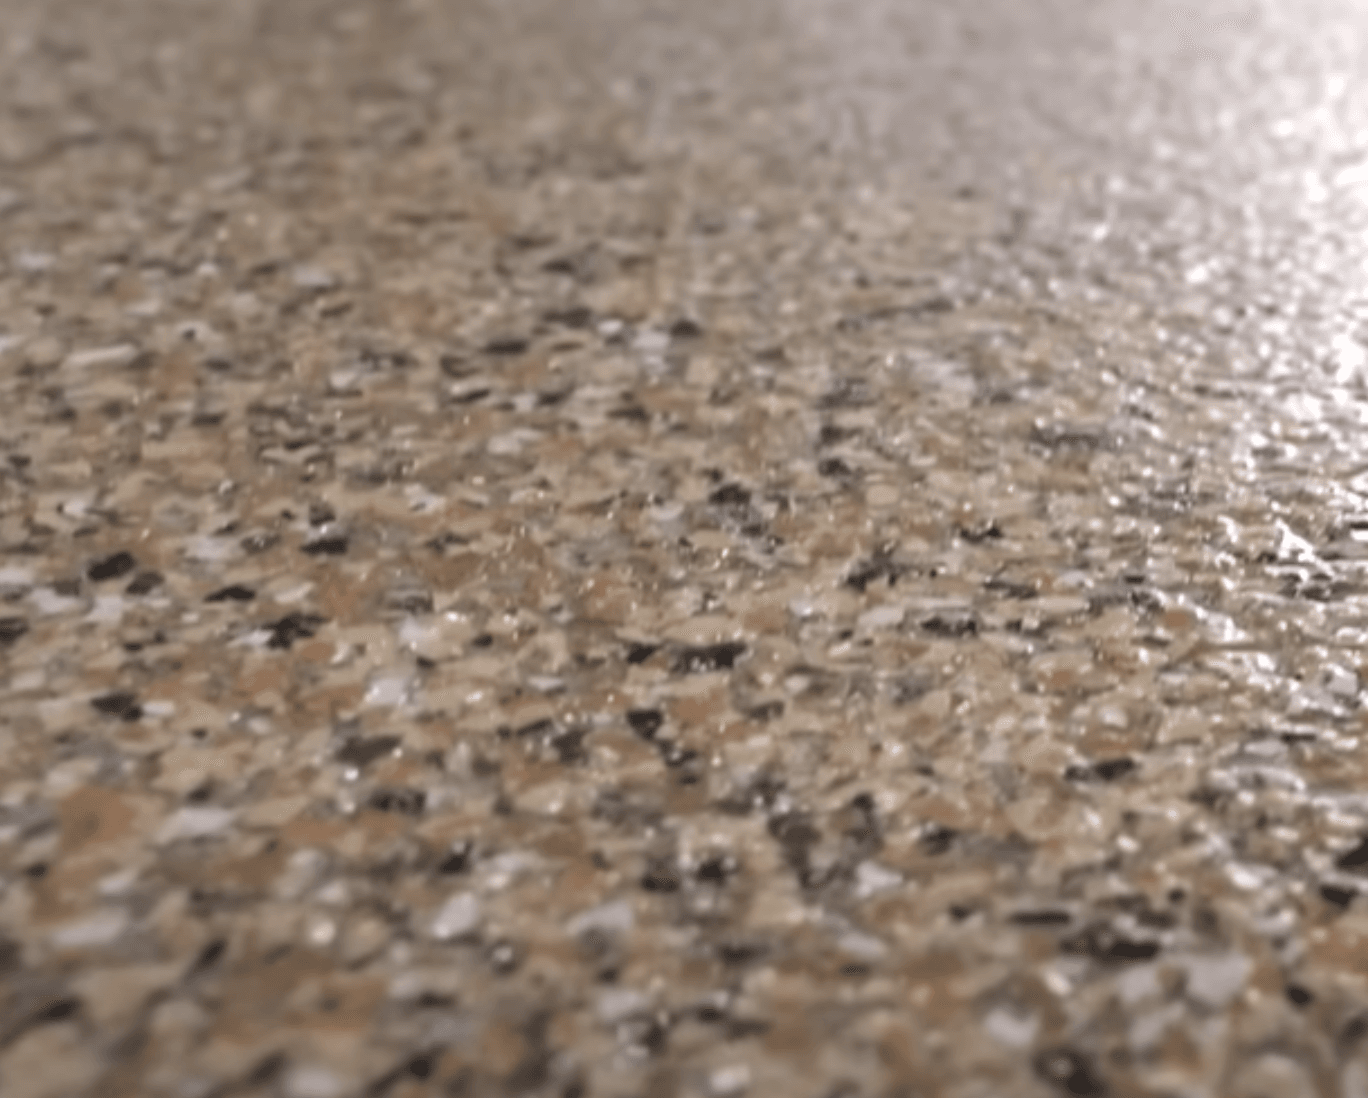
Next, while the primer is still wet, you’ll want to apply the decorative flakes. These flakes will add texture and a beautiful finish to your floor. Start by tossing the flakes onto the walls (this will help ensure they stick to the floor) and then move on to sprinkling them directly onto the epoxy-coated floor.
Flake Application Tip
Use your hands to throw a small handful of flakes into the air and distribute them evenly across the floor. The idea is to cover the entire surface until you can’t see any of the epoxy underneath. Make sure to keep moving to avoid over-applying flakes in one spot. Keep tossing until you achieve an even, thick layer.
Wear Spiked Shoes
It’s essential to wear spiked shoes during this process to prevent your weight from disturbing the flakes while you’re walking around on the wet surface. Spiked shoes will help you navigate the floor without ruining your work.
Step 6: Allow the Floor to Cure
Let the Epoxy Cure
Once the flakes have been evenly distributed, allow the floor to cure for at least 24 hours. This will give the base coat time to fully harden and bond to the surface.
Step 7: Scrape and Clean
Scrape Off Excess Flakes
After the base coat has dried, you’ll likely have some excess flakes sticking up above the surface. Use a scraper to remove these high spots and smooth the floor out.
Vacuum
Once the flakes have been scraped, vacuum the entire floor to remove any loose debris and dust.
Step 8: Apply the Topcoat
Topcoat the Floor
Next, it’s time to apply the final epoxy topcoat. Use a large roller to apply a thin, even coat over the entire floor. This will seal the flakes in and give the floor a glossy, durable finish.
Let the Topcoat Dry
Allow the topcoat to dry completely. Depending on the type of epoxy you’re using, it may take up to 24 hours for the floor to be fully cured and walkable. Be sure to follow the manufacturer’s instructions for drying times.
Step 9: Enjoy Your New Floor!
Once the topcoat has dried, your epoxy floor with decorative flakes will be ready for use! You can now enjoy a professional-quality finish that not only looks great but also protects your concrete floor from stains, damage, and wear.
Final Thoughts
Epoxy flooring is an excellent DIY project that can save you a significant amount of money while giving your floors a sleek and durable finish. By following these steps carefully and using the right materials, you’ll have a stunning epoxy floor in no time! Just remember to give each layer ample drying time and always test for moisture before beginning your work.
Happy DIY-ing!

