How to Make an Ice Chandelier with Epoxy and Tree Bark DIY
Introduction
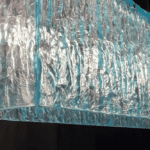
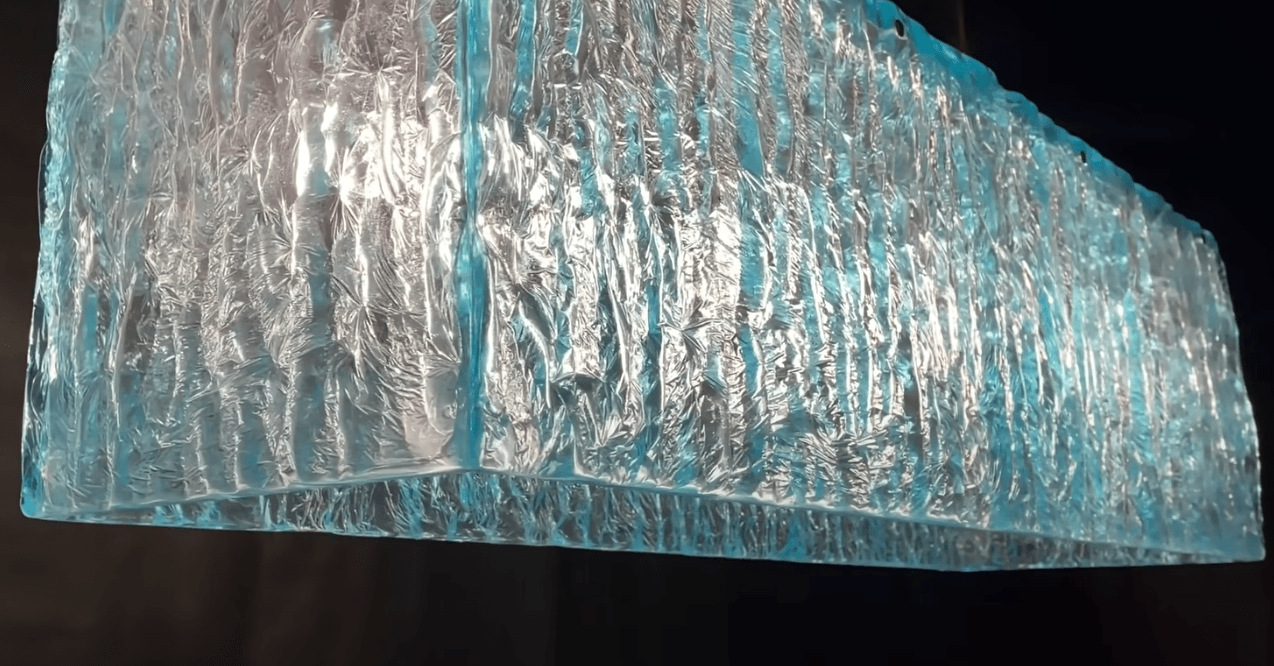
Creating a stunning designer chandelier from tree bark and epoxy resin is an exciting project that combines natural materials with modern design. This unique piece will add character and charm to any space, resembling shimmering ice with its translucent epoxy finish. Follow this DIY to craft your very own ice chandelier!
Materials Needed
- Tree bark pieces
- Wood frames (2)
- Cellophane
- Epoxy resin
- Blue colorant (your choice)
- Metal frame for chandelier
- Drill
- Metal light-hanging elements
- Glass for the top (optional)
- Measuring tools
DIY Instructions
Step 1: Prepare the Wood Frames
- Gather Materials: Collect various pieces of tree bark. Choose pieces that vary in shape and texture for added visual interest.
- Create Wood Frames: Construct two wood frames that will hold the bark pieces and epoxy. Ensure they are sturdy enough to support the weight of the resin.
Step 2: Set Up the Frames
- Place Bark in Frames: Arrange the bark pieces within the frames. Play with the layout until you achieve a design you love.
- Cover with Cellophane: Line the inside of the frames with cellophane. This will help with easy removal of the cured epoxy later.
Step 3: Prepare the Epoxy
- Mix Epoxy Resin: Prepare your epoxy resin according to the manufacturer’s instructions. Add your chosen blue colorant and mix thoroughly until the color is consistent.
Step 4: Pour the Epoxy
- Pour Over Bark: Carefully pour the blue epoxy mixture over the cellophane-covered bark in the frames. Ensure the bark pieces are fully submerged for a textured, ice-like effect.
Step 5: Create the Metal Frame
- Measure and Cut: Once the epoxy has cured (typically 24 hours), remove the pieces from the frames. Measure the dimensions of your epoxy squares to determine the size of the metal frame.
- Cut Sides for the Box: Cut square pieces off of each molded side, ensuring they are even and uniform.
Step 6: Assemble the Chandelier
- Drill Holes: Drill holes in the corners of your epoxy squares to attach them to the metal frame.
- Attach to Metal Frame: Connect the epoxy pieces to the metal frame using screws or bolts, ensuring they are secure.
Step 7: Add Lighting
- Install Lighting: Connect your lighting elements to the frame. Use metal light-hanging elements to suspend the light fixtures securely.
- Optional Glass Top: If desired, add a glass piece on top for an elegant finish. This can help diffuse the light and add to the chandelier’s overall aesthetic.
Conclusion
Congratulations! You’ve created a stunning designer ice chandelier that beautifully combines the organic texture of tree bark with the sleek, modern finish of epoxy. This custom piece not only serves as a functional light source but also as a striking work of art. Enjoy the ambiance and beauty it brings to your space!

