How to Make Designer Metallic Epoxy Floors
Introduction
Transforming your space with a stunning metallic epoxy floor can add elegance and durability to any environment. This guide will walk you through the process of creating a beautiful designer epoxy resin floor, from leveling the substrate to applying the final top coat. With the right materials and techniques, you’ll achieve a stunning finish that looks amazing and stands the test of time.
Materials Needed
- Concrete primer
- Self-leveling concrete
- Epoxy clear penetrate primer
- Base coat (white penetration primer)
- Metallic epoxy base color
- Epoxy hardener
- Spiked squeegee
- Spiked sandals
- Colored epoxy for design
- Roller brush
- Sander
- Sikafloor hybrid top coat
- Quality roller for top coat application
Step-by-Step Instructions
Step 1: Level the Floor
- Prepare the Substrate: Ensure your floor is clean and free of debris.
- Level the Floor: Use a self-leveling compound to fill any dips or uneven areas, ensuring a smooth surface.
Step 2: Apply Concrete Primer
- Concrete Primer: Apply a concrete primer evenly across the surface. Allow it to dry for 24 hours to ensure proper adhesion.
Step 3: Pour Self-Leveling Concrete
- Self-Leveling Concrete: After the primer has dried, mix and pour self-leveling concrete to achieve a perfectly leveled floor. Allow it to cure for 24 hours.
Step 4: Apply Epoxy Clear Penetrate Primer
- Epoxy Primer: Using a paint roller, apply a coat of epoxy clear penetrate primer. This step enhances adhesion for the subsequent layers.
Step 5: Apply Base Coat
- Base Coat: Once the primer is dry (after 24 hours), apply a white penetration primer base coat and let it dry thoroughly.
Step 6: Prepare Metallic Epoxy
- Mix Metallic Epoxy: Combine the metallic base color with the epoxy and add the hardener according to the manufacturer’s instructions.
Step 7: Pour and Spread Epoxy
- Pour Epoxy: Pour the mixed epoxy onto the floor and spread it using a spiked squeegee. This ensures even distribution.
Step 8: Walk on the Floor
- Use Spiked Sandals: While the epoxy is still wet, wear spiked sandals to walk over the surface, helping to eliminate air bubbles and smooth out the epoxy.
Step 9: Design with Colored Epoxy
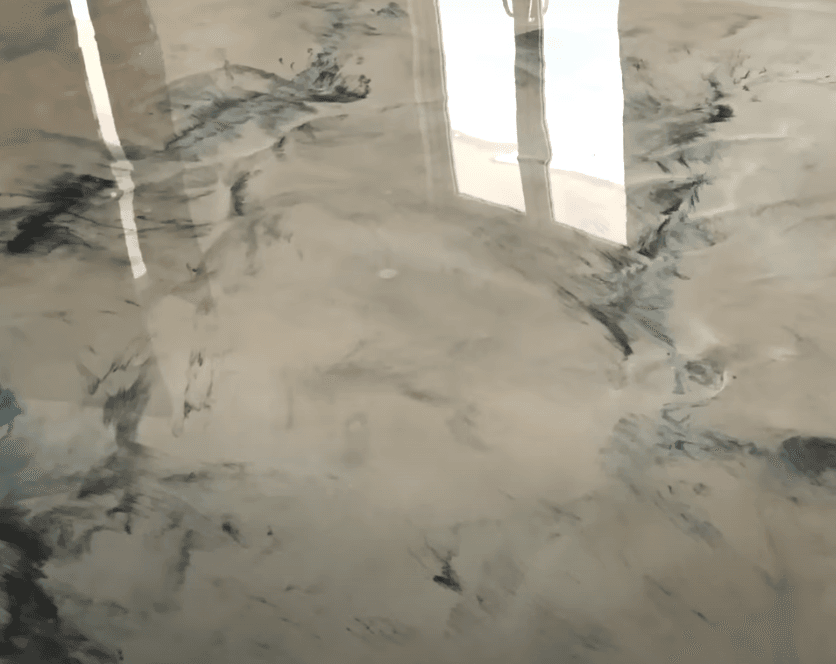
- Add Design: Use colored epoxy to create custom streaks and artistic designs on the floor. You can also use a roller brush to blend colors for wider designs.
Step 10: Final Touches
- Blend Colors: Roller marks will disappear after about 5 minutes, so take your time to create the desired look.
Step 11: Cure the Floor
- Curing Time: Allow the floor to cure for 8-12 hours, ensuring it sets properly.
Step 12: Sand and Top Coat
- Sand the Floor: After curing, lightly sand the floor using a sander to prepare for the top coat.
- Top Coat Application: Apply Sikafloor hybrid top coat using a quality roller to avoid roller marks. Ensure even coverage and let it dry according to the manufacturer’s recommendations.
Conclusion
Your designer metallic epoxy floor is now complete! This beautiful finish not only enhances the aesthetics of your space but also provides a durable, easy-to-clean surface. Enjoy your stunning new floor and the compliments that will surely follow!

