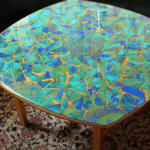
Resin Art Tutorial: Dried Flowers and Epoxy Resin Table
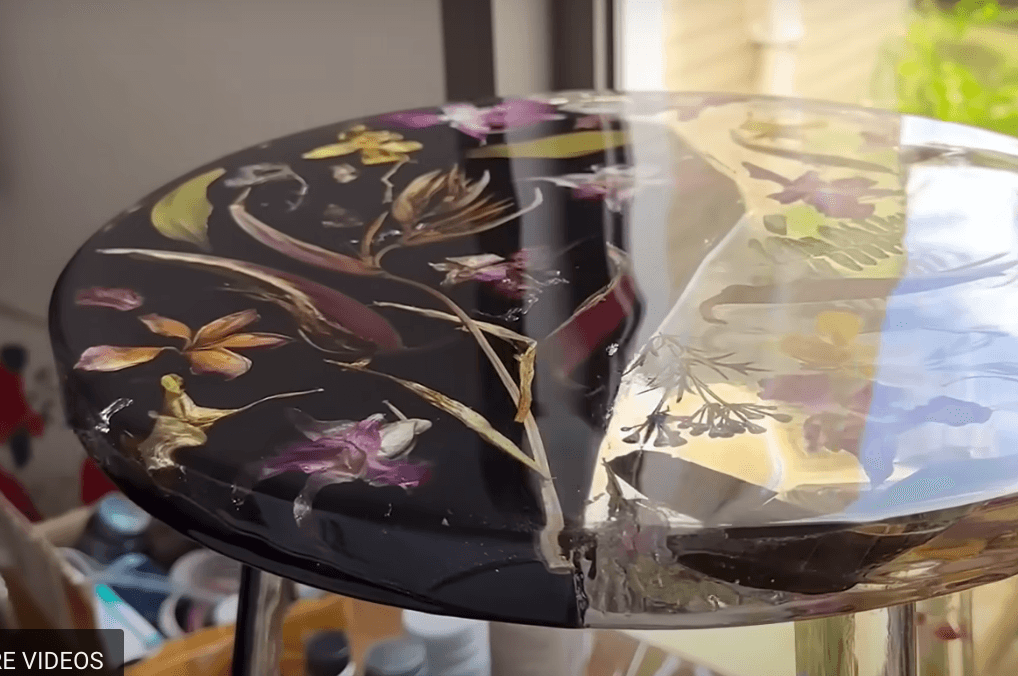
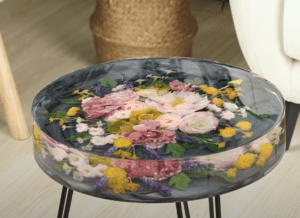
Make a table adorned with dried flowers using epoxy resin in this tutorial. This project combines the beauty of nature with the durability of resin, resulting in a unique and elegant piece for your home.
What You’ll Need
- Dried Flowers: Your choice of flowers
- Silicone Baking Mat
- Baking Sheet
- Paper Towels
- Oven
- Circular Silicone Mold
- Cardboard (for dividers)
- Sealant (e.g., silicone sealant)
- Epoxy Resin: Clear and black
- PVC Tubing: For legs
- Sandpaper
- Clear Coat Finish
- Heat Gun
- Mixing Cups and Sticks
- Gloves and Mask (for safety)
Instructions
Step 1: Dry the Flowers
- Prepare the Oven: Preheat your oven to a very low temperature, around 100 degrees Celsius (or less).
- Arrange the Flowers: Place your flowers on a baking sheet lined with paper towels. This helps absorb moisture and prevents them from burning.
- Dry the Flowers: Heat the flowers in the oven for about 1 hour. Ensure they are completely dry to avoid any rotting in the epoxy over time.
Step 2: Create the Mold
- Make a Divider: Using cardboard, create a divider for your circular mold to separate the flower mixture from the black epoxy. Make sure to seal each side with a silicone sealant to prevent leaks.
Step 3: Mix and Pour the Epoxy
- Prepare Flower Mixture: In a clean mixing cup, prepare your clear epoxy resin according to the manufacturer’s instructions. Add your dried flowers into the epoxy mixture.
- Pour into the Mold: Carefully pour the flower mixture into one half of the circular mold. Allow it to cure according to the instructions.
Step 4: Add the Black Epoxy
- Prepare Black Epoxy: Once the flower mixture has cured, mix your black epoxy resin as per the manufacturer’s instructions.
- Pour Over the Flowers: Pour the black epoxy into the other half of the mold and allow it to cure completely.
Step 5: Remove and Sand
- Demold the Tabletop: Once both halves are cured, carefully remove them from the mold.
- Sand the Edges: Use sandpaper to smooth any rough edges and ensure a clean finish on both the top and bottom of the tabletop.
Step 6: Create the Legs
- Prepare PVC Tubing: Cut the PVC tubing in half to create three legs for the table.
- Add Flowers: If desired, fill the PVC tubing with more dried flowers and then allow it to dry completely.
- Sand the Legs: Once dried, sand the edges of the legs to ensure a smooth surface.
Step 7: Assemble the Table
- Attach the Legs: Position the legs evenly beneath the tabletop and secure them in place using adhesive or epoxy.
- Final Touches: Ensure the legs are sturdy and the tabletop is level.
Step 8: Apply the Clear Coat
- Add Clear Coat Finish: Once the assembly is complete, apply a clear coat finish to the entire table for extra protection and shine.
- Remove Bubbles: Use a heat gun to help distribute the clear coat evenly and remove any air bubbles that may form.
Enjoy Your Creation!
Your beautiful dried flower and epoxy resin table is now complete! This unique piece not only showcases the beauty of nature but also adds a touch of elegance to any room. Enjoy displaying your handcrafted art!

