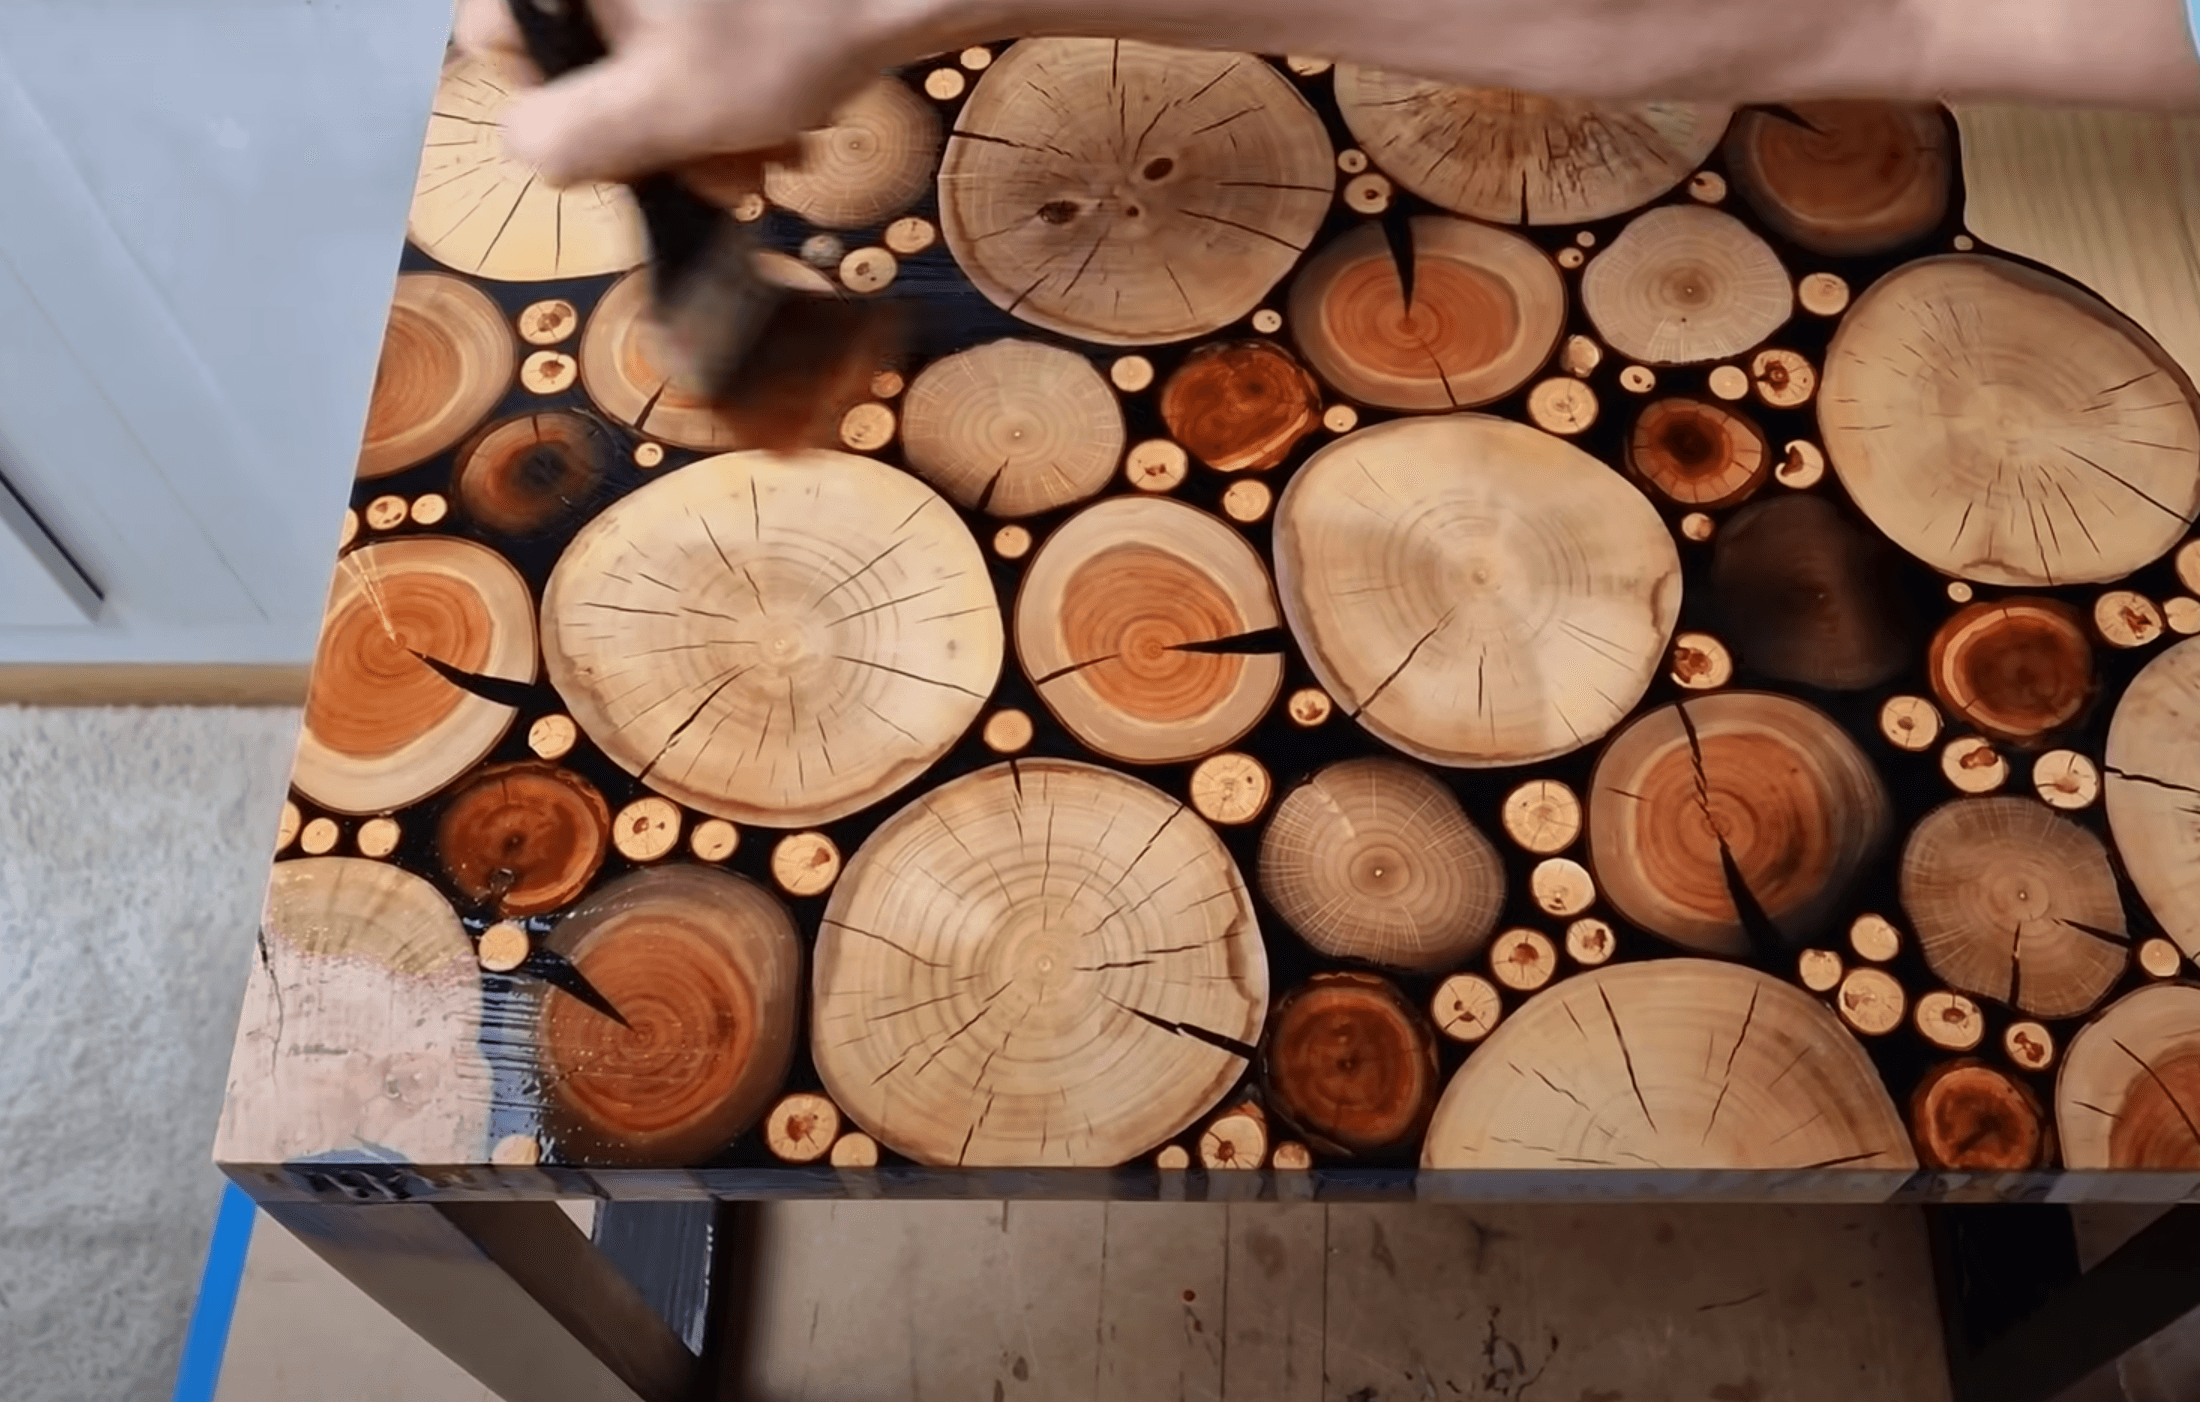
Coffee Table Made From a Peach Tree with Epoxy Resin
Creating a custom epoxy coffee table using peach tree branches is a rewarding DIY project that combines natural beauty with modern design. By transforming thick, rustic branches into a stunning piece of furniture, you’ll not only showcase your craftsmanship but also bring a unique touch to your living space. This project involves careful preparation, creative arrangement, and the artful use of epoxy resin to fill in gaps and enhance the wood’s natural charm. Whether you’re a seasoned woodworker or a beginner, this guide will walk you through each step to help you craft a one-of-a-kind coffee table that’s sure to impress.
Materials Needed
- Thick peach tree branches
- Epoxy resin (charcoal or purple)
- Wood for the frame (1×4 or similar)
- Plywood for the bottom (if needed)
- Circular saw
- Sander (or homemade planer)
- Clear coat finish
- Wood glue
- Clamps
- Drill and screws
- Safety gear (gloves, mask, goggles)
Instructions
1. Prepare the Branches
- Cut Branches: Cut the thick peach tree branches into uniform cylindrical pieces. Aim for the same height for a neat look.
- Remove Bark: Carefully remove all the bark from each piece using a knife or a bark peel tool.
2. Build the Frame
- Measure and Cut Wood: Cut the frame pieces to your desired table dimensions. The frame should have enough depth to hold the branches and resin.
- Assemble the Frame: Use wood glue and screws to assemble the frame, ensuring it’s sturdy. If desired, cut a triangular piece of wood to fit into one corner.
3. Arrange the Branches
- Fit Circular Pieces: Cut multiple circular shapes from wood that fit snugly into the corner piece. This will add visual interest.
- Organize Branches: Arrange the branch pieces across the frame to mimic a tree trunk look. Mix thicker sticks and branches for depth and texture.
4. Prepare the Epoxy
- Mix Epoxy Resin: Follow the manufacturer’s instructions to mix the epoxy resin. Add pigment to achieve the desired dark color (charcoal or purple).
- Pour Resin: Carefully pour the resin over the arranged branches and into the frame, ensuring it fills all gaps.
5. Curing
- Let it Cure: Allow the epoxy to cure according to the manufacturer’s instructions, typically 24-48 hours.
6. Finish the Table
- Remove the Frame: Once cured, flip the table over and carefully remove the frame sides and bottom.
- Sand the Surface: Use a sander or homemade planer to smooth the surface evenly. Be sure to sand down any sharp edges as needed.
- Apply Clear Coat: Finish with a clear coat for protection and added shine.
7. Final Touches
- Allow the clear coat to dry completely before using your new coffee table.
Tips
- Work in a well-ventilated area, especially when using epoxy and clear coat.
- Wear safety gear during cutting and sanding.
- Take your time to arrange the branches for the best aesthetic effect.
Enjoy your unique coffee table project! It’ll be a beautiful centerpiece for your space.

