River Epoxy Shelf Made Of Red Cedar DIY
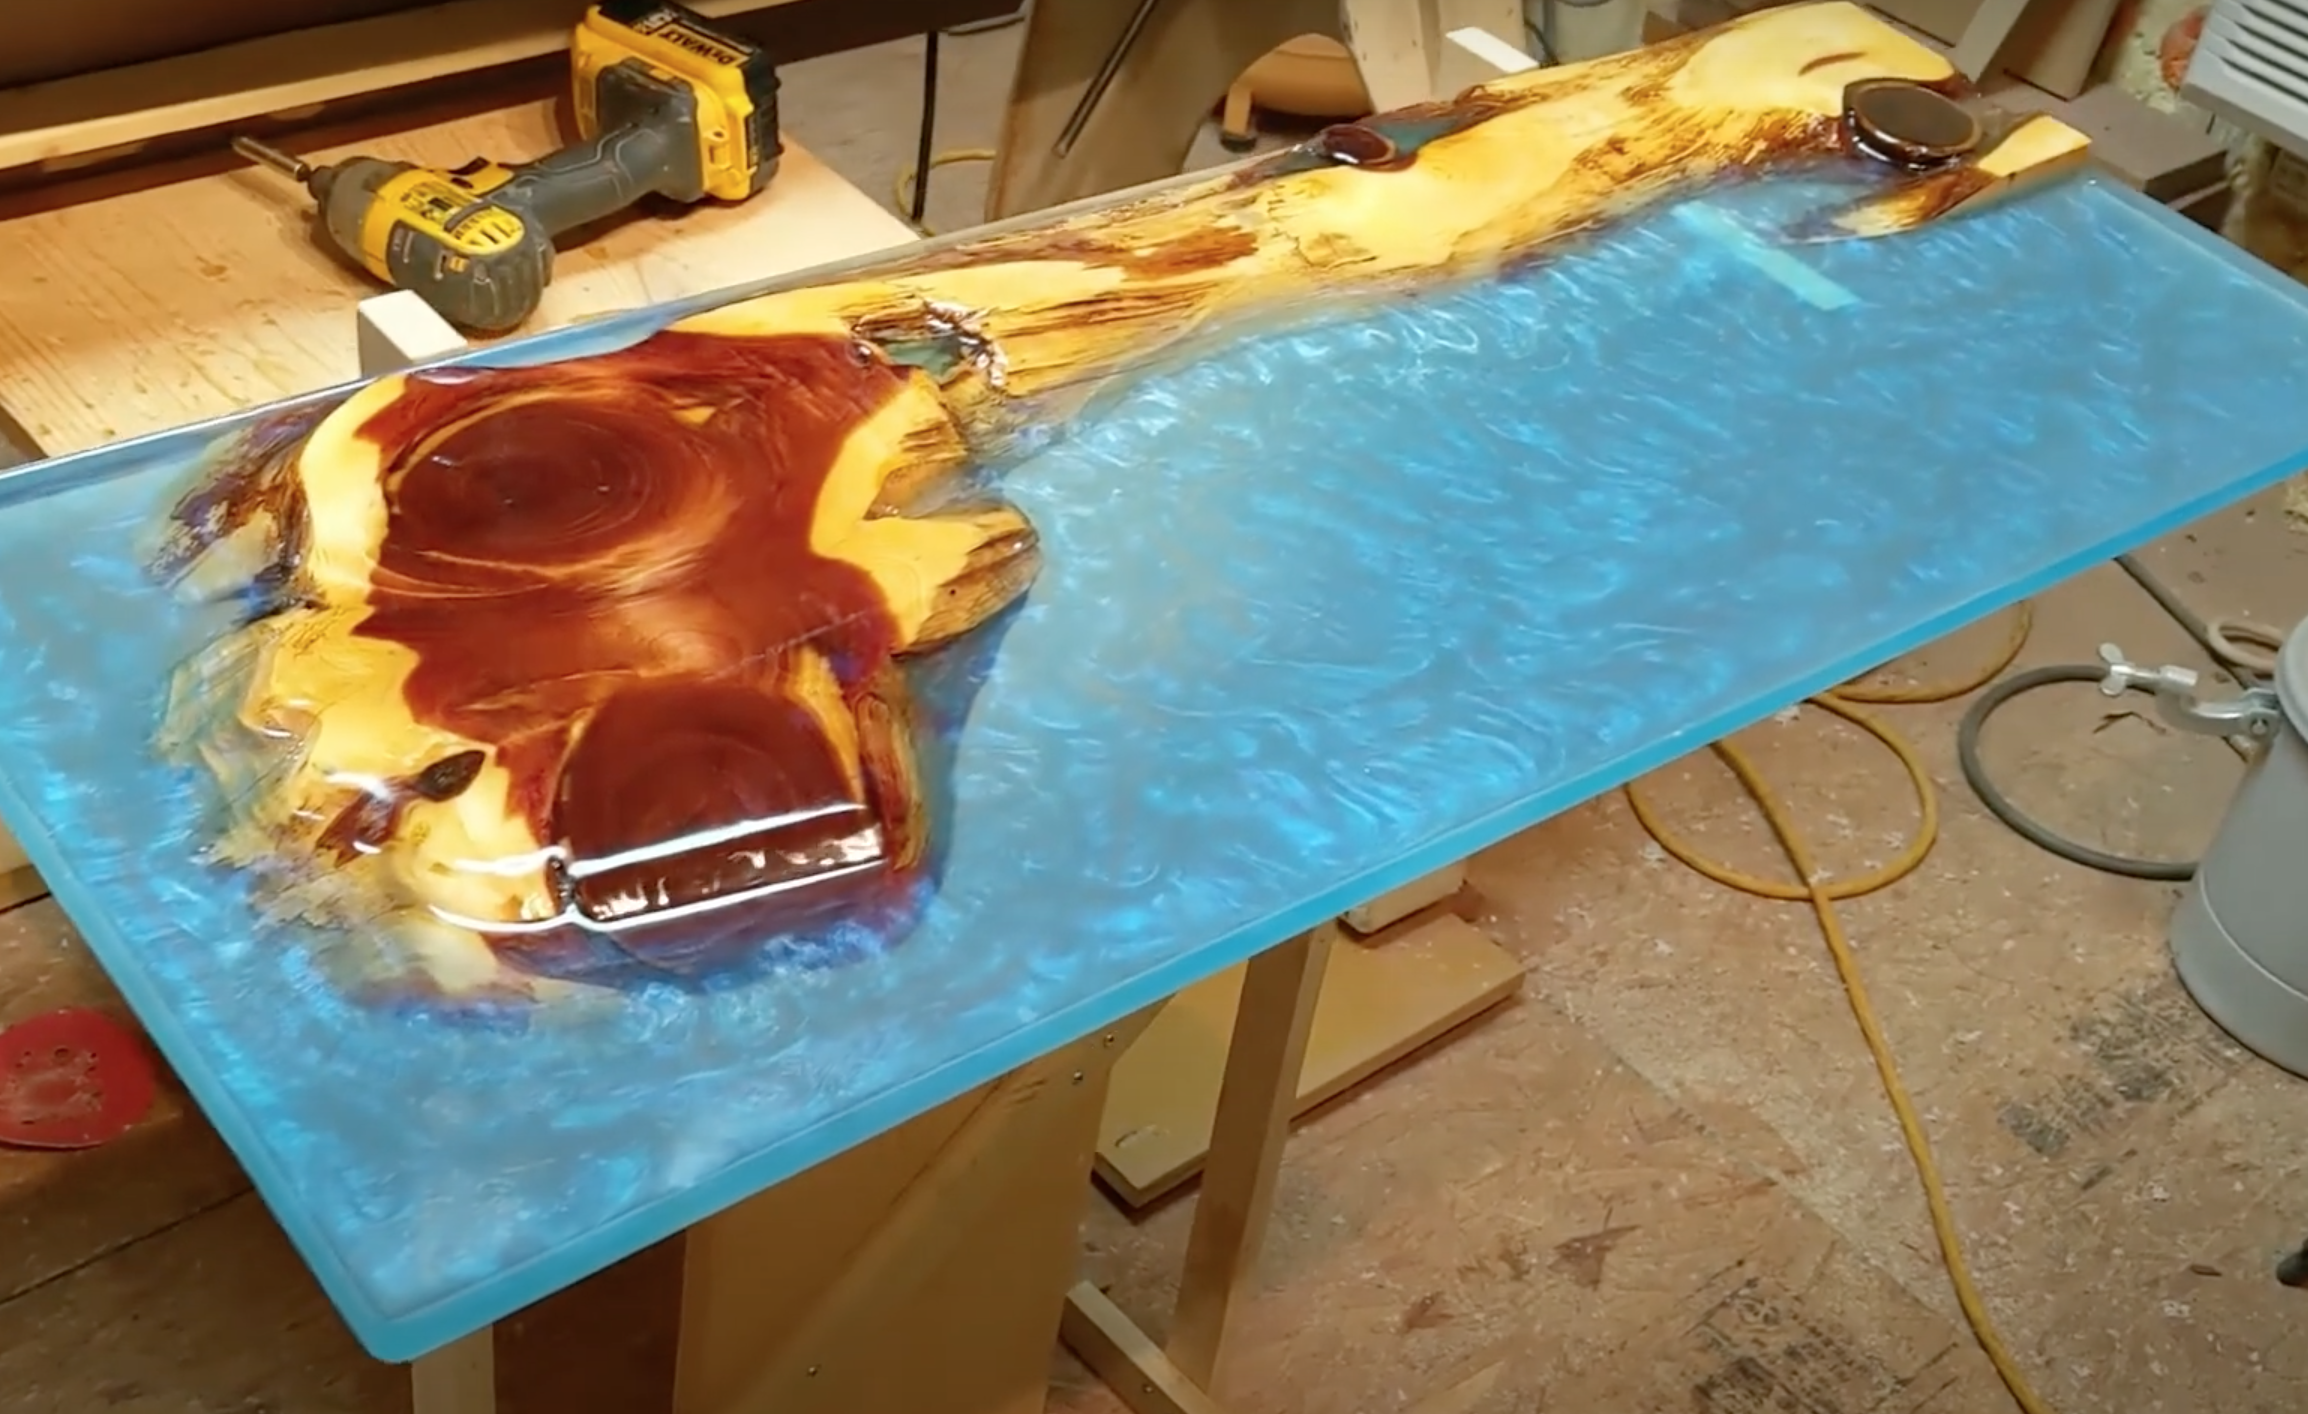
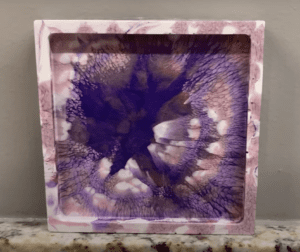
Creating a custom epoxy shelf with a beautiful swirl design is a fantastic way to add a touch of artistry and elegance to your home or office. This project combines the natural warmth of finished cedar with the striking beauty of soft white and light blue epoxy swirls, resulting in a one-of-a-kind shelf that’s both functional and visually captivating. Whether you’re looking to showcase your favorite items or simply add a unique decorative element to your space, this step-by-step guide will walk you through the process—from preparing the mold and mixing the epoxy, to finishing the surface and mounting the shelf. Let’s dive into the creative process and transform a simple piece of wood into a stunning statement piece!
Materials Needed:
- Square mold (e.g., silicone or a simple wooden mold)
- Hot glue gun and glue sticks
- Finished cedar board (cut to fit the mold)
- Epoxy resin (clear, soft white, and light blue)
- Mixing cups and stirring sticks
- Sandpaper (various grits)
- Clear coat finish (polyurethane or similar)
- Drill and drill bits
- Wall mounting hardware for shelves (brackets, screws, etc.)
Instructions:
1. Prepare the Square Mold:
- Create or Secure a Mold: Use a square mold that fits the size of the cedar board. You can use a silicone mold or make one out of wood, but be sure to seal all edges to prevent epoxy leaks.
- Seal the Mold: To ensure the mold is watertight, seal the edges with a hot glue gun. This will help to prevent any epoxy from leaking out while it cures.
2. Place the Cedar Board into the Mold:
- Position the Cedar Board: Place the finished cedar board inside the mold, ensuring it fits snugly. The cedar should be clean and smooth before starting.
- Check Alignment: Ensure the board sits flat in the mold and is centered, allowing the epoxy to flow around it evenly.
3. Mix the Epoxy:
- Prepare the Epoxy Resin: Follow the instructions on your epoxy resin package for mixing. You will need three cups of resin:
- One cup clear epoxy resin (to create the base).
- One cup soft white epoxy resin.
- One cup light blue epoxy resin.
- Mix Each Resin Separately: Mix each color resin separately, making sure to stir thoroughly to avoid bubbles. Ensure that you use the correct ratio of resin and hardener for each batch.
4. Pour the Epoxy into the Mold:
- Layer the Epoxy: Begin by pouring the clear epoxy into the mold, filling it about halfway or as desired.
- Add the Colored Epoxies: Next, slowly pour the soft white and light blue epoxies into the mold, layering or alternating them for a marbled effect.
- Create Swirls: Before the epoxy hardens too much, use a stirring stick to gently swirl the colors together. This will create the desired swirled effect in the epoxy.
5. Allow the Epoxy to Cure:
- Let It Cure: Allow the epoxy to sit and cure according to the manufacturer’s instructions. You may need to wait anywhere from 24 to 48 hours for the epoxy to fully set and become thick. Ensure the environment is warm and free of dust during curing.
6. Remove the Mold:
- Carefully Remove the Mold: Once the epoxy has fully cured, carefully remove the square mold from the cedar board. If you used hot glue to seal the mold, gently peel away the glue to release the mold.
7. Sand the Surface:
- Smooth the Epoxy Surface: Once the mold is removed, use sandpaper (starting with medium grit, then finishing with fine grit) to smooth the surface of the epoxy. Sand carefully to avoid scratching the resin surface.
- Bevel the Edges (Optional): If desired, you can bevel or round the edges of the epoxy for a more polished look.
8. Apply Clear Coat Finish:
- Seal the Epoxy: To protect the surface and give it a glossy finish, apply a clear coat finish over the entire epoxy surface. Use a polyurethane or similar clear coat that is suitable for epoxy.
- Let It Dry: Allow the finish to dry completely, following the manufacturer’s instructions. This step will enhance the epoxy’s appearance and provide durability.
9. Drill Holes for Mounting:
- Mark and Drill Holes: Mark the spots where the shelf brackets will go, ensuring they are evenly spaced. Use a drill and appropriate-sized bit to make holes for the wall mounting hardware.
- Check Alignment: Before drilling, double-check that the shelf is level and positioned where you want it.
10. Mount the Shelf on the Wall:
- Install Brackets: Attach the shelf brackets to the wall using screws or other appropriate mounting hardware. Ensure the brackets are securely fastened and level.
- Place the Shelf on Brackets: Once the brackets are in place, carefully place your completed shelf on the mounted brackets.
Final Tips:
- Work in a Dust-Free Area: Make sure to work in a clean, dust-free environment while pouring and finishing the epoxy for the smoothest result.
- Safety First: Always wear protective gloves, goggles, and a respirator when working with epoxy, as fumes and dust can be harmful.
- Customization: If you prefer a different color scheme, feel free to experiment with different resin colors to match your decor.
With these steps, you’ll have created a stunning, custom shelf with a unique epoxy swirl design and a durable cedar base that can be proudly mounted and displayed in your space.

